How To Make a Mini Christmas Krampus Figure using Polymer Clay
Add a mischievous twist to your holiday decorations with this step-by-step guide on crafting a miniature Christmas Krampus figure from polymer clay.
Whether you’re a fan of unique holiday traditions or love crafting mythical creatures, this project is perfect for creating a playful yet spooky addition to your festive decor. This tutorial is beginner-friendly and packed with tips to help you sculpt and personalize your very own Krampus figurine.
Materials and Tools for Sculpting a Mini Krampus
Before we get started creating our mythical creature, it’s time to set up your workspace and gather all the materials you need.
For this sculpture, you’ll need Polymer Clay (I use Cosclay, which is great for creating intricate designs), sculpting tools, paints, paintbrushes, wood, 3mm armature wire, super glue, a baking tray, and some way to bake your Krampus figure once sculpted.
After you’ve got your materials together, it’s time to clean your workspace free of dust and dirt, which unfortunately has a habit of clinging to clay, sometimes ruining your desired effect.
With everything ready, it’s time to start this festive creature build.
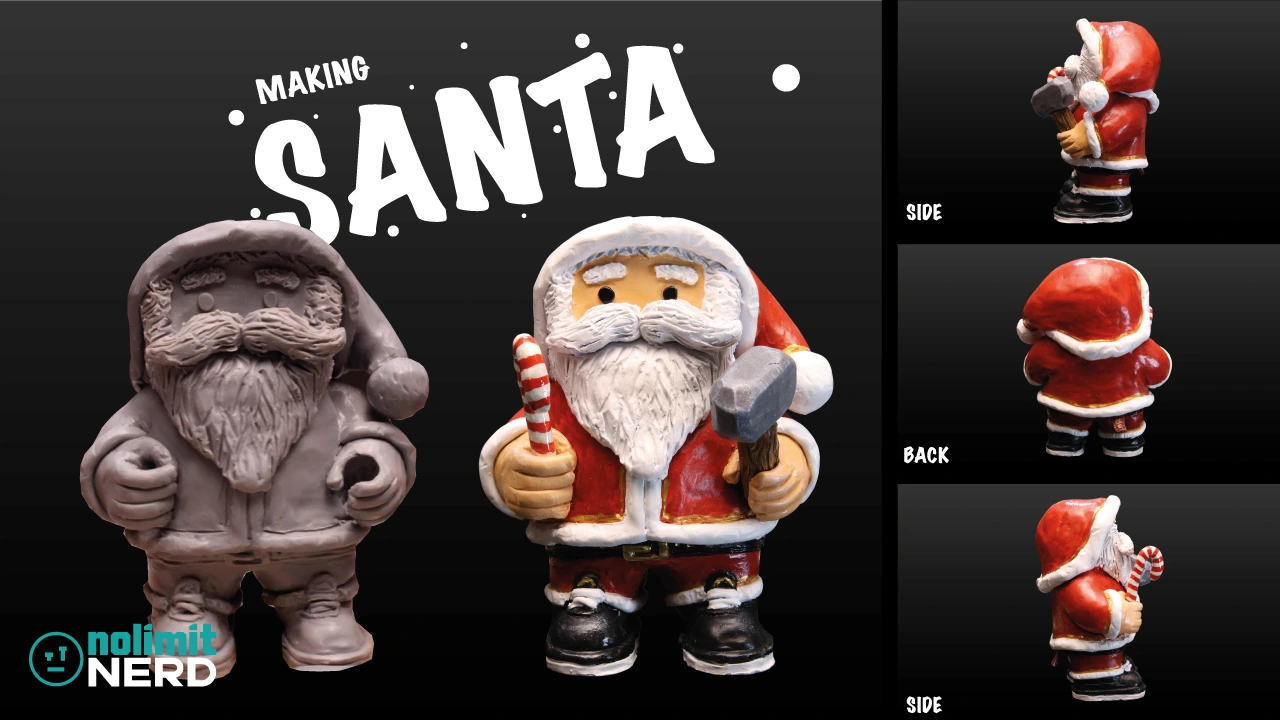
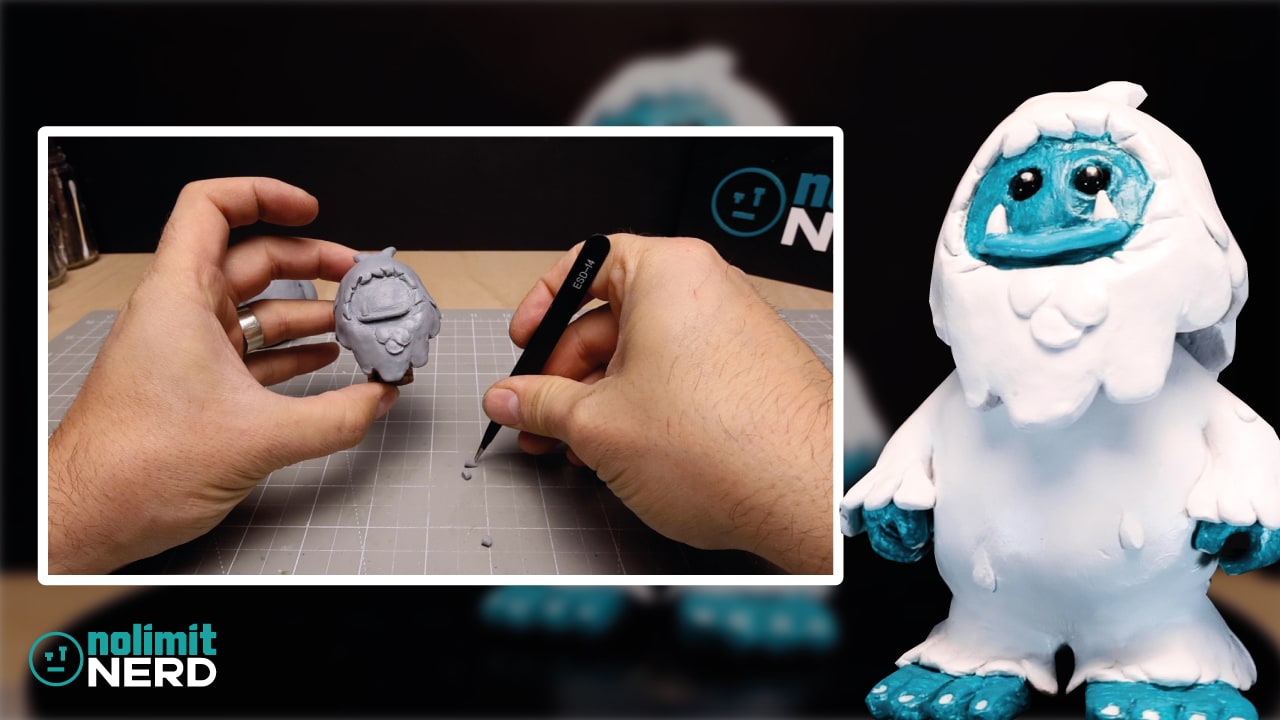
Like mythical creature builds? Why not check out my Yeti Bobblehead figure or Santa Claus figurine builds.
Sculpting Your Krampus Figure
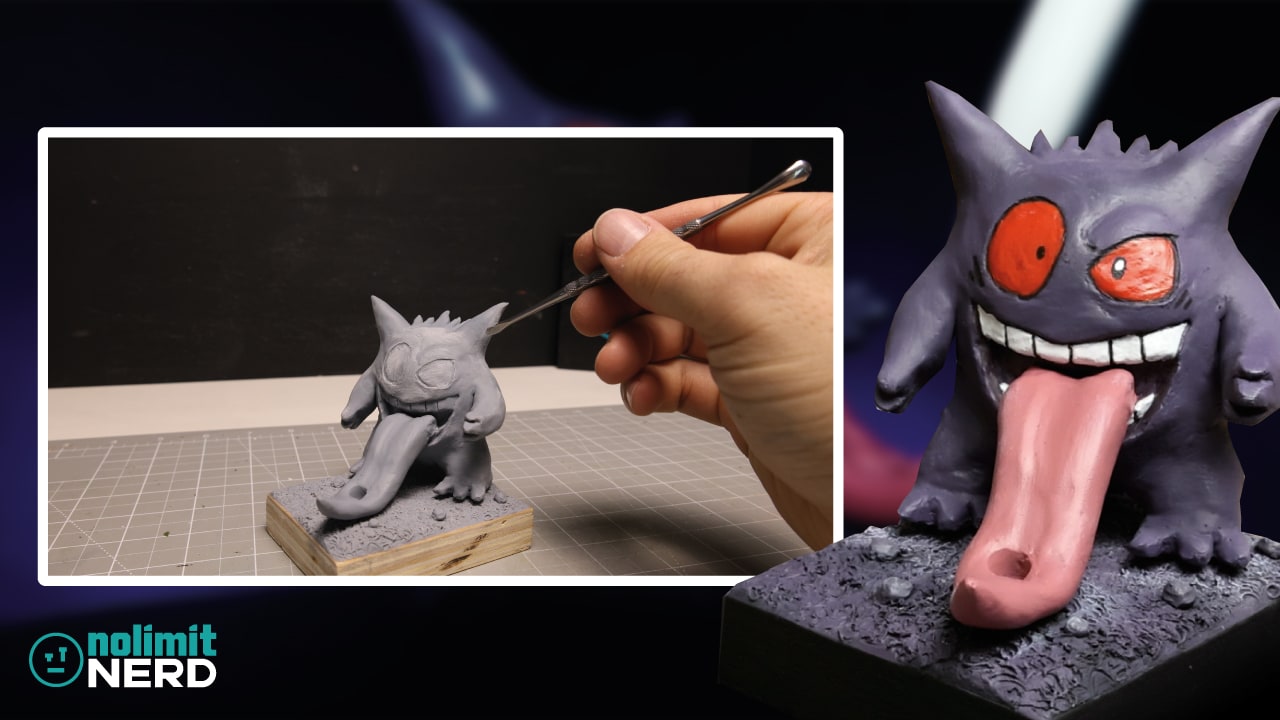
As I’m trying to save money (because clay isn’t cheap), I decided to make a miniature Krampus figure. This means I won’t start my build like I did my Gengar figurine with a ball of tin foil, instead opting to roll out a thick worm of clay.
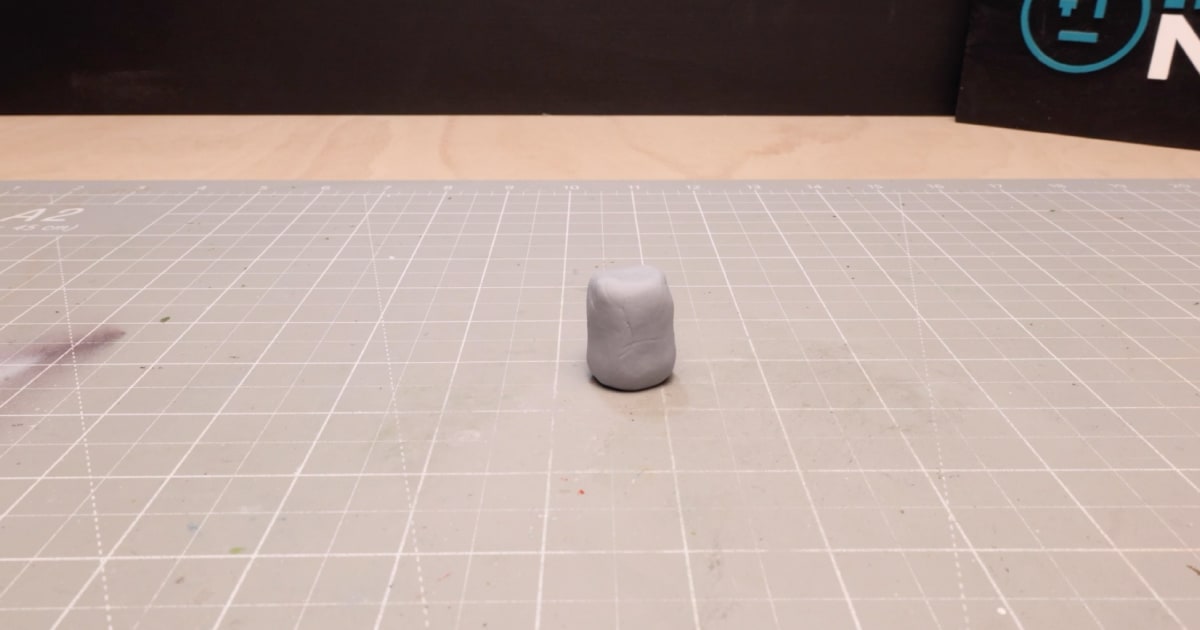
It’s then time to roll out two smaller, equal-sized worms of clay and add them to the larger worm’s base as legs.
After the legs are blended in, you repeat the process for the arms, adding one on each side to the top of the larger worm.
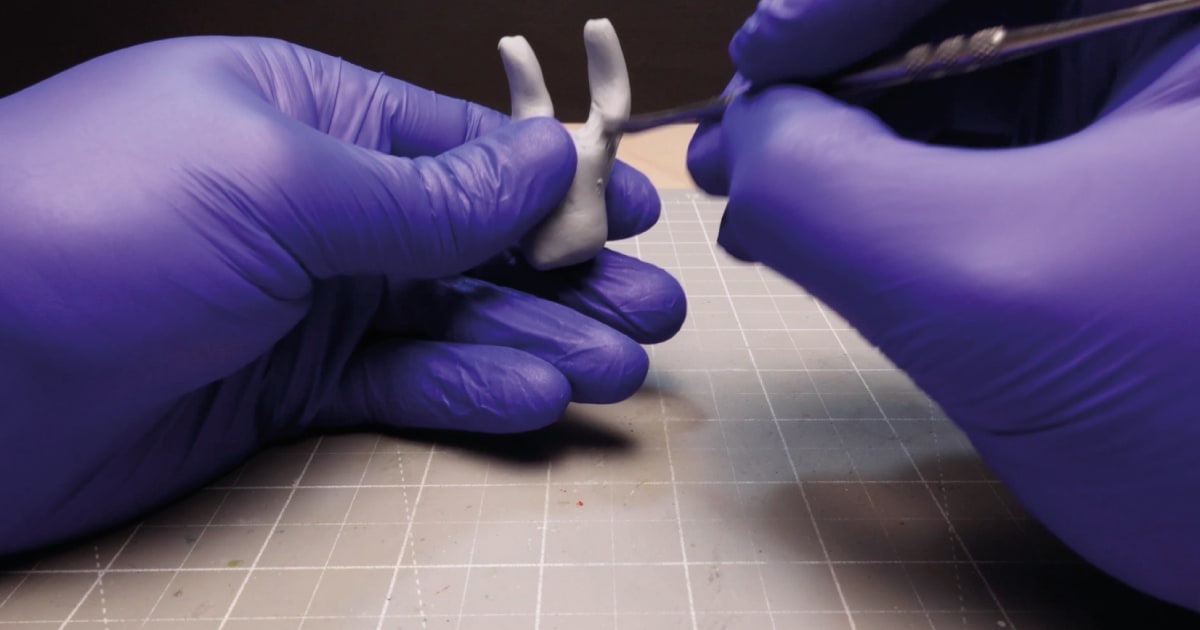
You’ll then want to create a ball of clay proportionate in size to the body to create the head. To secure the head, cut a length of 3mm armature wire and insert it into the top of the Krampus body. Then gently push the ball of clay you made for the head into the armature wire.
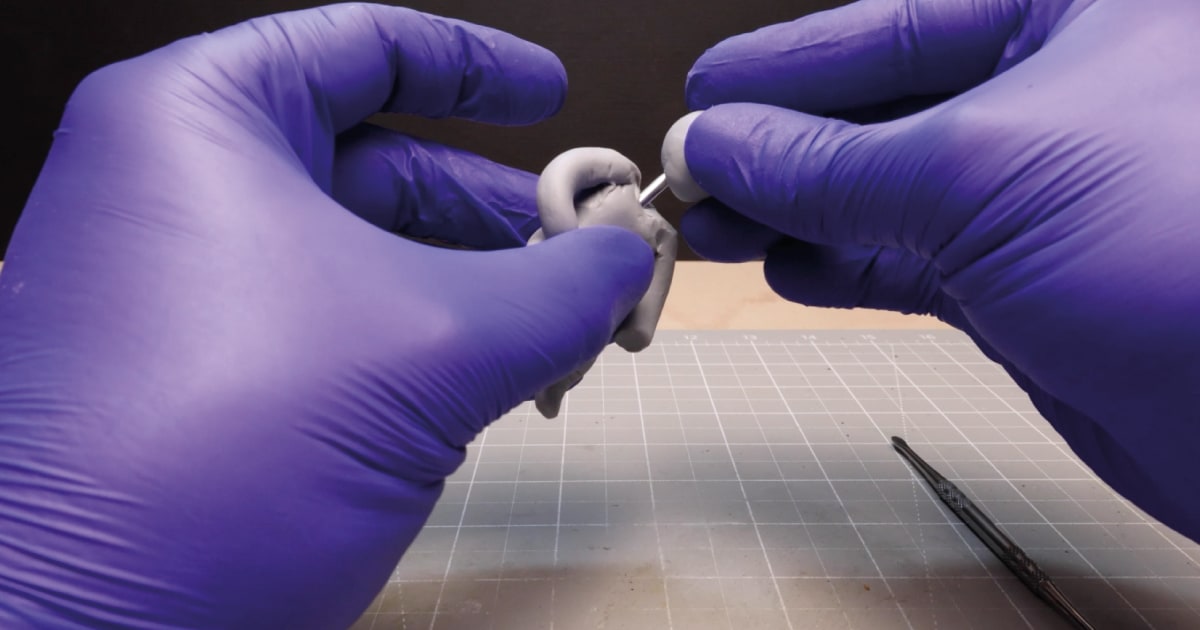
With the rough Krampus figure created, you’ll find that it’s a little floppy, so you’ll want to create a base for it to support it.
Building the Base Structure for Your Krampus Figure
I have a lot of 18mm plywood offcuts laying around from the odd build here and there, so I use that as a base cut to a size that’s bigger than your figure footprint. You can use any wood you have as long as it has a decent thickness and can be drilled.
You’ll want to place your figure in the center of your piece of wood and draw pencil lines in the center of the legs at the front and side. Then, remove your figure and draw straight lines until the two lines cross. This marks the center of where you’ll drill your holes.
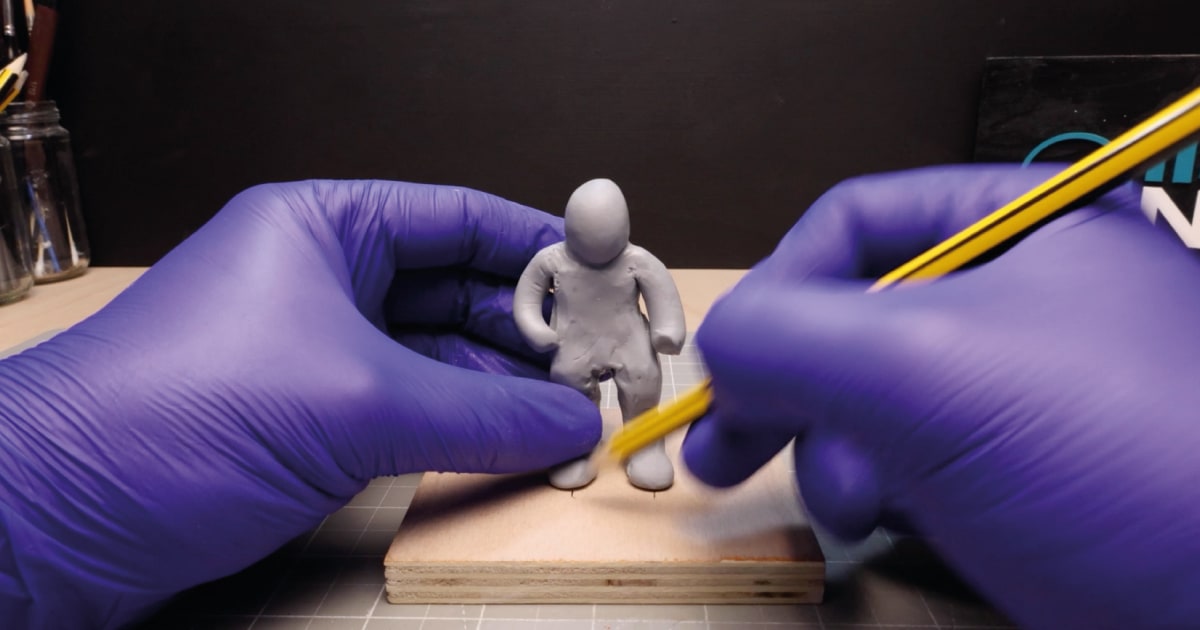
Take a 3mm drill bit and drill a hole in the two spots but dont drill all the way through. Then cut two pieces of 3mm armature wire to length, add a little super glue in the holes you’ve just drilled and place the armature wire in each.
Once dry, cut your armature wire to length and carefully place your figure onto the base.
However, this still wasn’t enough support to keep my miniature Krampus upright. So I drilled a hole in the wood a little way behind where the figure sits, added more armature wire, and bent it so that it goes into the back of my Krampus. This can be removed later, just before baking.
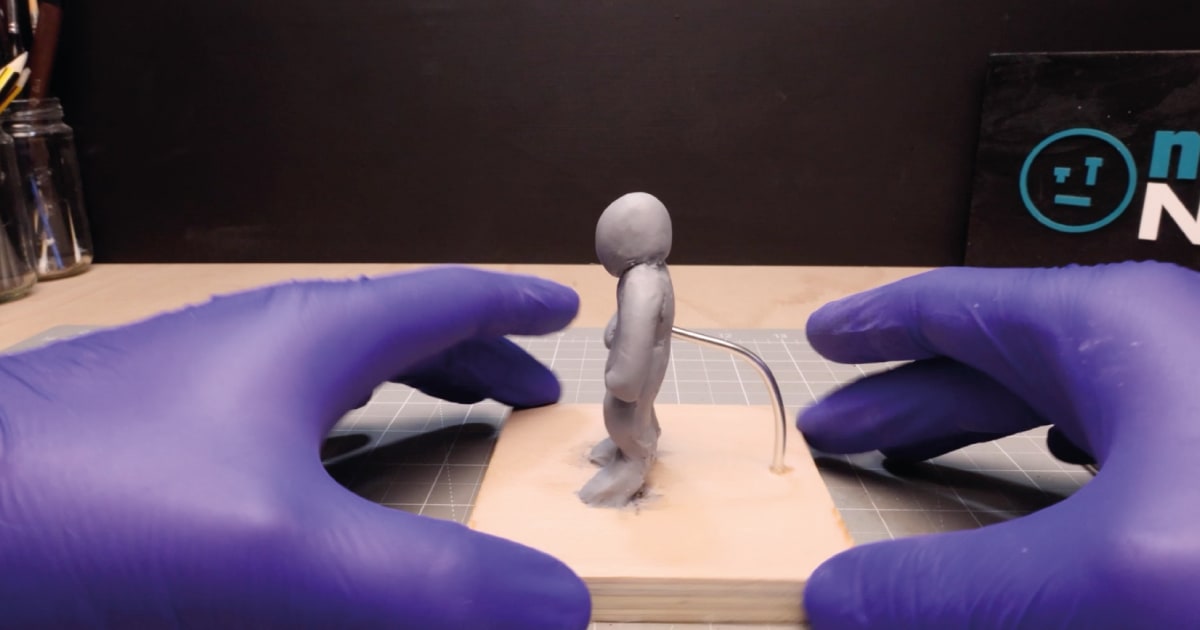
You’re now ready to continue your build, which involves shaping the legs into the shape of goat legs splitting his foot in two to form hooves.
Giving Krampus a Jacket
With your Krampus secure it’s time to continue sculpting.
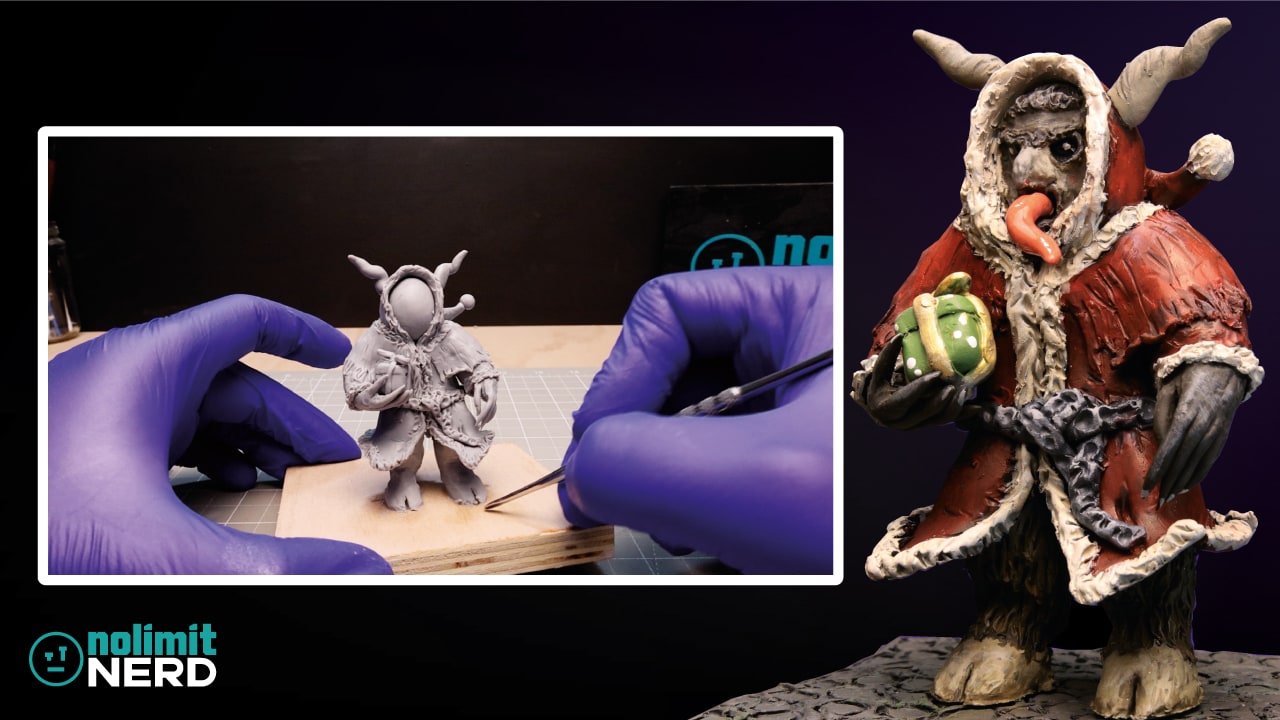
You’ll want to roll out a flat piece of clay and cut it into a size that you can wrap around the head of your Krampus as a hood. You’ll then want to cut off any excess clay and point the end to make the pointy bit at the end of his hat. Roll up a small ball of clay to add to the end of the hat as a bobble.
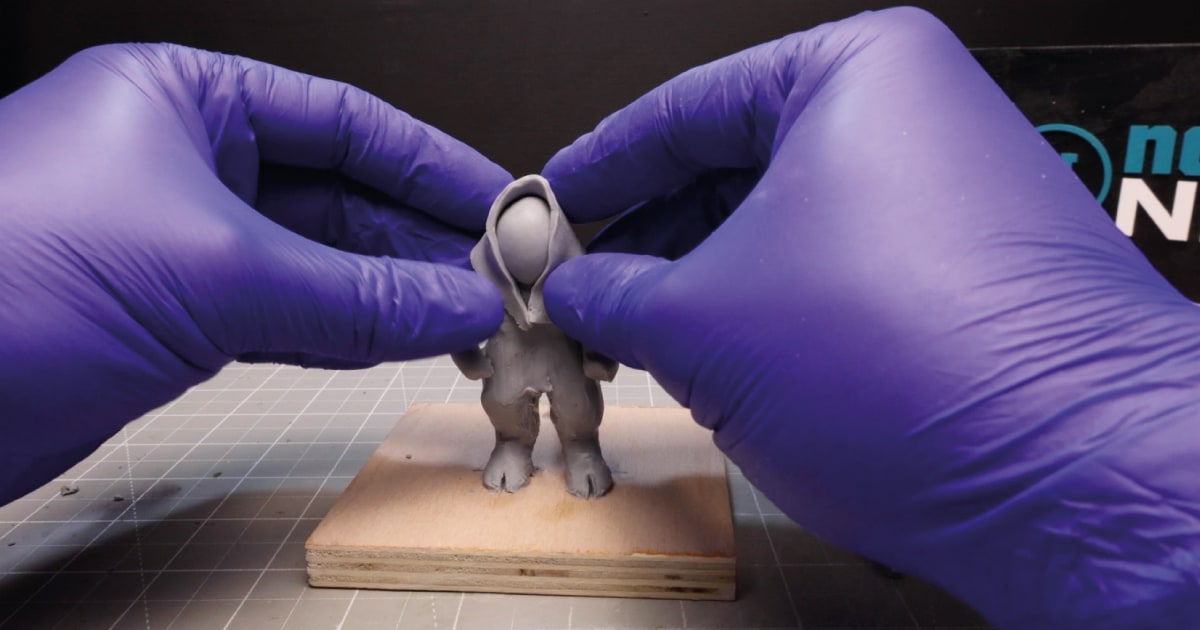
With the basic hat shape formed, cut some more clay from your flat piece or roll out some more. Then, cut to a size that you can wrap all around the torso of your Krampus to form his jacket.
You can then continue adding more pieces to fill in the gaps between the jacket and the hat, blending together with your sculpting tools as you go. With the main jacket shaped, you can add another slightly thinner flat piece of clay around his shoulders as an extra part of his jacket.
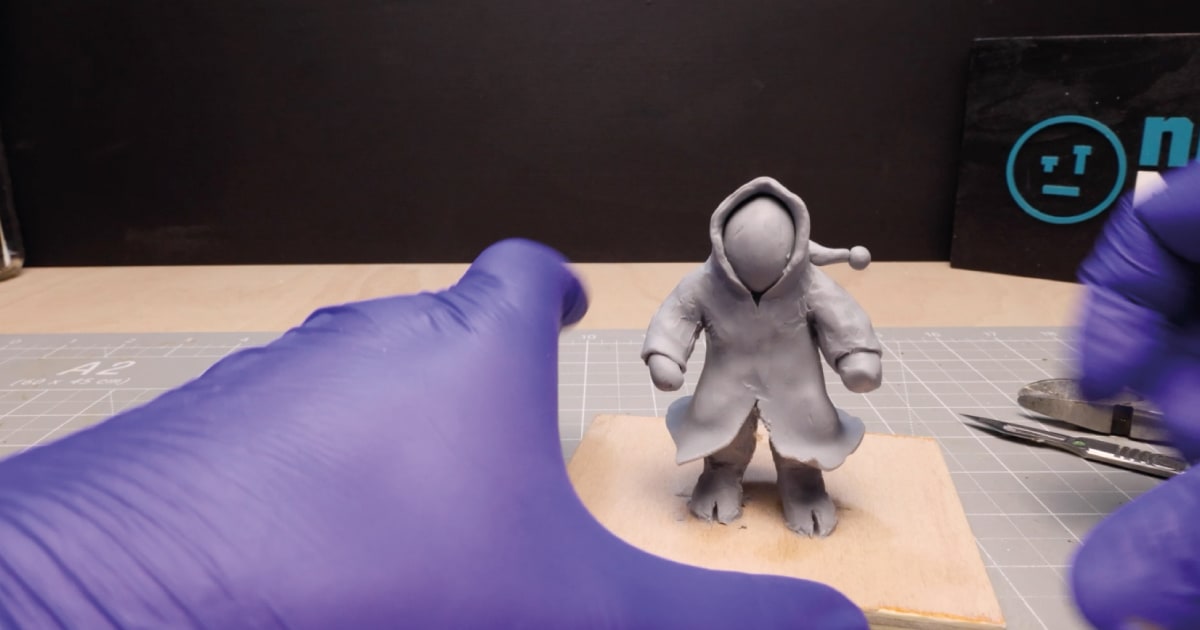
With the main details created, it’s time to add a little detail.
Adding the Finer Details to Your Krampus Figurine
To give some detail to your figure, you’ll want to use your sculpting tool to add a hairy edge to the top part of the jacket before adding some gentle marks across it all, adding a ruffled look.
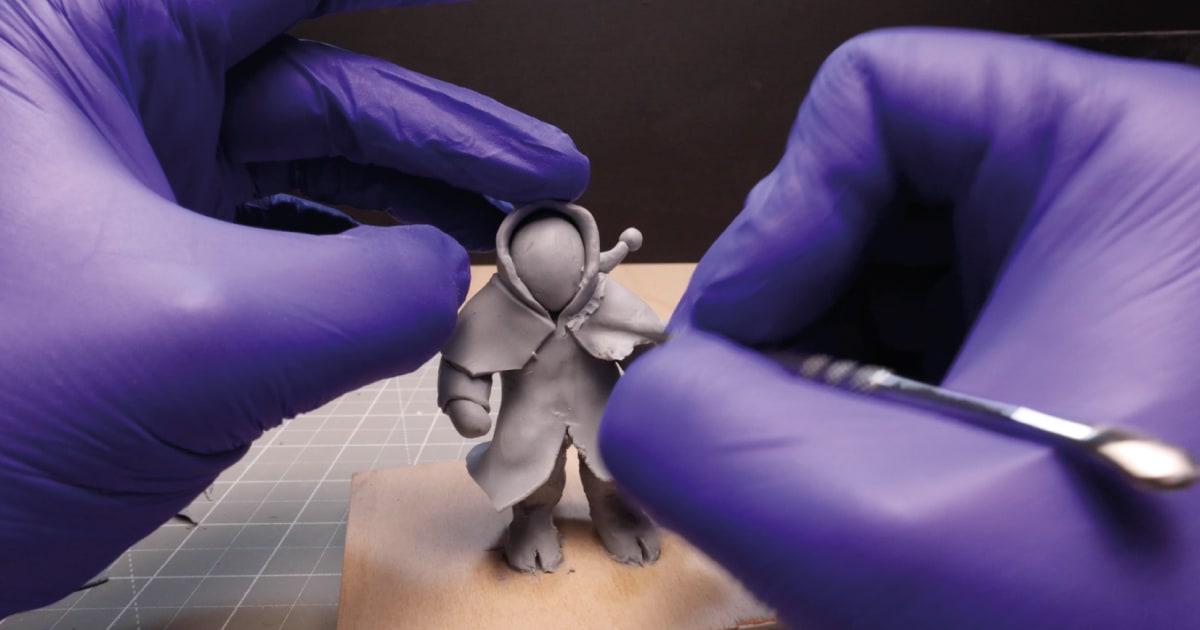
Before moving on to adding the details to the rest of the jacket you can roll out two point relatively long worms of clay. These will form the horns of of our Krampus. To add the horns dig out two holes in the top of his hat and head, then twist each horn a little and add the flat end into the hole, making sure not to deform it.
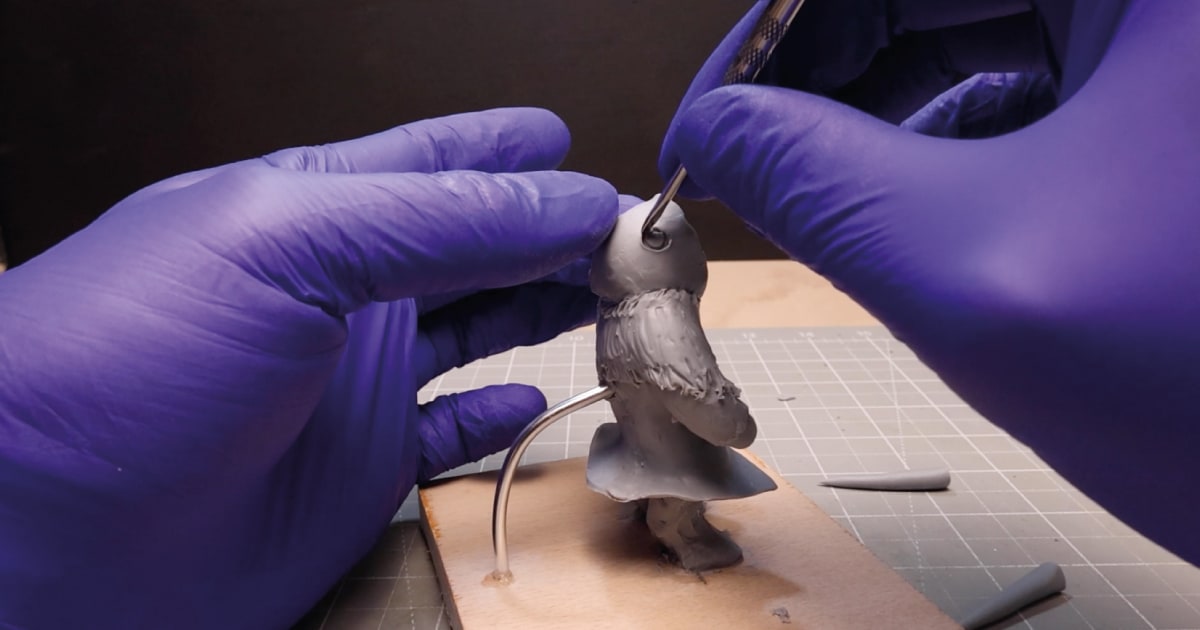
With the horns added, our Krampus figure is starting to gain traction. Now, it’s time to roll out another worm of clay to use as the furry edging around the tip of his hood and his jacket.
Then, use your sculpting tool to blend it in and add marks to the edging to give it a disgruntled fur look. Add a few marks to his jacket to make it look like it’s been well-worn over the years, and you’re ready to create his belt.
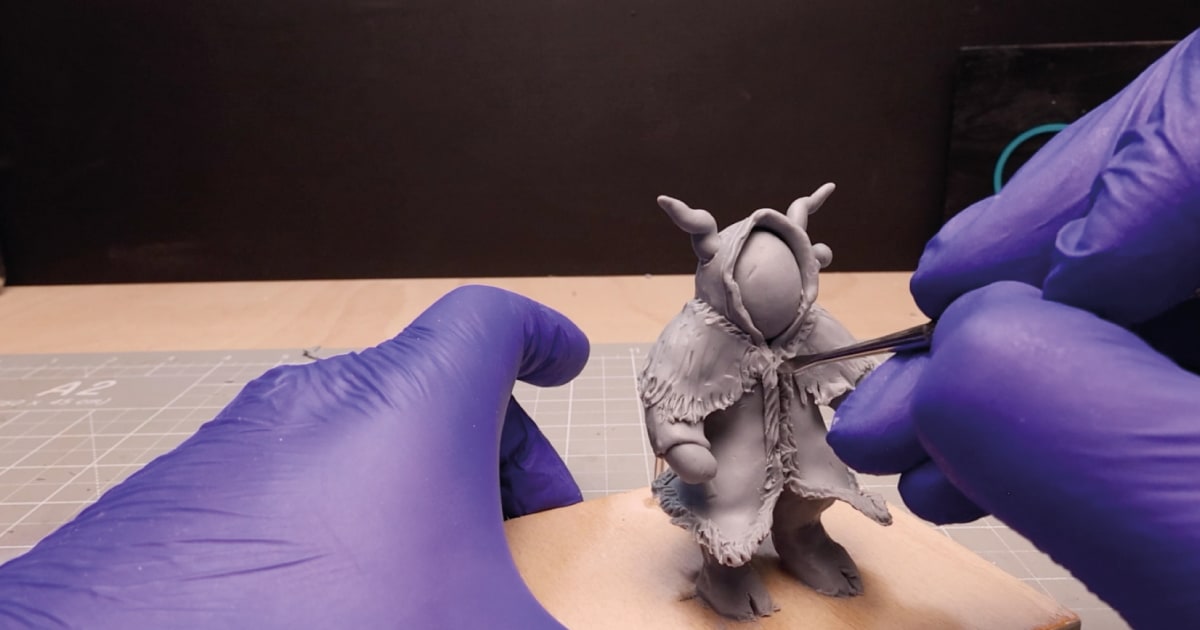
Yes, you’ll need to roll out another long worm of clay. This one will need to be long enough to wrap all around your figure and a little extra. Wrap it around his waist and tie it off at the front, cutting the ends at different lengths.
Then, using a small ball stylus tool, make impressions into the worm to recreate the effect of it being made from metal chain.
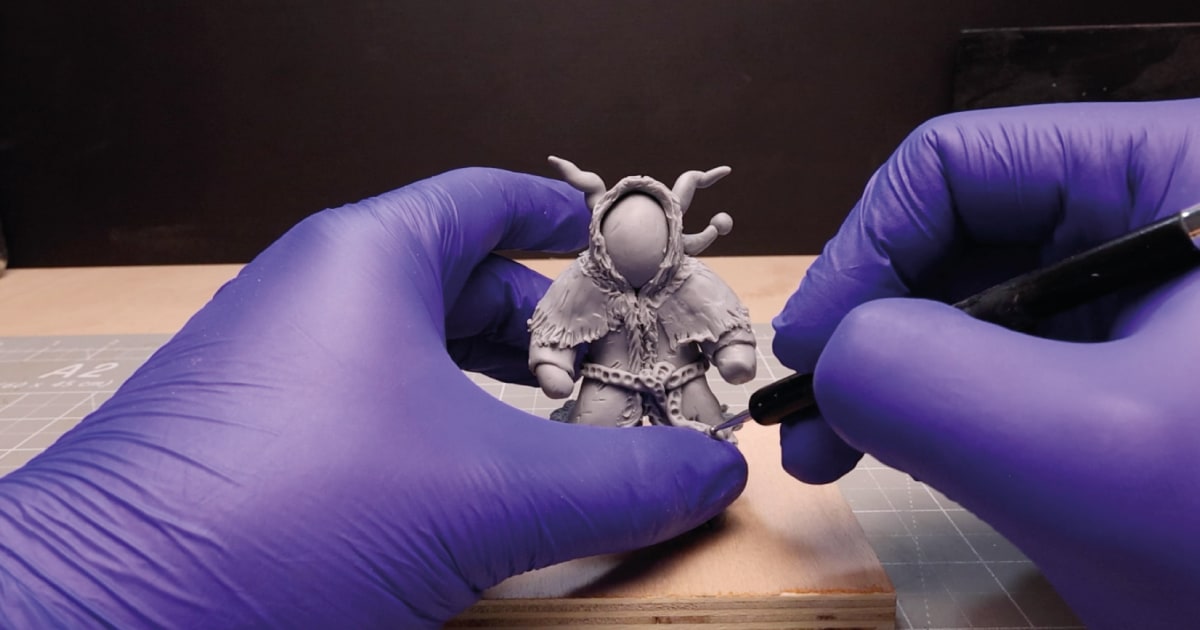
With the belt and jacket complete, it’s time to add some claws to our figure.
Claws, Face and Accessories
To finish off our Krampus figure, it’s time to roll out some more worms. This time, they’re slightly thinner ones, pointed at one end and long enough to act as long fingers/ claws for our figure.
You’ll need five for each hand, which you can then add using your sculpting tool to blend each finger in. Once you’ve completed this, it’s time to focus on Krampus’s face.
For this, you’ll want to use your knife to cut off sections of his face sculpting it till you have something that looks like an outline for a face. You can then use your sculpting tool to make a hole for his mouth, add a small blob of clay to make a nose, a few small lengths of worms for exagerated eyebrows, and use yuor ball stylus to hollow out holes for his eyes to go in.
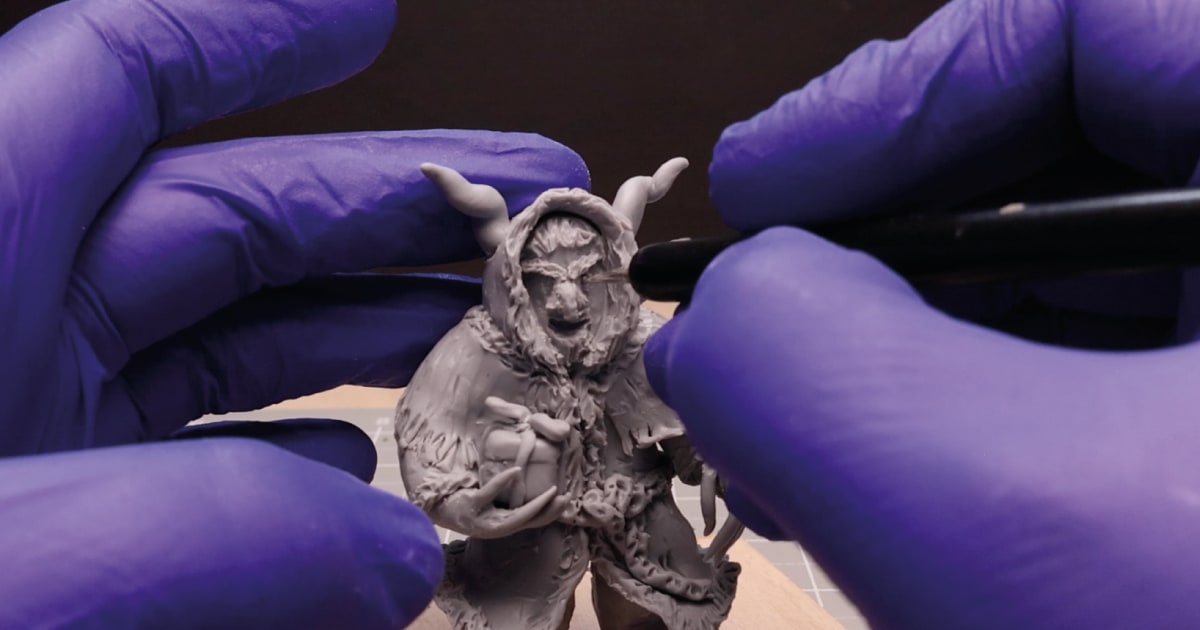
Then, roll up two small balls of clay and gently add them to the eye sockets you’ve just made.
One of the last facial features is to add a pointy tongue. For this, you’ll roll up some more clay and shape it into a point, then give it a slight bend and attach it to the hole you made for his mouth.
To complete our Krampus there’s one last thing to create, a little present.
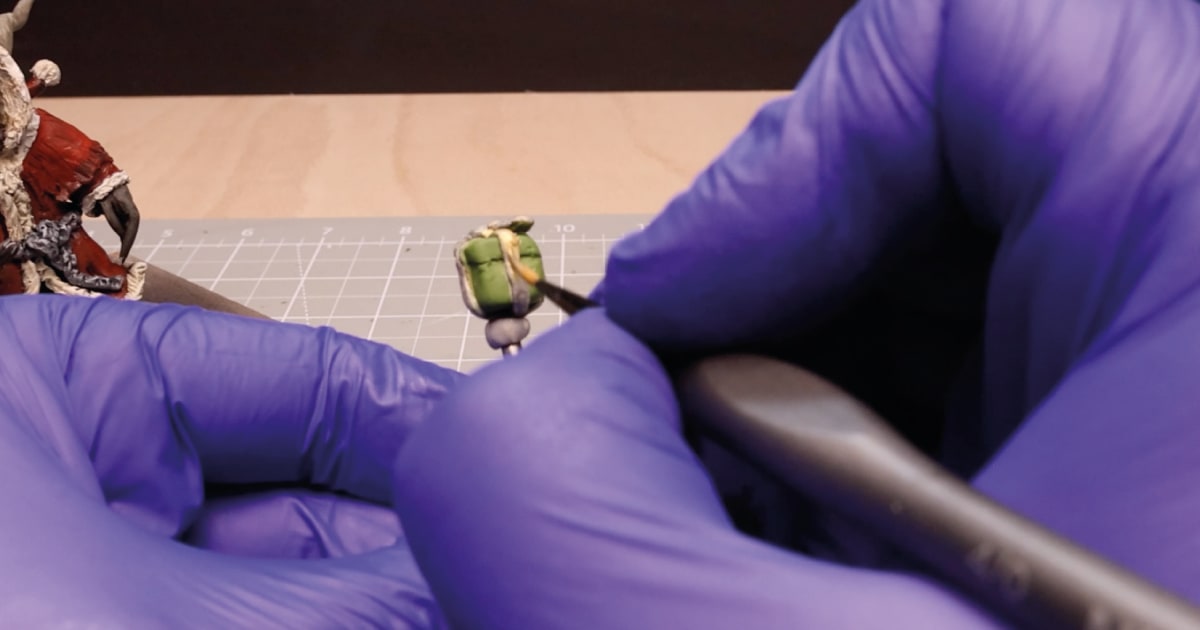
For this, create a small square of clay that can fit into the open hand of your figure. Then, using your sculpting tool, squish in a bit around the top to form the lid of the box. Roll up some more thin worms and wrap around the box to form a ribbon, making two small bows for the top.
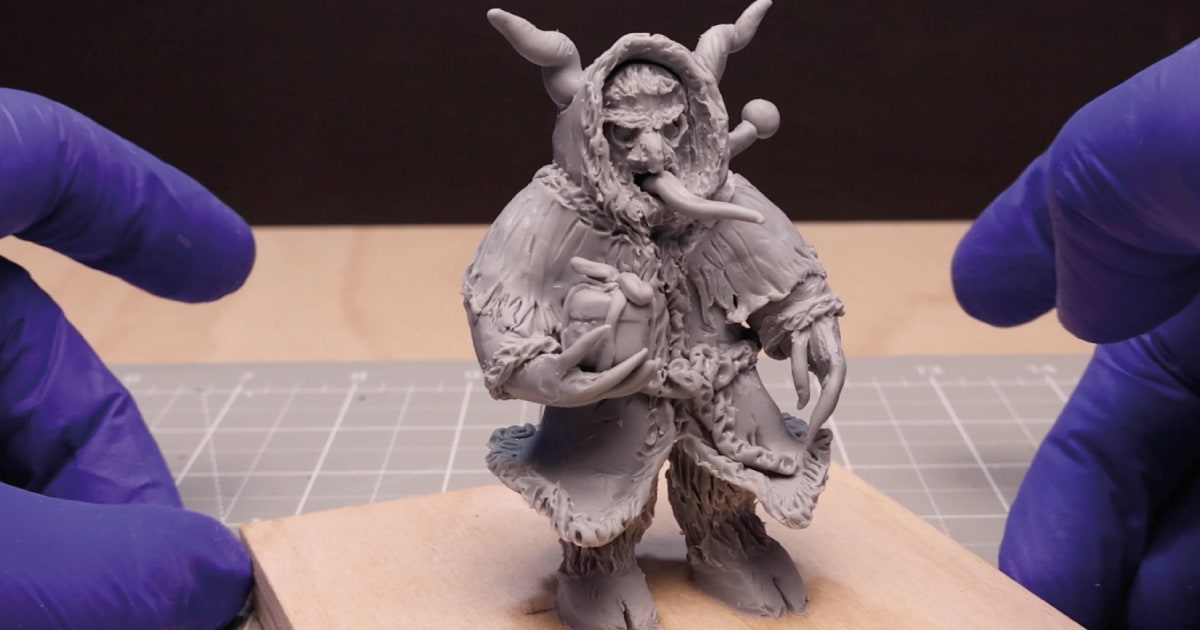
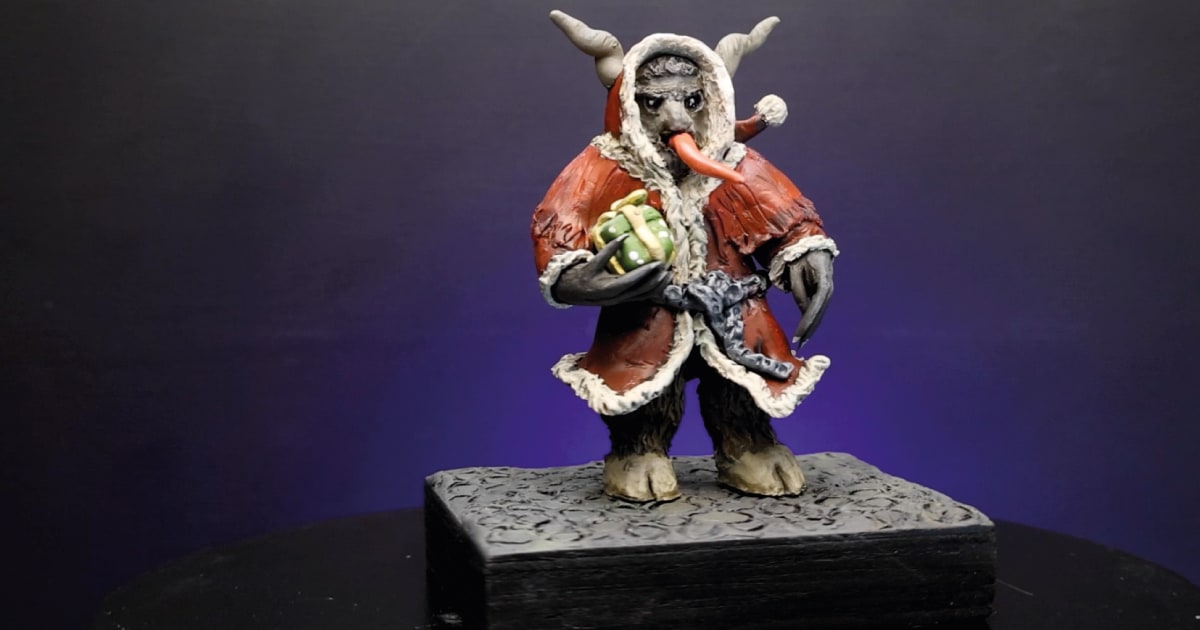
Once this is complete, you can use your sculpting tool to add some hair definition to his goat legs, and your figure is complete.
Baking and Hardening the Polymer Clay Krampus
Once complete, you can trim the armature wire supporting the back as close to the back of the Krampus and gently fill the hole, smoothing it out before baking. Leave the armature wire as close to the back as possible to help it stand up while baking.
Now, it’s time to place your structure on your baking tray, preheat the oven to the temperature specified on your polymer clay packet, and get ready to bake.
As I was using Cosclay, I baked it at 130C (275F) for 30 minutes for every 1/4 inch (6mm) thickness of clay. As this was a miniature but didn’t have any tin foil inside, I baked it for around an hour and a half. This ensured that the fingers and tongue stayed flexible enough.
Painting and Adding Finishing Touches
With the figure now baked, you can remove the rear support completely and remove it from the base if you wish.
You can then prime your figure to seal in the clay using an appropriate primer. For this, I used a Vallejo black acrylic primer, which is ready for airbrushes. This primer takes 12 hours to cure but is great for preserving fine detail as it shrinks when it dries. The downside is its drying time, which can seriously hinder progress.
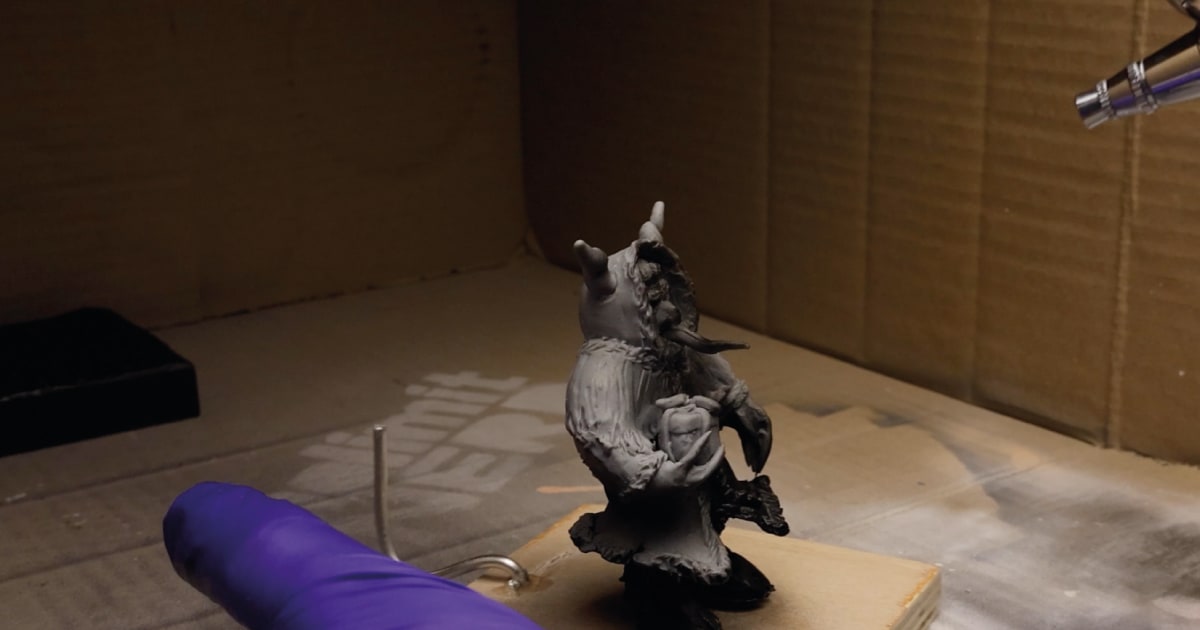
After it’s cured, it’s time to paint his goat legs brown, starting with a darker brown and adding lighter patches on top with a little dry brushing to add highlights.
I painted his hooves using acrylic Bone White, then moved to using Blood Red mixed with a little black for the underside of his jacket, using straight Blood Red acrylic for the outside of his jacket, which over the black primer makes it a darker more dishrevelled look.
With the jacket and hat painted red, I used white acrylic for the furry bits around the hat, edges of the jacket and bobble. I used a darker shade of Bone White mixed with a tiny amount of black for the horns and then moved on to his face.
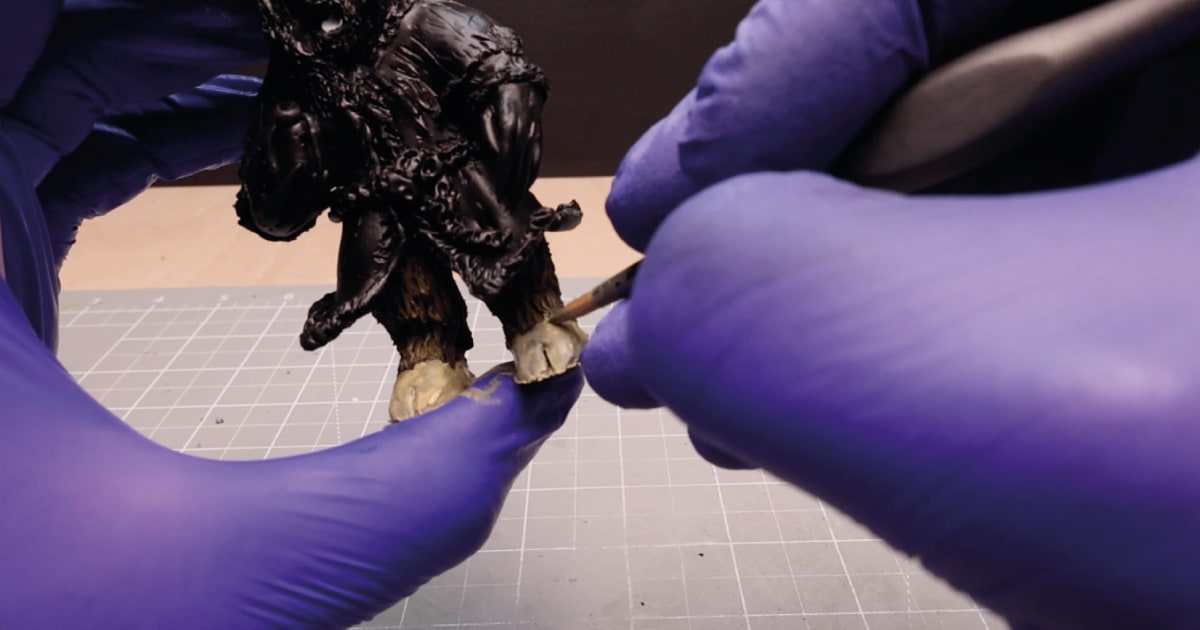
Mix a light brownish colour for the base of his face, a darker brown for his hands, and white acrylic for his fingernails.
I then mixed a little metallic grey acrylic with black to paint the chain around his waist before using the present to add a little contrast to the whole figure.
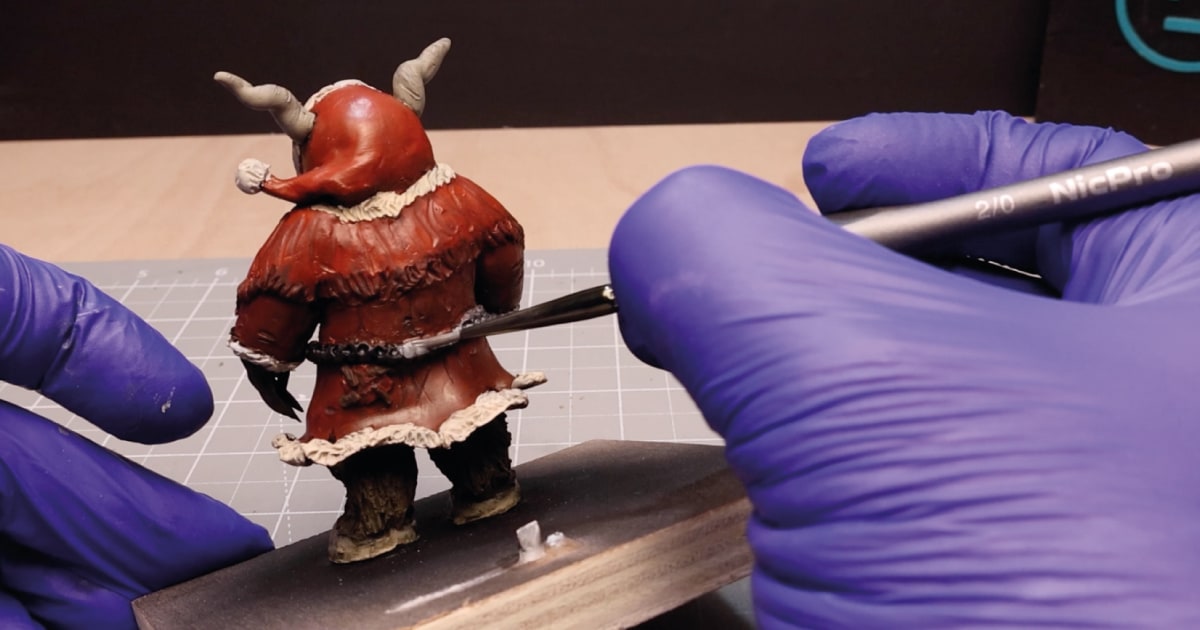
I painted the Christmas present box a light green with a golden ribbon and a few white spots added for extra detail. Then you paint the tongue a bright pink, the eyes black with a white highlight, and you’re pretty much finished.
Share Your Krampus and Explore More Holiday Crafts
I’d love to see how your mini Christmas Krampus turned out!
Share your creations by commenting on my YouTube video with #ChristmasKrampus. If you enjoyed this tutorial, check out my YouTube channel for more fun and festive polymer clay crafts.
Remember to like the video, leave a comment with your thoughts or questions, and hit the subscribe button for weekly DIY inspiration. Thanks for sculpting with me – let’s keep creating together!
Tools I Used
Heads up. Some of these links are affiliate links if you click on them and buy something I might make money which will help you support NoLimitNerd at no extra cost to you.
Sculpting Tools
- CosClay
- A2 Cutting Board
- Pasta Maker
- Sculpting Tools
- Modelling Tools
- UV Resin
- UV Light
- Vinyl Gloves
- Armature Wire 1mm
- Armature Wire 3mm
- Super Glue
Painting Equipment
- Paint Brushes
- Acrylic Paints
- Valejo Airbrush Thinner
- Air Brush Kit
- Air Brush Cleaner
- Gas Mask
- Acrylic Gloss Varnish
Filming, Audio & Tech
- Cannon EOS R8 Camera
- Cannon RF 50mm Camera Lens
- Lexar 128GB SD Card
- Softbox Lighting with Diffuser
- Camera Tripod Ball Head
- NEEWER Led Lights
- Fifine Microphone (USB)
- Rotating Display Turntable
- Black Backdrop Cloth
- Microphone Arm – for Overhead Camera
