How To Make Shrunken Head Bob from Beetlejuice 2 Using Polymer Clay
Have you ever wanted to bring a movie character to life with your own hands? In this tutorial, I’ll show you the creative process of making Bob from Beetlejuice 2 using polymer clay.
Whether you’re a fan of the Beetlejuice Beetlejuice film or just love crafting, this step-by-step guide will show you how to sculpt, paint, and add those quirky details that make Bob unforgettable. Grab your clay and tools, and let’s get sculpting!
Don’t forget to Subscribe to my YouTube channel to get access to my latest videos as soon as their released.
An Introduction to Beetljuice Bob
The Bob character is an iconic figure in the Beetlejuice 2 movie named Beetlejuice Beetlejuice. Dressed in his yellow suit with his red and white name tag saying “Hi, My Name Is BOB”, he is a memorable character in the film.
However, having little time to create the entire sculpture, I decided to make just his shrunken head with his wrinkly blue skin and bulging eyes.
To do this, I chose to use Sculpey, a popular polymer clay that, unlike Air-Dry Clay, only hardens when baked. This makes it the perfect medium for a beginner clay sculptor, who might need to come back to it time and time again over the course of days.
In this clay modelling tutorial, you’ll learn the steps I took to create Beetlejuice Bob, including sculpting, painting, and adding a removable magnetic ponytail to your sculpture.
Preparing for Sculpting Beetlejuice Bob
Before I got started, I did my research. I looked at images of Bob from all sides and used them as references to base my clay sculpture on, having them in view to constantly refer to when sculpting.
This makes it easier to get things right the first time rather than using memory. Of course, if you’re just looking to create a shrunken head figure, you can try this, too.
Not only do you need references, but you’ll also need the right modelling tools, paints, and clay. You can take a look at my tools list on this page to see the full list of what I used, but essentially, you’ll need some kind of polymer clay — Sculpey or Cosclay are good for this—sculpting tools, and Acrylic paints to add the finishing touches.
Tin Foil is a Polymer Clay Saver
To start, I took some tin foil and rolled it into a ball slightly smaller than the end result. This is our armature, around which to wrap our clay.
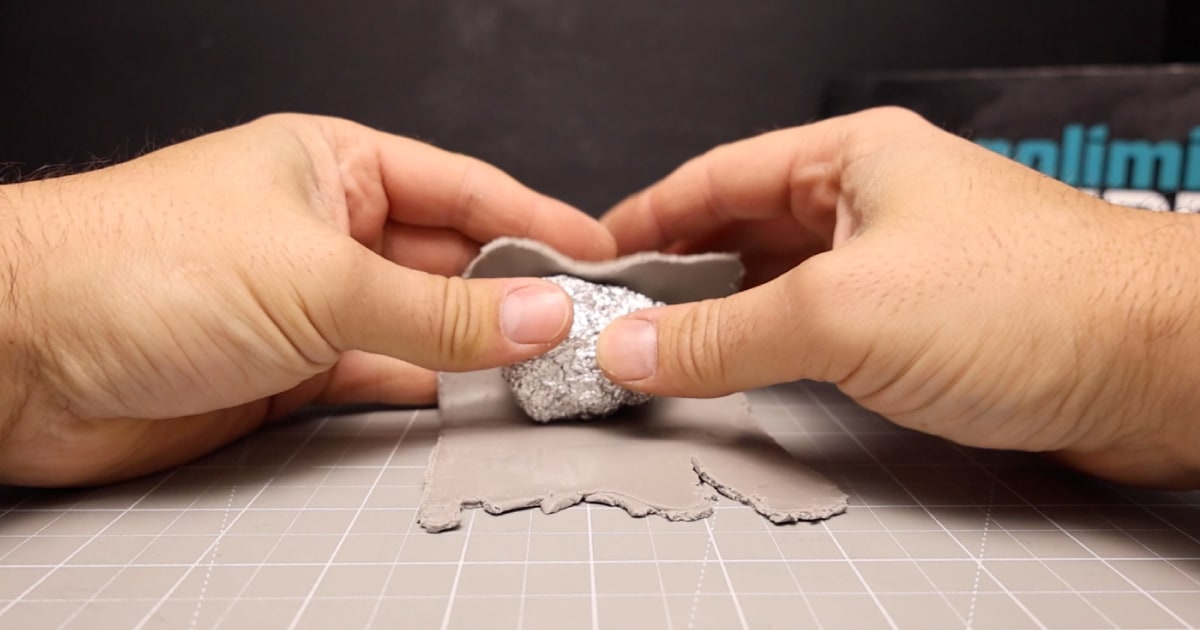
To make it easier to wrap, I conditioned the clay by giving it a good Squidgeroo in my hands before putting it through a Pasta Maker to create clay sheets.
I then wrapped the clay sheets around the tin foil to form a base, rolling and squidging the clay into a head-shaped ball.
Eye Holes,Eyebrows and Wrinkles
With a head-shaped ball of clay in hand, it’s time to use my tool to remove clay and form the holes where I will be placing Bob’s eyes.
After that, I quickly made a base to make it easier to sculpt the head without ruining any of the details I had previously added. I cut 18mm plywood into a square, drilling a hole in the middle to put in a 3mm armature wire to act as a stand to push Bob’s head into.
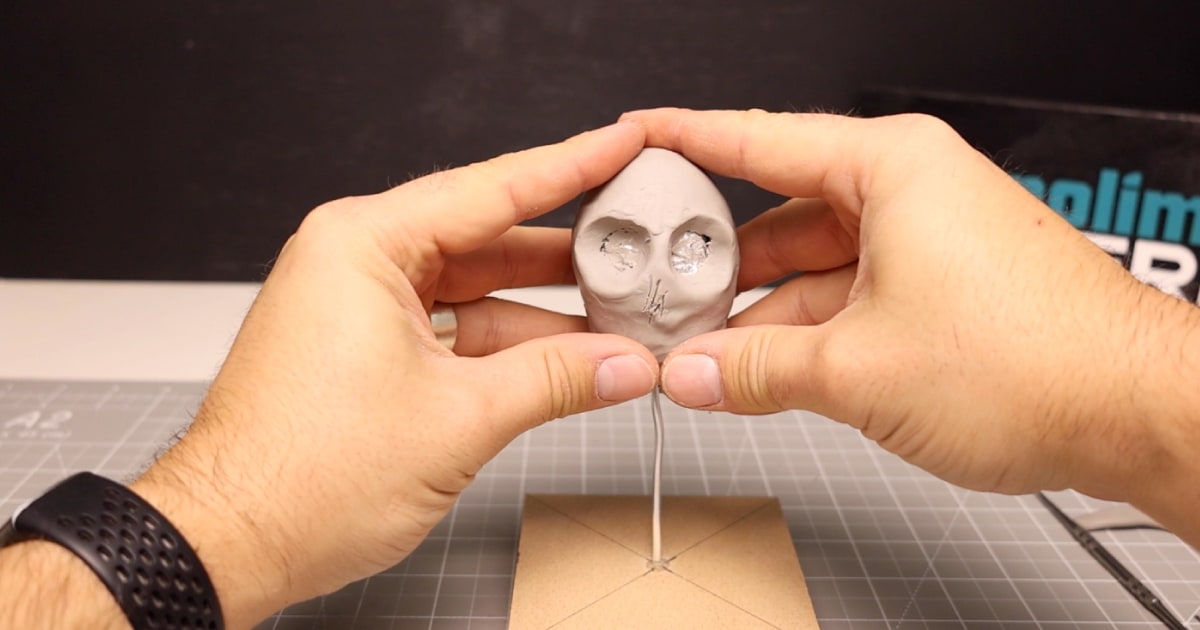
With that done, I created worms of clay to add eyebrows, the wrinkles for the chin, and his lips which will eventually be stitched together.
I squished balls of clay into the shapes of ears and attached them into place.
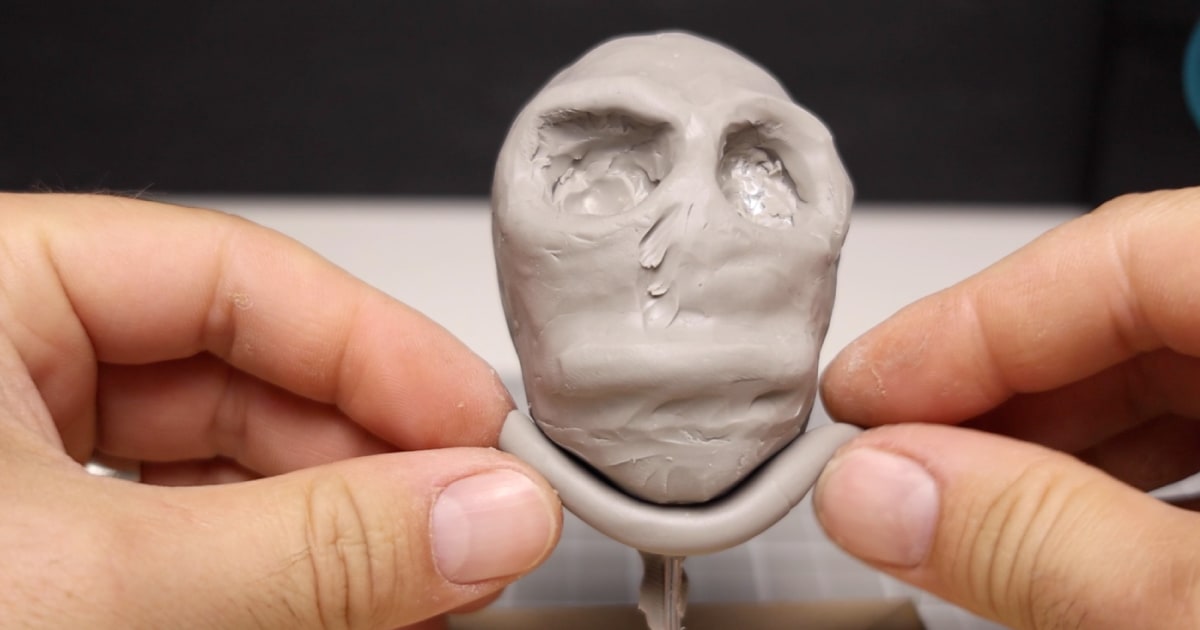
Adding the Finer Facial Features
After I had roughed out the main details, it was time to add the finer details to Bob’s face.
I refined his face by removing and sculpting the clay to give him defined cheekbones and a nose. I also made the wrinkles on his chin more prominent, making his shrunken head feel more prominent.
I then cut small thin strips of clay to create the stitches for his mouth, which I added by making a small stitch hole and overlaying the stitches in places using my reference picture as a guide.
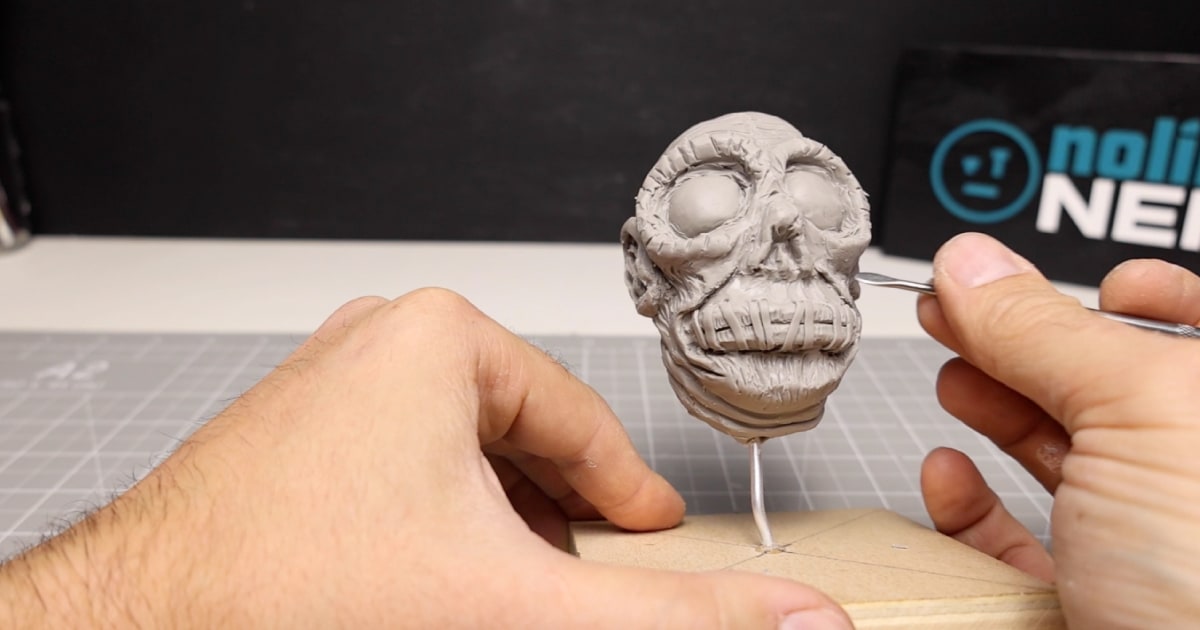
Then, it was time to add his eyes to the eye holes I had made earlier. To do that, you roll up two balls of clay slightly smaller than the size of the hole you’re going to put them in.
Unfortunately, my eye holes weren’t quite deep enough, so I cut my clay eyeballs in two and pressed them firmly into the eye sockets.
This, along with a few finer details, completed Bob’s main facial features. Then it was on to his hair.
Creating Bob’s Iconic Hair
One of the defining features of any shrunken head is the hair. I took a clay sheet and placed it on Bob’s bald head.
I then cut it into shape using my sculpting knife, essentially giving him a bowl cut, an iconic haircut that mums worldwide have used as a quick way to cut their kid’s hair.
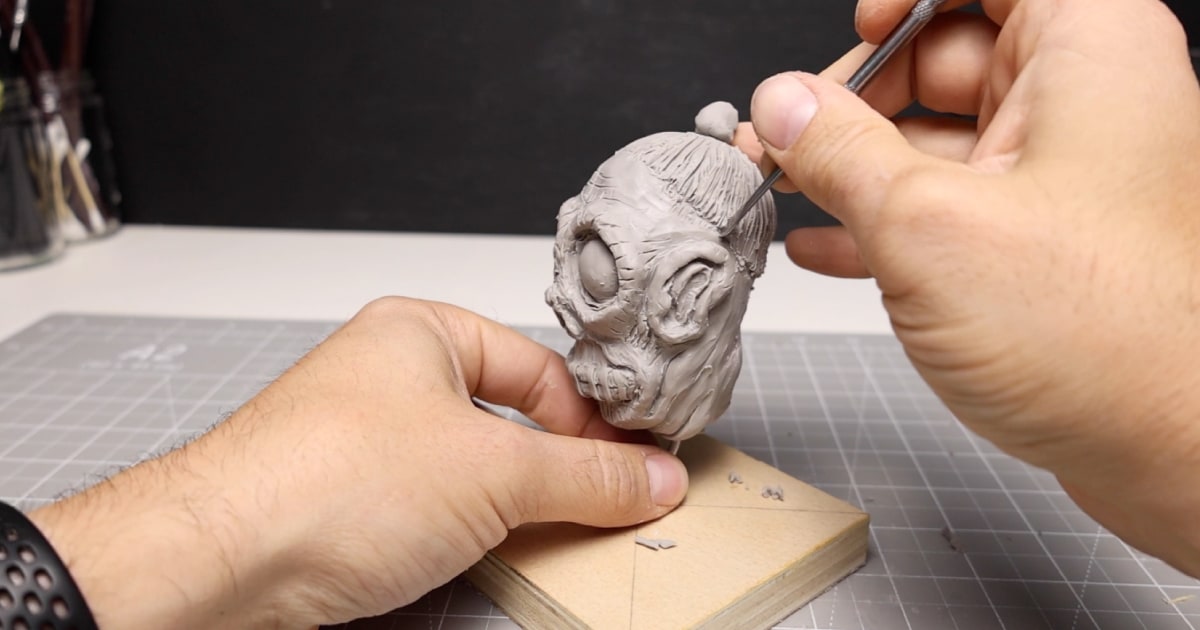
With his bowl cut in place, I added the hair definition by creating lines with my metal sculpting tool.
With the base of his hair done, I then created another sheet of clay to add as the ponytail, using the same sculpting technique to create the hair detail.
At this point, it looked more like a mushroom than hair, but since it had achieved the slightly average look I was going for, I moved on to the next part.
Time to Bake and Add a Magnetic Touch
With the main parts of my clay model created, it was time to bake. I followed the instructions on the Sculpey package, which states to cook at 130C (275F) for 15 minutes per 6mm (1/4 inch) thickness of clay.
As this clay model was about 1cm deep in places, I baked it for around 30 minutes or so, checking it to ensure that it was hard before letting it out of the oven. Be sure to let it cool before handling, as the clay will still be hot for a little while.
When fully baked, the polymer clay becomes hard enough to drill into, which is what I did. I took an 8mm drill and drilled the depth of the magnet into his head.
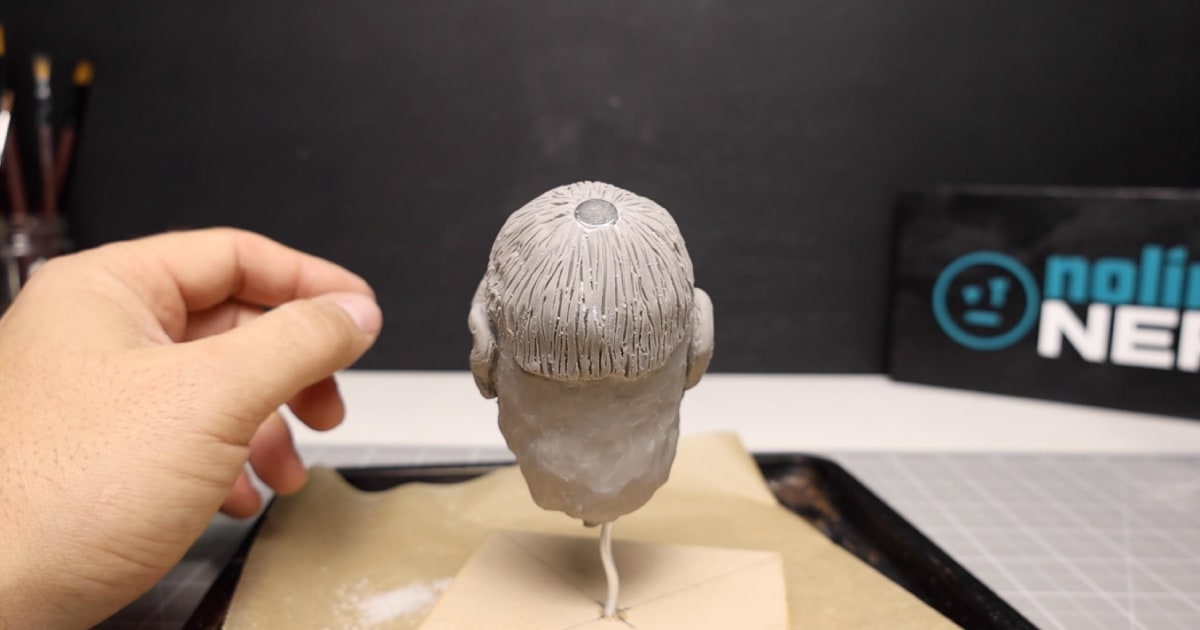
After that, I drilled a hole into the top part of the hair, which failed miserably as the clay crumbled into pieces. To rectify the situation, I made a new hairband piece with the magnet pushed into it while still being soft. I then baked it and glued it to the top mushroom of the hair.
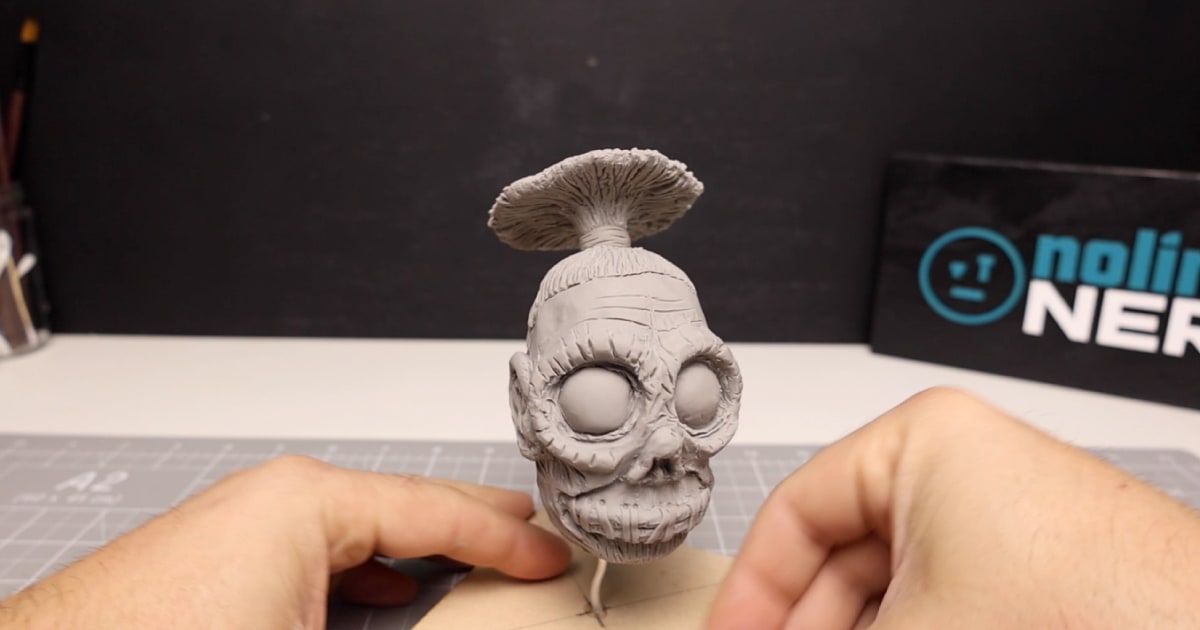
With both magnets now in place, it was time to test. Thankfully, the hair popped on and off easily, working just as it should. Adding a magnet isn’t essential to this build, but it did make it a hell of a lot easier to paint.
Beetlejuice Bob Painting and Finishing Touches
To seal in the clay, I used a watered-down white acrylic and washed it over the whole figure.
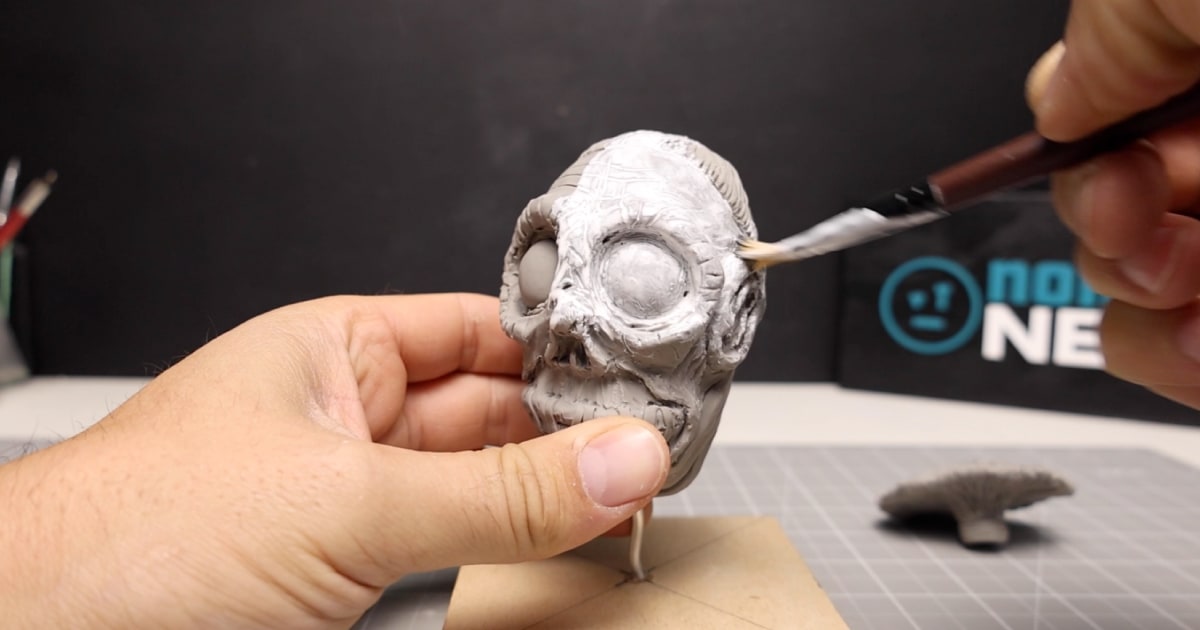
After that, I created a light blue colour by mixing two blues and some white together and washed that over Bob’s face. I then gave him a watered-down black acrylic wash to try and get in the cracks and add some depth to his features.
This I then towelled off using kitchen towel, but a sponge would work just as well, if not better.
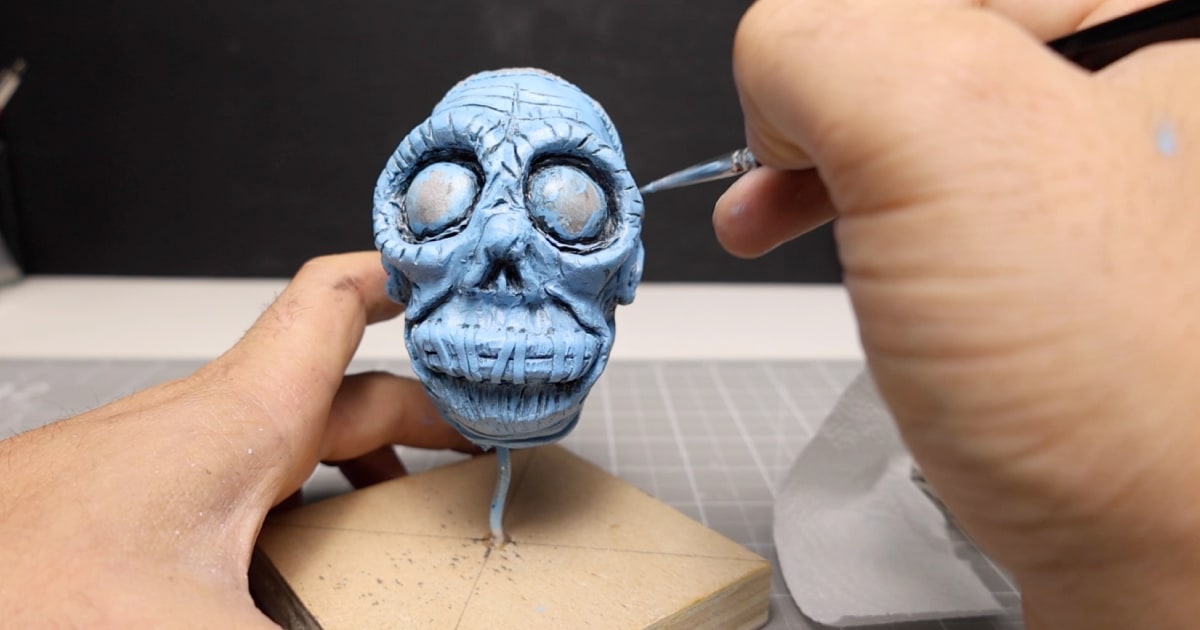
Then, it was time to paint the stitches on Bob’s mouth. To do this, I mixed a light brown leather colour with some black to create a dark brown leather colour. Then, I took one of my finest-tipped brushes at the time and took as much care as I could to avoid getting any on the blue.
After that, I painted the eyeballs with white acrylic before turning my attention to his hair, which I painted black/brown.
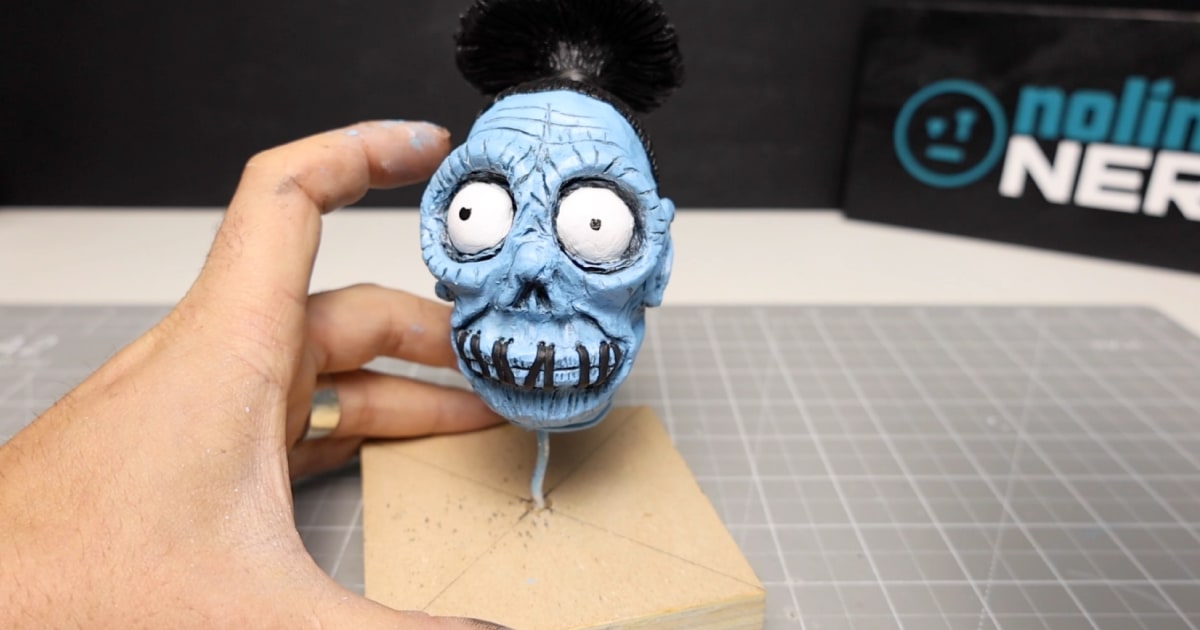
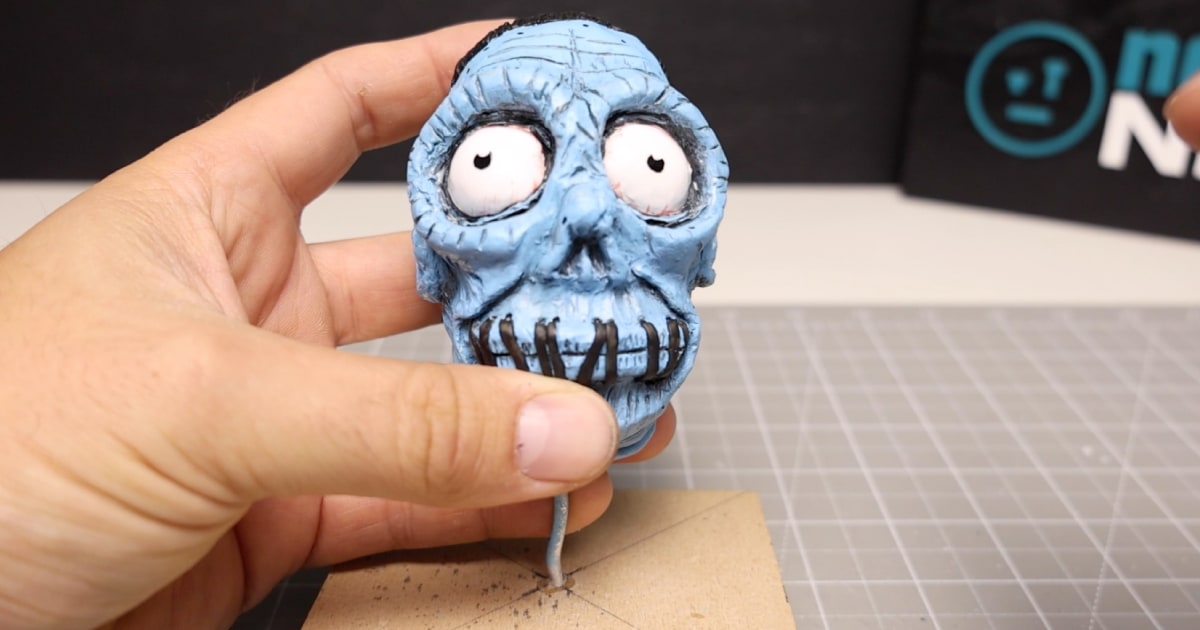
To add the finishing touches, I dry-brushed some white to highlight his face, added the black pupils to his eyes, and added some red touches to the eyeballs for a slight bloodshot effect.
To give his eyes a little more shine, I added a UV-curing resin—too much; a little goes a long way—and put it out in the sun to dry. Of course, a better way would be to buy a UV light that will cure it in seconds rather than minutes.
The Final Reveal
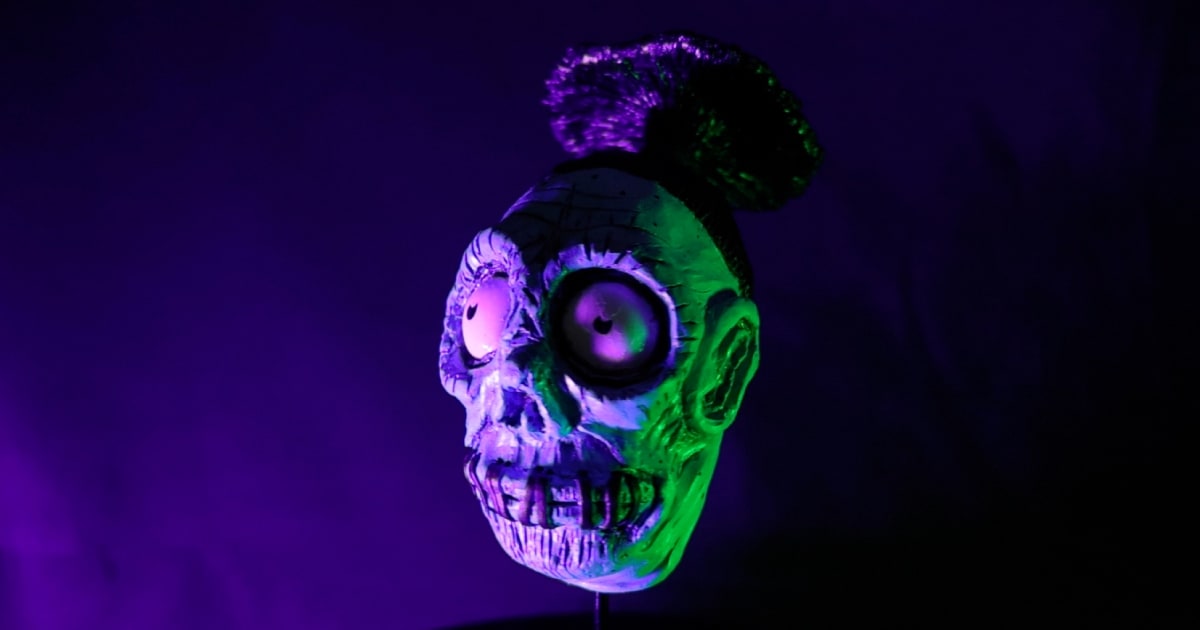
To finalise the sculpture, I sanded down the wooden base and then used a black gloss with a primer and paint in one to spray the armature wire stand and the plywood.
This worked well, and with a little gloss added to the Bob sculpture, it was time to show the final reveal, with a little mood lighting to enhance the effect.
Watch More Videos & Read More Tutorials
I hope you’ve enjoyed my walkthrough on how to create a Bob from Beetlejuice 2. It was fun to create and taught me a few more things from my previous video on making a Lovecraftian-inspired rock Worm.
Don’t forget to check the video and my other videos here on NoLimitNerd.com or on my YouTube channel where you’ll get to see my latest polymer clay creations first.
Please tell your friends, family and strangers to subscribe to help me grow my channel, and like and comment to let me know what you might want to see next.
Tools I Used
Heads up. Some of these links are affiliate links if you click on them and buy something I might make money which will help you support NoLimitNerd at no extra cost to you.
Sculpting Tools
- Super Sculpey
- A2 Cutting Board
- Pasta Maker
- Sculpting Tools
- Modelling Tools
- UV Resin
- UV Light
- Vinyl Gloves
- Armature Wire 3mm
- Super Glue
Painting Equipment
Filming, Audio & Tech
- Cannon EOS R8 Camera
- Cannon RF 50mm Camera Lens
- Lexar 128GB SD Card
- Softbox Lighting with Diffuser
- Camera Tripod Ball Head
- NEEWER Led Lights
- Fifine Microphone (USB)
- Rotating Display Turntable
- Black Backdrop Cloth
- Microphone Arm – for Overhead Camera
