How To Make Your Own Yeti Figurine Bobblehead Tutorial
Ready to get creative with a fun and unique project? In this step-by-step guide, you’ll learn how to make an adorable Yeti bobblehead figurine using polymer clay. Whether you’re new to crafting or an experienced artist, this project is a perfect way to create something playful and eye-catching.
This project is a fun way to create a unique collectable perfect for your desk, shelf, or even as a gift. With its playful design and bouncy head, this Yeti will surely bring a smile to anyone’s face.
Let’s dive into the process and bring your mythical masterpiece to life!
Getting Setup To Sculpt Your Yeti Figurine
This Yeti figure comes straight out of my head, so unlike most of my other clay videos and tutorials, where I gather many reference pictures from around the tinterwebs, I combined my own knowledge and ideas to create my Yeti figurine.
As this is my first bobblehead figure, however, I watched a few videos on how the spring is attached to the body and the head to ensure I don’t have to do too much trial and error testing. Inevitably, if you’ve read any of my other How-To Tutorials, you know I still will.
With the research complete, I cleaned my workspace to remove dust and dirt. Then, I made sure my tools were clean and started prepping my clay.
I’m using Cosclay to sculpt this figure, so to condition it, I cut a piece off the original block, squished it in my hands to make it all one piece and then flattened it enough to put through my Pasta Maker. A few passes through the Pasta Maker, and the clay is soft enough to work with.
With everything ready, it was time to set up my camera and start filming how to make a Yeti bobblehead.
Building My Yeti Figure Body with Arms & Legs
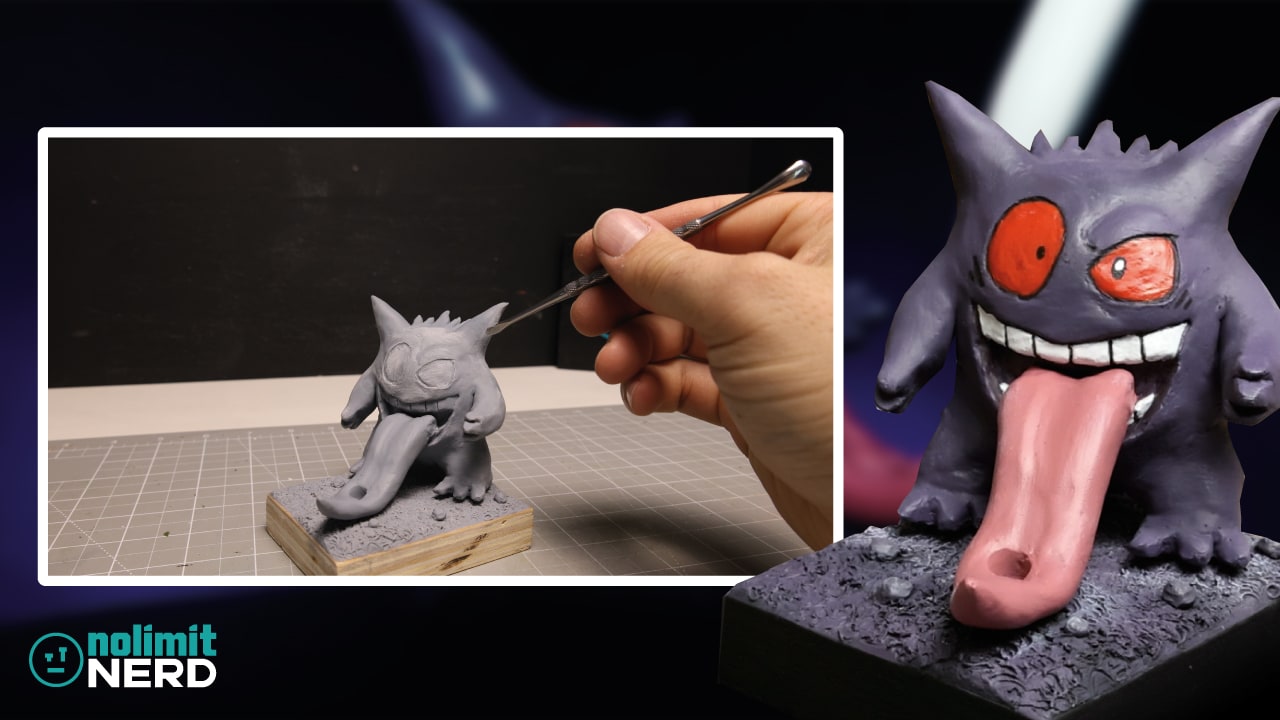
Much like most of my other clay figures that need to be bulked out a little, like my Gengar figure, I started by scrunching up some tin foil to use as a filler from the main body, which helps to reduce the amount of clay you need to use saving you some cash.
I then covered the tin foil ball with a layer of Cosclay, blending the joins together using my sculpting tool to form a complete ball. I then pulled out a little clay to form a small pointy shaft at the top.
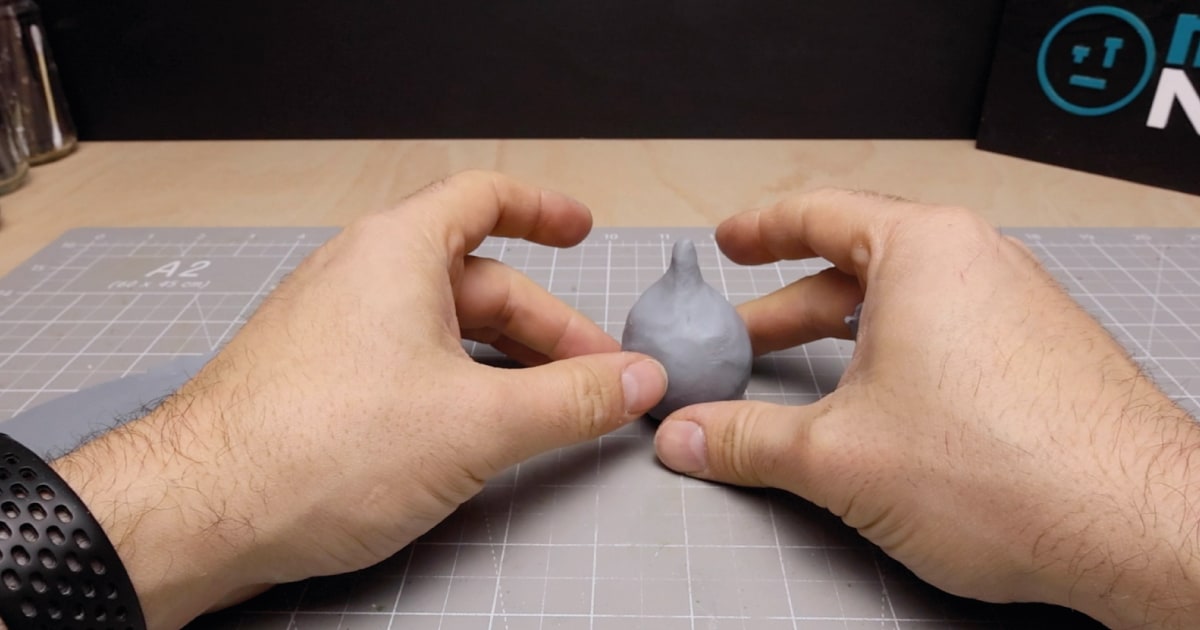
After making the main body, I rolled out a small, thick sausage of clay. Using my knife, I chopped this into two before adding them to the bottom of the body to form the Yetis legs.
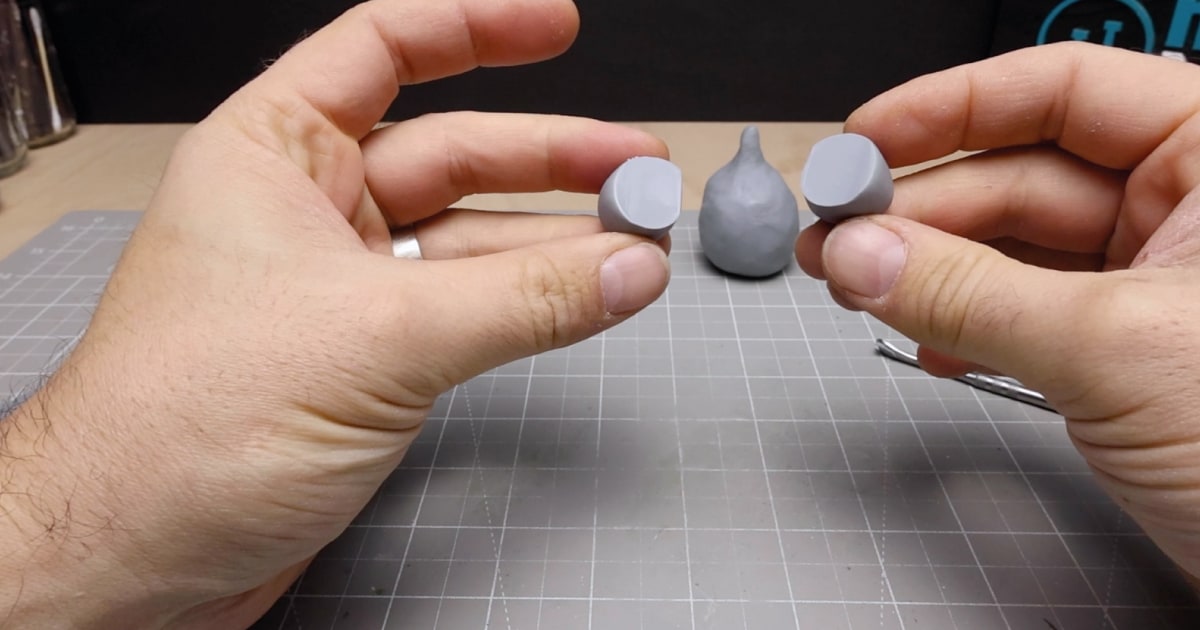
After I blended the legs into place, I rolled out two balls of clay of the same size, which I quickly rolled out into slightly longer and thinner sausages than I did for the legs.
These two clay sausages were then squidgerooed into place on either side of the body to form the arms of my figure.
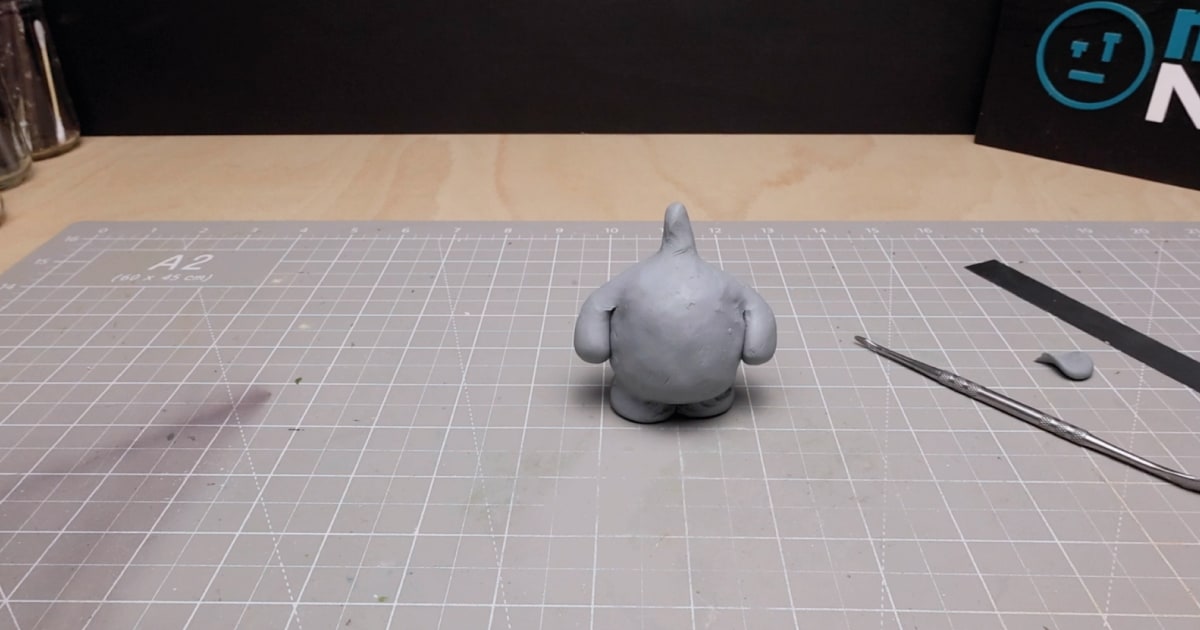
Creating My Oversized Yeti Head
If you’ve ever seen a bobblehead figure wobble and bobble around, you might have noticed that their heads are slightly out of proportion and bigger than usual.
And that is what I wanted for this Yeti figure. To ensure I had room for the head to sit on the body and the metal spring to be added later on I started by finding something to use as a holder for the head.
I chose to use a wine bottle cork which proved to be about the right size. As I was using the cork as a temporary support for the head I didn’t need to create a tin foil ball this time around. I simply wrapped a large lump of clay around the top of the cork and shaped it into a head shape.
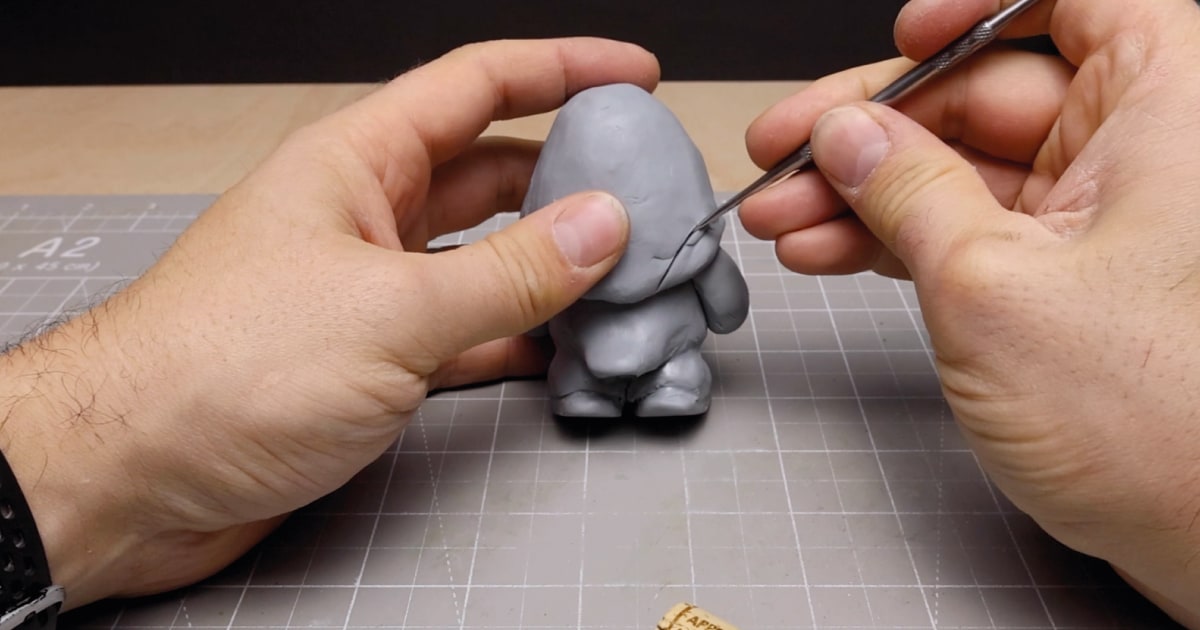
With the rough head shape in place, I removed the cork from the head and test fitted it to the body. Then with my knife I removed excess clay from around the sides over the arms to give room for the head to wobble and bobble when the spring is added.
I also had to remove some excess clay from the front and back of the body to ensure that the head fitted without hitting.
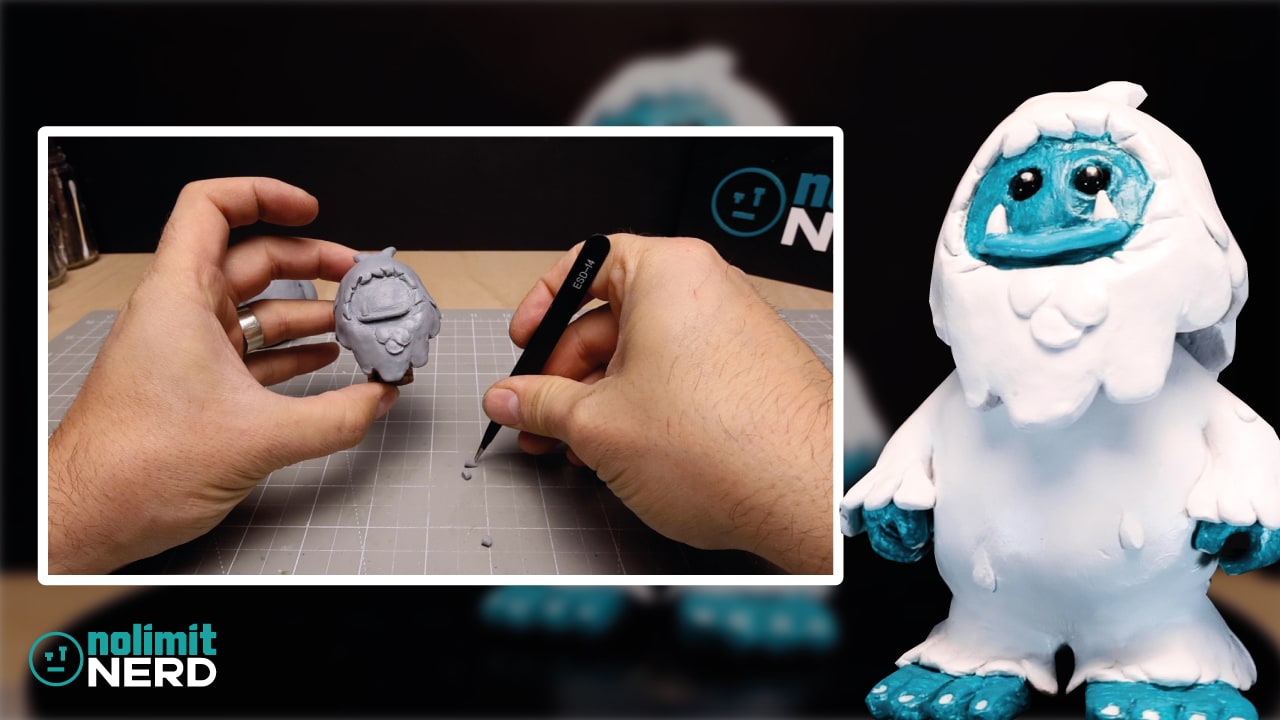
With the rough head shape created, I then moved on to fine-tuning it, adding stylized hair-like bits to the front and back edges before cutting out and smoothing out a section of his face.
With his face area created, I carved out some bits of clay to form the hair around the face, added a few extra bits of clay to the front of the head and around th edges to make it look like stylized hair.
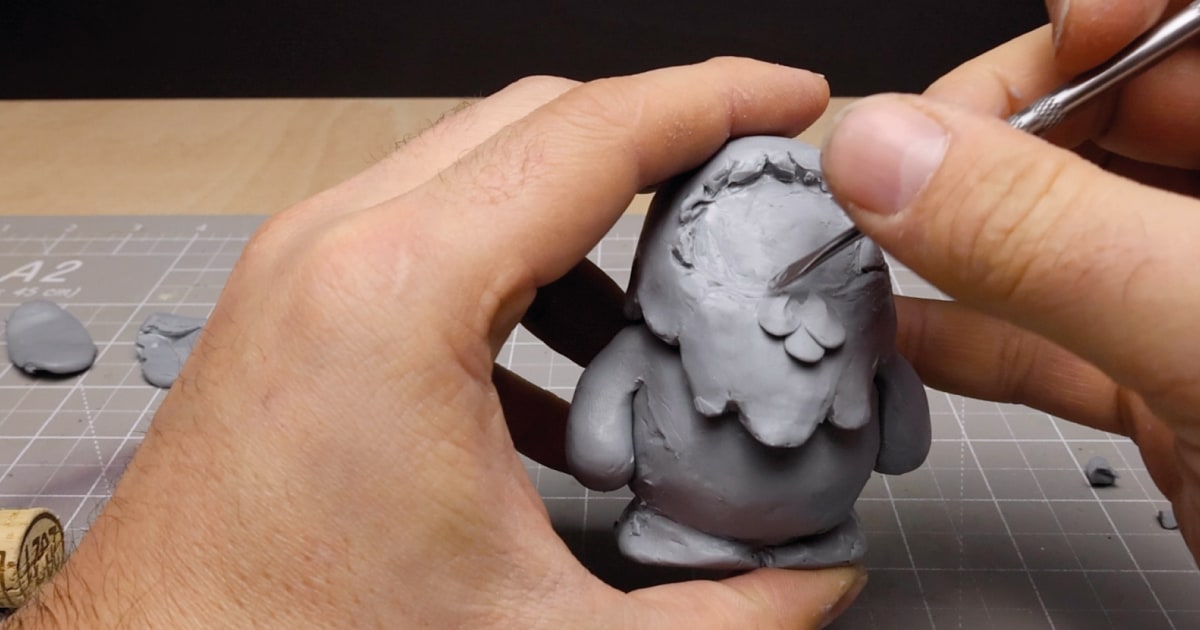
I then added a few bits of clay to the top as pointy hair strands.
Adding His Facial Features
With the head and body almost complete, I added finer details to my Yeti bobblehead, starting with his facial features.
I rolled up a long, thin worm of clay and added it to his face, blending it in to use as his bottom lip.
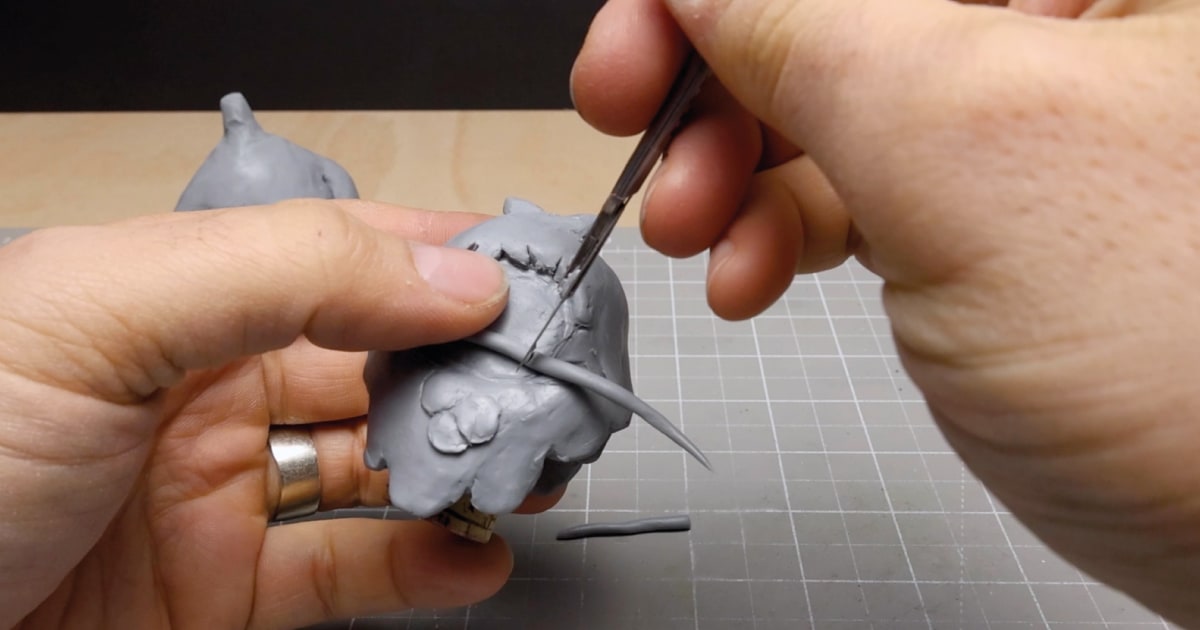
With the bottom lip in place, I then sorted through some of my pre-baked teeth I had made left over from other projects like my Lovecraftian Horror Worm and Alien Fish Fusion.
Once I had found ones I thought might fit, I cut them to size and added them to either end of his lip.
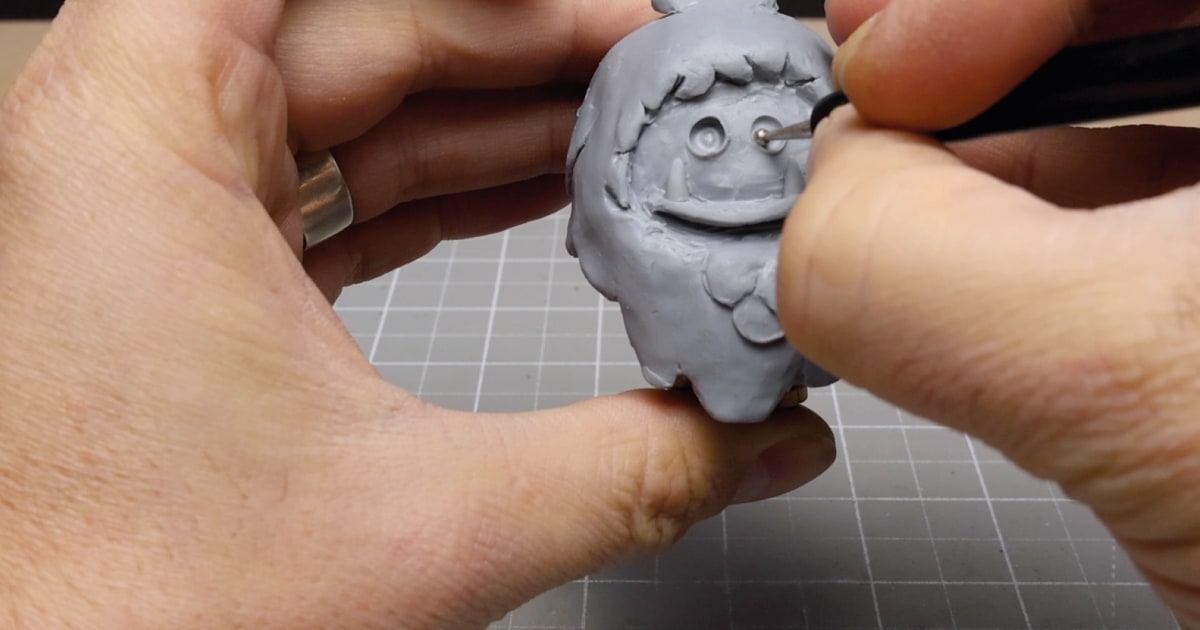
With his lip and teeth in place, I used my ball stylus to hollow out two holes above the lip to place his eyes. I then rolled up two small balls of clay for the eyeballs and added them in place.
The head was now complete, and I moved on to adding the finer details to his body.
Adding Hair & Feet To The Yeti
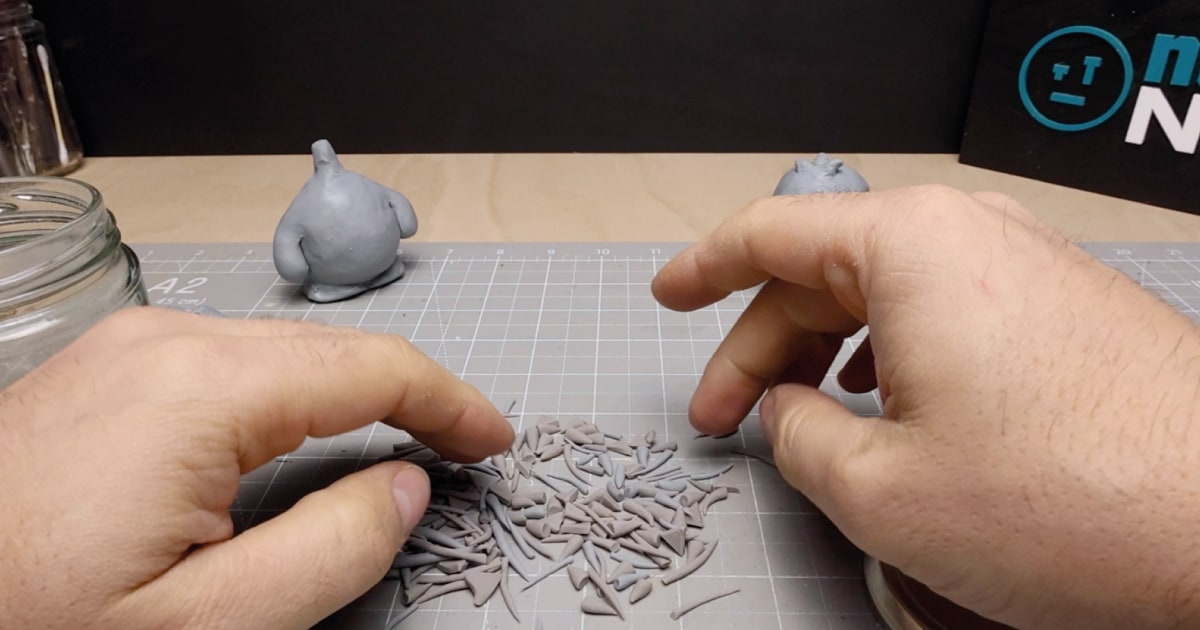
To make my Yeti figure a little more unique, I added some weird little hair bits around the ends of his arms and legs. I made lots of these small hair bits by squidging off the end of a larger bit of clay between my fingers to form tear drop-type shapes.
I then added these into place before moving on to his fingers. For the fingers, I had learnt my lesson from my previous sculptures, opting to roll out a thin worm of clay and cut it to finger sizes before adding them to his hands.
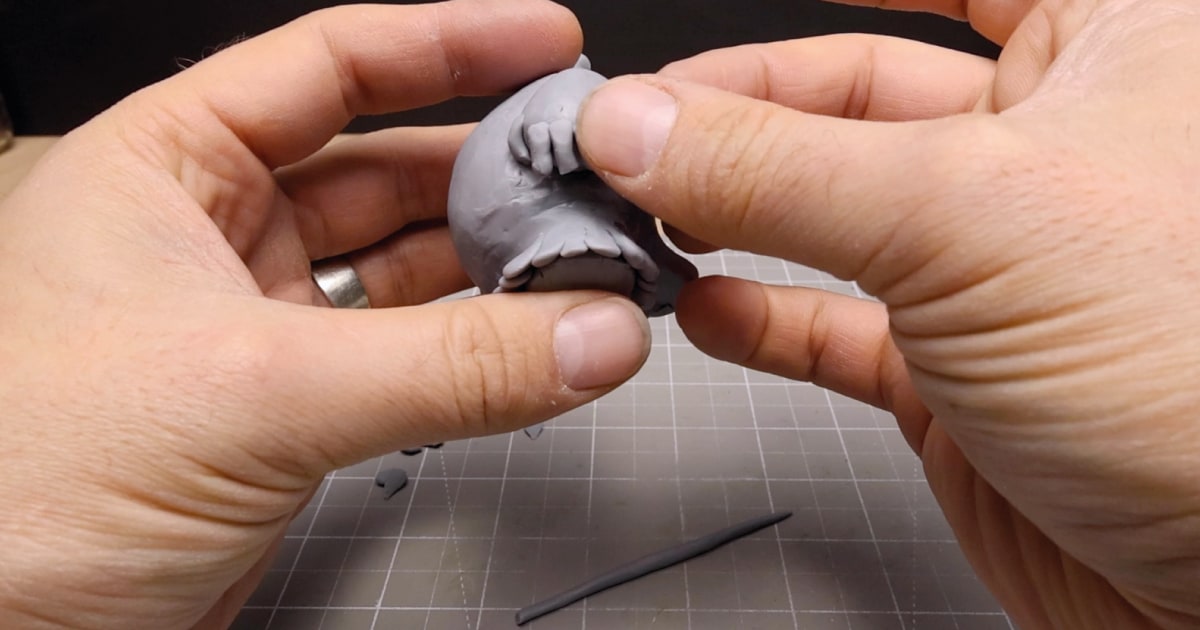
I then blended these small worms into the hands and carved out the end of the arm to make it form more of a hand shape. I repeated this step for the other hand before moving on to his feet.
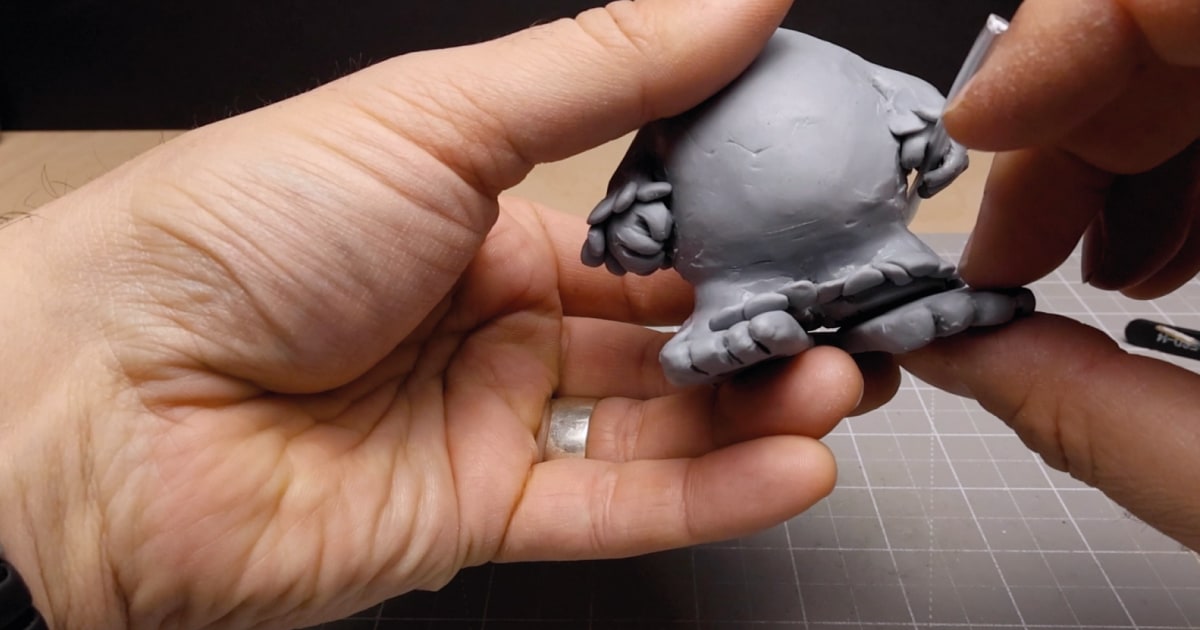
For my Yeti feet, I rolled out two balls of clay, squished them down, and formed them into flat feet-like shapes, sturdy enough to hold up this Yeti without any extra supports.
I then cut slits into the end of the clay and shaped the toes to finish off the feet before adding them to the bottom of the legs.
Time To Bake My Cosclay Figure
With the body and head now complete, it was time to bake the clay. As usual, I urge you to follow the instructions on the packet of Polymer Clay if you are using oven-cured clay to ensure you end up with a figure that’s not too brittle or underbaked.
In this case, I used the following instructions: The Cosclay packet recommends 30 minutes in a 130C (275F) oven for every 1/4 inch (6mm) thickness of clay.
For this figure, it turned out to be about an hour and a half of bake time due to the chunkiness of his legs.
Top Tip: Before baking, use some isopropanol alcohol applied with a brush to smooth out the clay, removing any fingerprints and sculpting marks.
While it was baking, I decided to try my hand at making some DIY springs.
How To Make a DIY Spring for a Bobblehead Figure
Not having any springs to hand, I decided to test my skills in making my own spring. I first used some 1mm armature wire, wrapping it tightly around one of my sculpting tools.
I started by wrapping the wire close together before moving out diagonally, ensuring to keep a constant gap between the wire before wrapping it off at the same time as th beginning with parallel close wraps of wire.
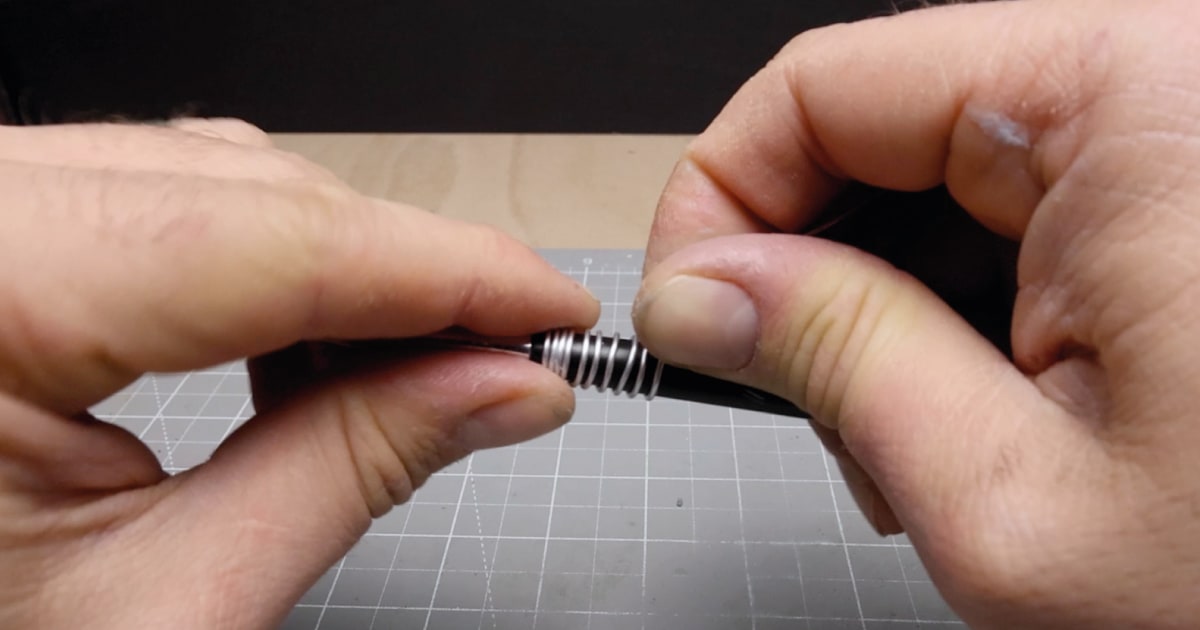
This gave me a good starting point; however, the armature wire proved to be too soft and malleable to act like a spring, simply deforming underweight.
I then searched through my drawers for some thin metal wire, and luckily enough, I found some wrapped around a piece of wood. I’m not sure what it was from, but hey, it would do.
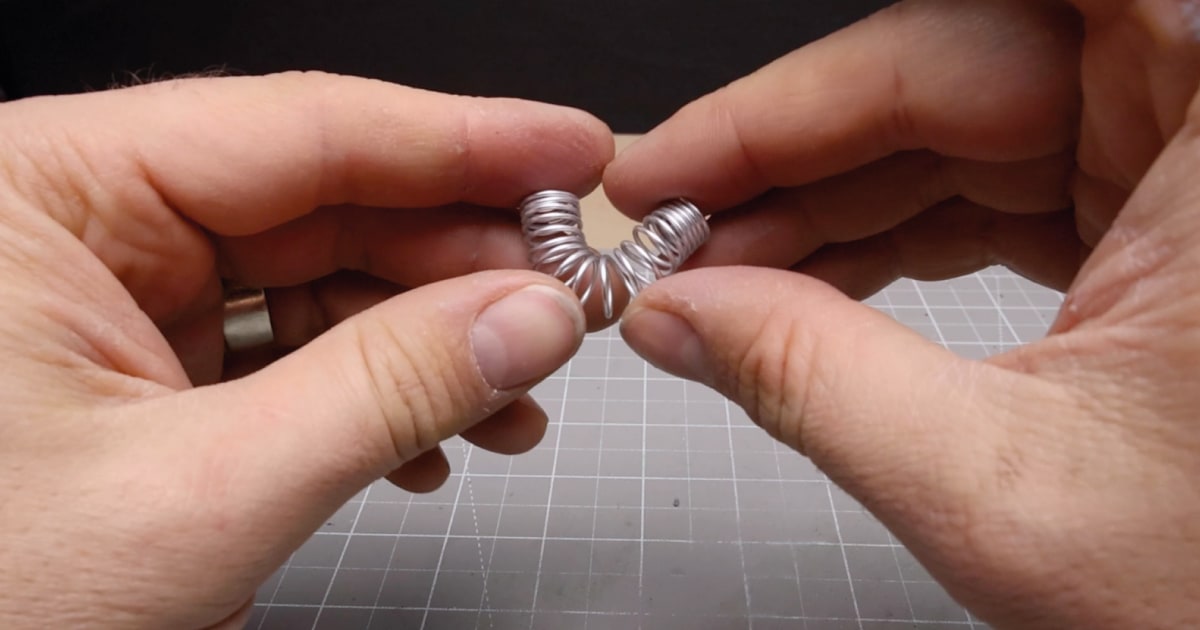
Following the same process as my first attempt, I made a successful spring. I didn’t know what size I needed to make, so I made a few. The shorter spring held up better under the weight and still had a decent wobble factor.
Time To Paint My Yeti
My Yeti was now baked and ready for painting.
I started by giving it a quick base coat of thinned-down white acrylic using my airbrush, which gave me a good base coat on which to apply the other colours.
Luckily, most of my Yeti is going to be white, so I added a non-thinned-down layer of white acrylic over the body and head before moving on to the colourful details of my figure.
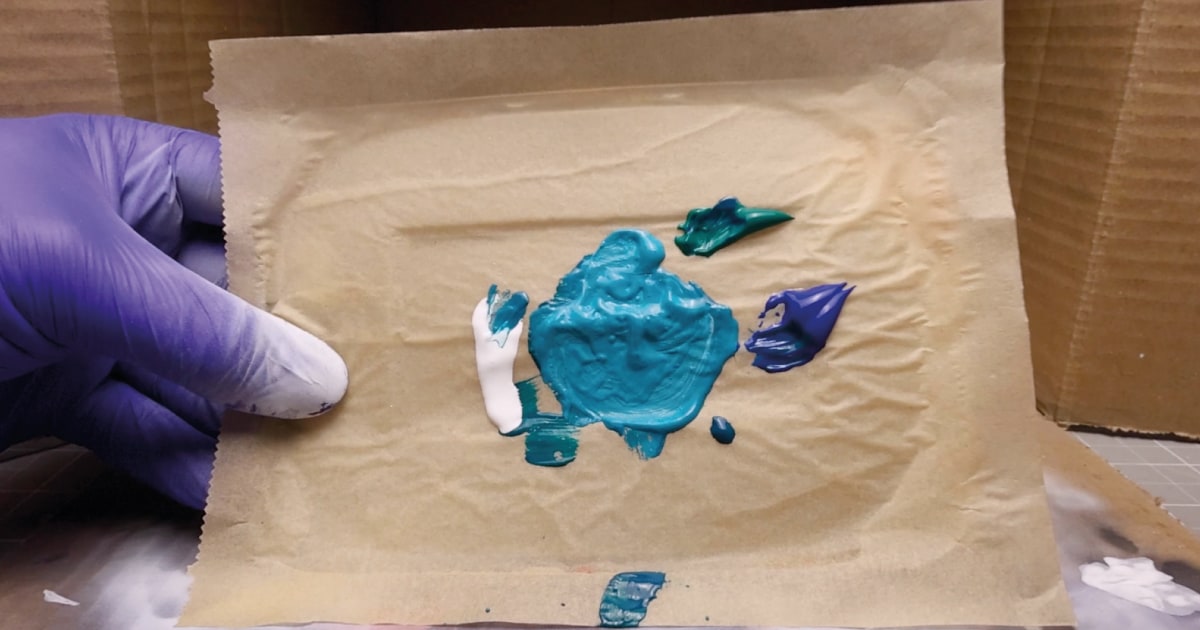
To match the colours of NoLimitNerd, I mixed together Phthalocyanine Blue and Phthalocyanine Emerald to create a greeny blue colour. To lighten it up, I then mixed in some white acrylic to create the final colour, which will be used for the feet, hands, and face of my Yeti.
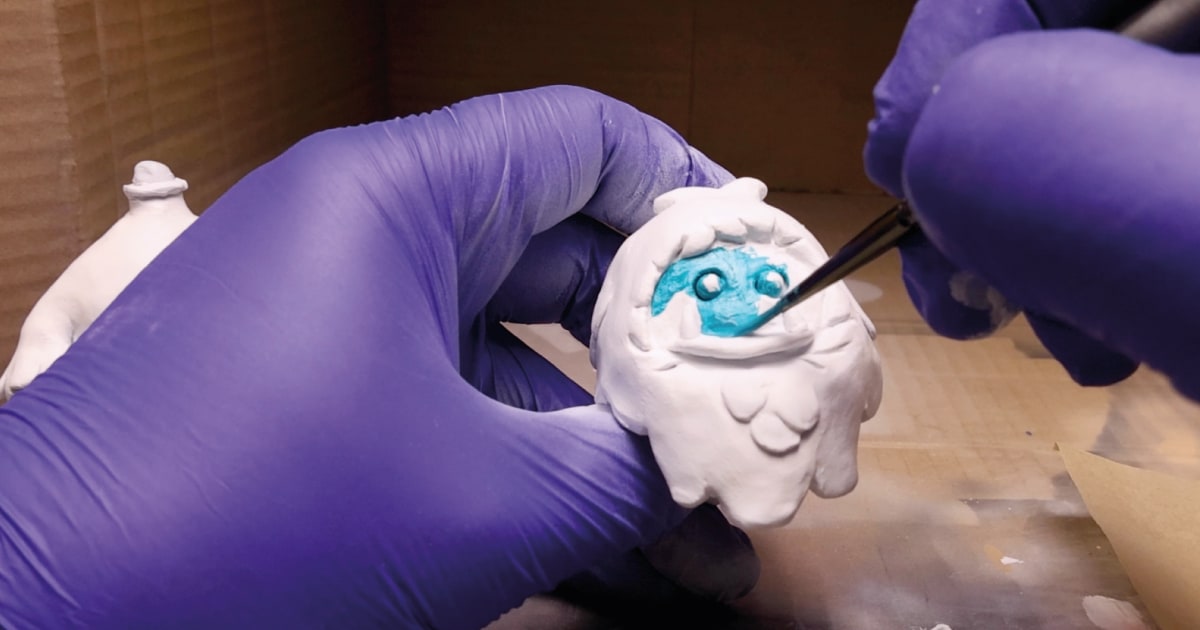
With a small, fine-tipped brush, I then applied my newly created colour to the head and other bits before adding some black acrylic for the eyes and white acrylic for the fingers and toenails.
Now that everything is painted, I gave it all a quick airbrush with acrylic vinyl gloss to protect the paint and make it shine.
Assembly & Finishing Touches: Adding The Bobble to My Bobblehead Yeti
With the figure painted, it was time to add the spring and give my Yeti some wobble.
I hot-glued the spring into position on the body, making sure it had cooled before adding a layer of hot glue to the top of the spring. I then squished the head into position on top of the body and spring before the top layer of hot glue had cooled.
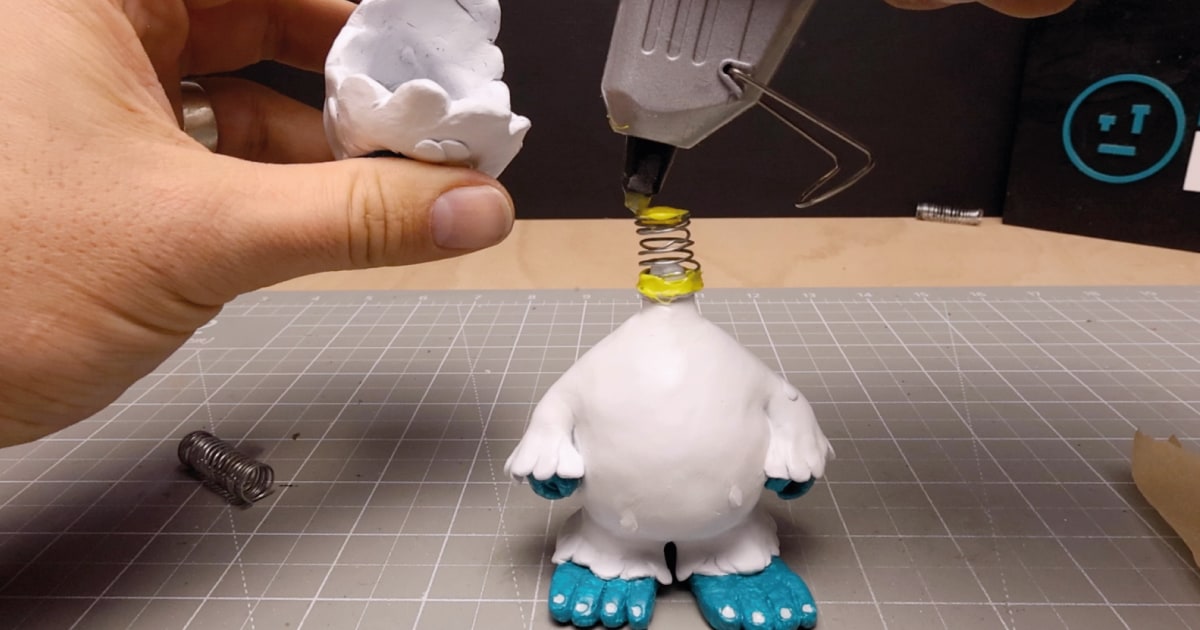
This turned out to be a good way to attach the head to the body with the spring, and with everything now put together, it was time to test and reveal.
Final Reveal
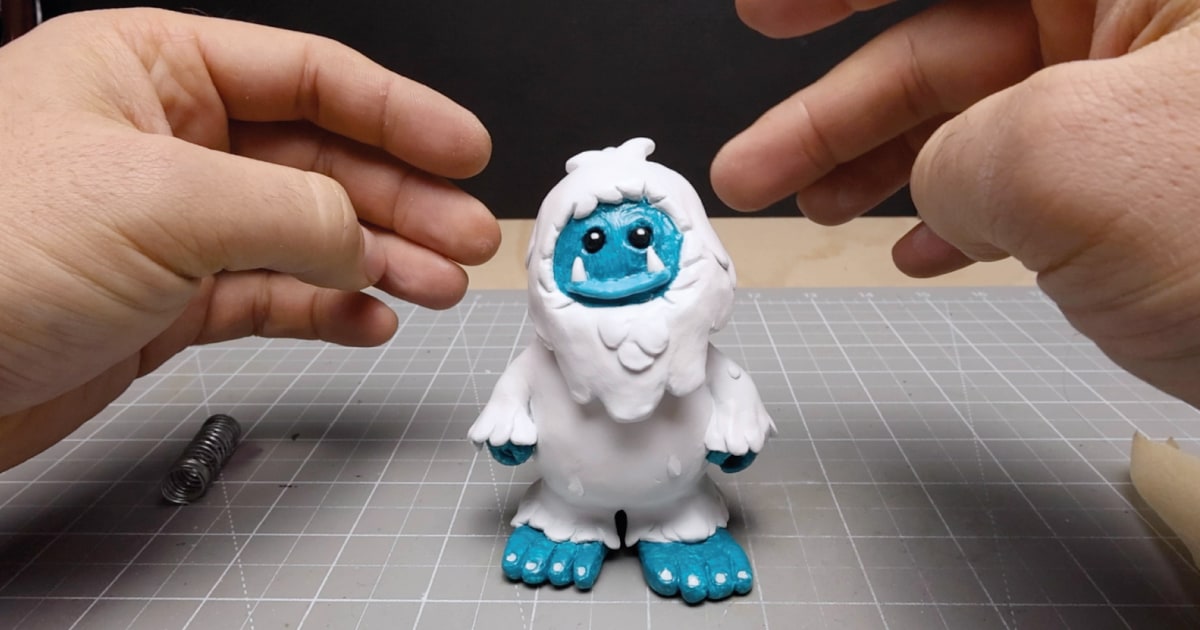
Finally, after a few hours of work, it was time to test that my custom DIY bobblehead actually did what it was supposed to. I gave it a quick flick with my finger, and low and behold, it wobbled.
It wasn’t quite the wobble I was expecting, but that could be due to the homemade spring, which was quite short. A wider and longer spring would fix that issue in future builds.
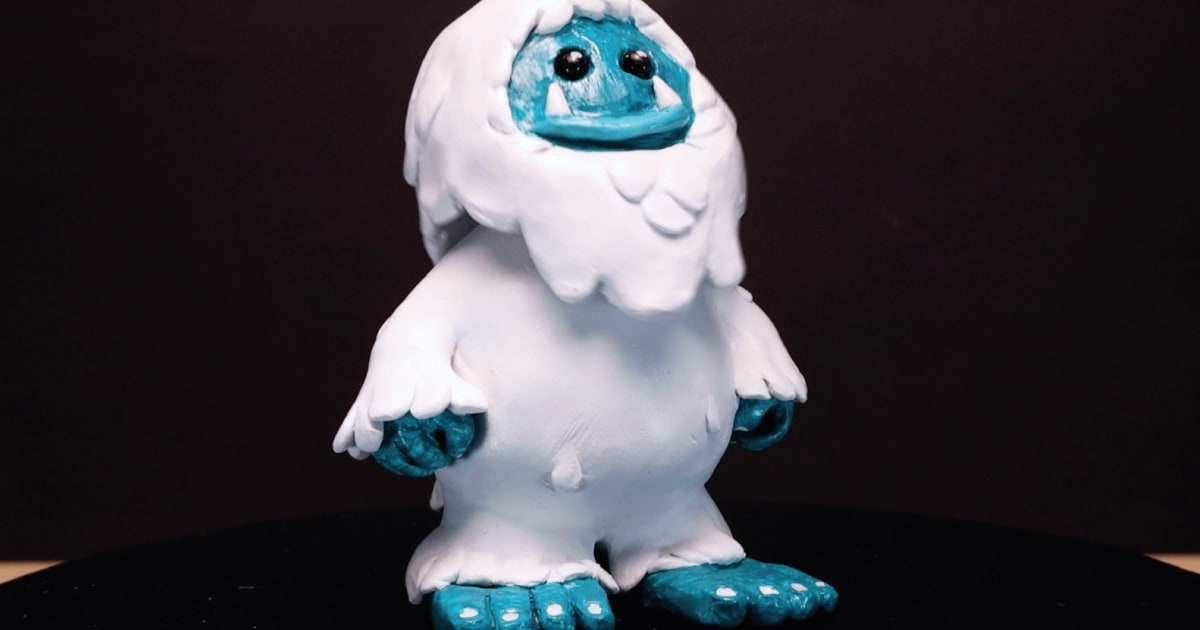
A simple yet satisfying sculpting project that anyone can enjoy.
Let me know what you think, and share your creations in the comments via the video on my YouTube channel. It’s the quickest and easiest way to get in touch, plus I’ll be more likely to reply.
Don’t forget to read through my other tutorials and subscribe to my YouTube channel to watch my latest videos before the full write-up is on NoLimitNerd.com.
Tools I Used
Heads up. Some of these links are affiliate links if you click on them and buy something I might make money which will help you support NoLimitNerd at no extra cost to you.
Sculpting Tools
- CosClay
- A2 Cutting Board
- Pasta Maker
- Sculpting Tools
- Modelling Tools
- UV Resin
- UV Light
- Vinyl Gloves
- Armature Wire 1mm
- Armature Wire 3mm
- Super Glue
Painting Equipment
- Paint Brushes
- Acrylic Paints
- Valejo Airbrush Thinner
- Air Brush Kit
- Air Brush Cleaner
- Gas Mask
- Acrylic Gloss Varnish
Filming, Audio & Tech
- Cannon EOS R8 Camera
- Cannon RF 50mm Camera Lens
- Lexar 128GB SD Card
- Softbox Lighting with Diffuser
- Camera Tripod Ball Head
- NEEWER Led Lights
- Fifine Microphone (USB)
- Rotating Display Turntable
- Black Backdrop Cloth
- Microphone Arm – for Overhead Camera
