How to Make a Pumpkin Patch Diorama: A Spoooky, Cute Halloween Craft!
Halloween is just around the corner, and what better way to get into the spooky spirit than with a fun DIY craft project? This pumpkin patch diorama is the perfect blend of eerie and adorable, making it a standout addition to your holiday decorations.
Whether you’re looking to unleash your creativity, craft something unique, or simply embrace the Halloween vibes, this step-by-step guide will help you create a charming display that’s sure to impress. Let’s grab our supplies and get crafting—your spooky-cute pumpkin patch awaits!
If you’ve watched the video, I might have mentioned that this is the scariest pumpkin patch you’ve ever seen. It might not be that, but it’s certainly a little different from the norm and looks good with any Halloween decor.
Research, Clay Prep, and Tools
Before I start any project, I dive into the depths of the internet and do a little research on what to create next. Unfortunately, I don’t like jumping on recent trends and trying to do my own thing for my YouTube channel, which is perhaps why my videos don’t get as many views as I’d like.
With that in mind and Halloween coming up, it was time to find something Halloweeny to create. I stumbled upon a vegetable patch diorama and thought, “Let’s try something like it, but with a bunch of scary-faced Pumpkins.”
I then printed off a few pumpkin photos for reference and started to prep my workarea.
Prepping typically means getting rid of all the sawdust and dirt from my worktop, as anything on there will stick to the clay and potentially ruin your sculpture.
With the workplace prepped, I cleaned my sculpting tools, and paintbrushes, and then it was time to condition the clay. I cut up smaller chunks from the big block and rolled them in my hands, which can be a bit of a workout at times.
Then, I typically run them through the pasta maker at the thickest setting to create flat sheets that are easier to wrap around any tin foil.
With my research done, my work area cleaned, and the clay conditioned, it was time to set up my camera for filming and start sculpting.
Creating the Pumpkins
With seven pumpkins to create, I started with the largest one. I created a ball of tin foil, wrapped it in Sculpey clay, and rolled it into a ball.
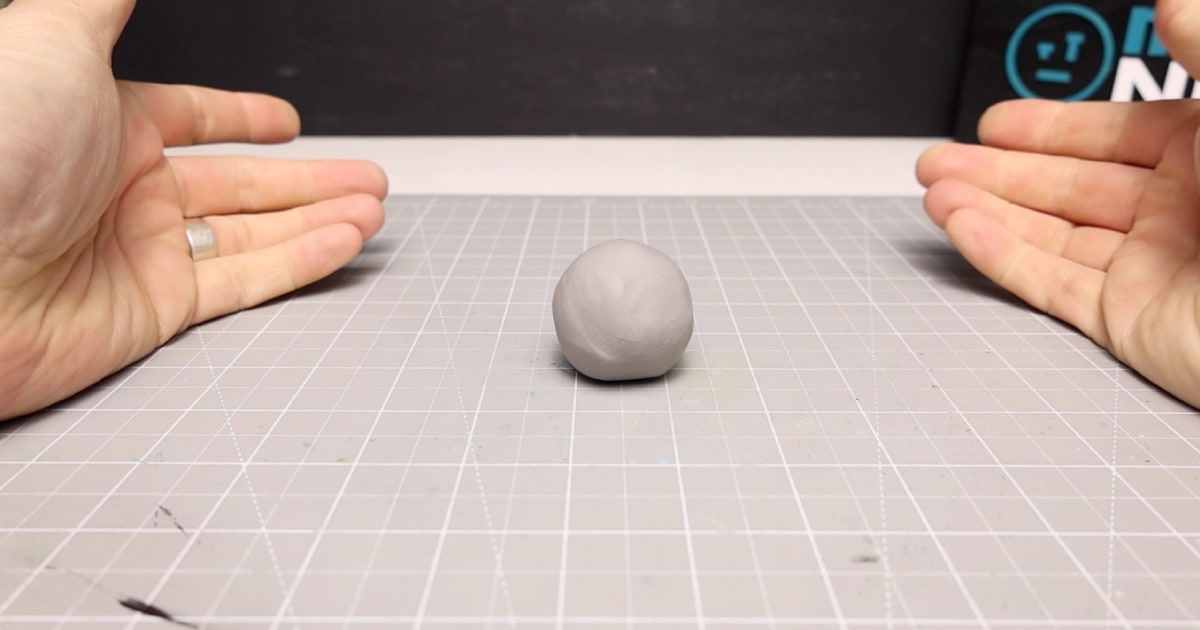
Then, using my meetal sculpting tool, I added the definitions to the outside of the pumpkin, making lines about 1 or 2mm deep before squidging together a top where the pumpkin attaches to the vine.
With the basic pumpkin shape created, it was time to move on to the details.
Adding the Details to Terrorkin
I carved out a mouth into the side of the pumpkin, which originally exposed the tin foil ball below, which I quickly covered up with a thin sheet of clay.
I then rolled up some clay into the shape of a pointy tongue, and added it into the mouth.
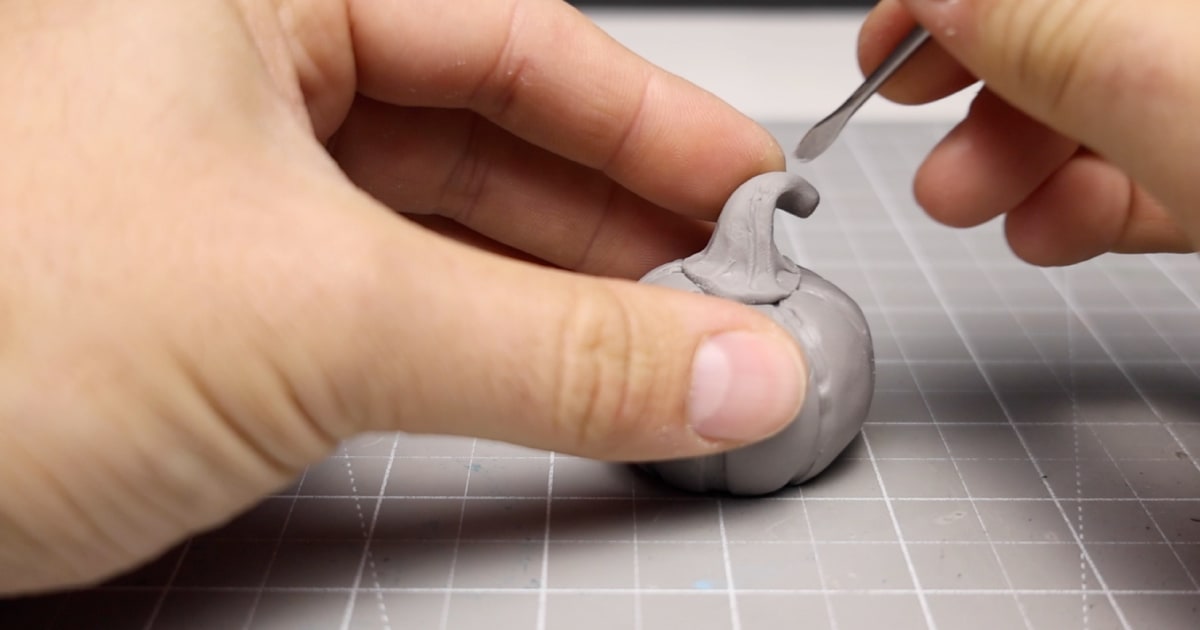
With the tongue added, I moved on to making the teeth. To do that, I rolled out a long, thin clay sausage and rolled one end to a sharp point. I then cut them to the right length and repeated them about 50 more times.
I then learned my lesson from creating the teeth for the Lovecraftian Rock Worm Sculpture. I did and quickly popped them in the oven to harden.
While they were baking, I cut out a smaller hole in the side of the pumpkin and added some small clay worms to act like tendons. To give the pumpkin more of a dishevelled look, I then stippled the surface of the pumpkin.
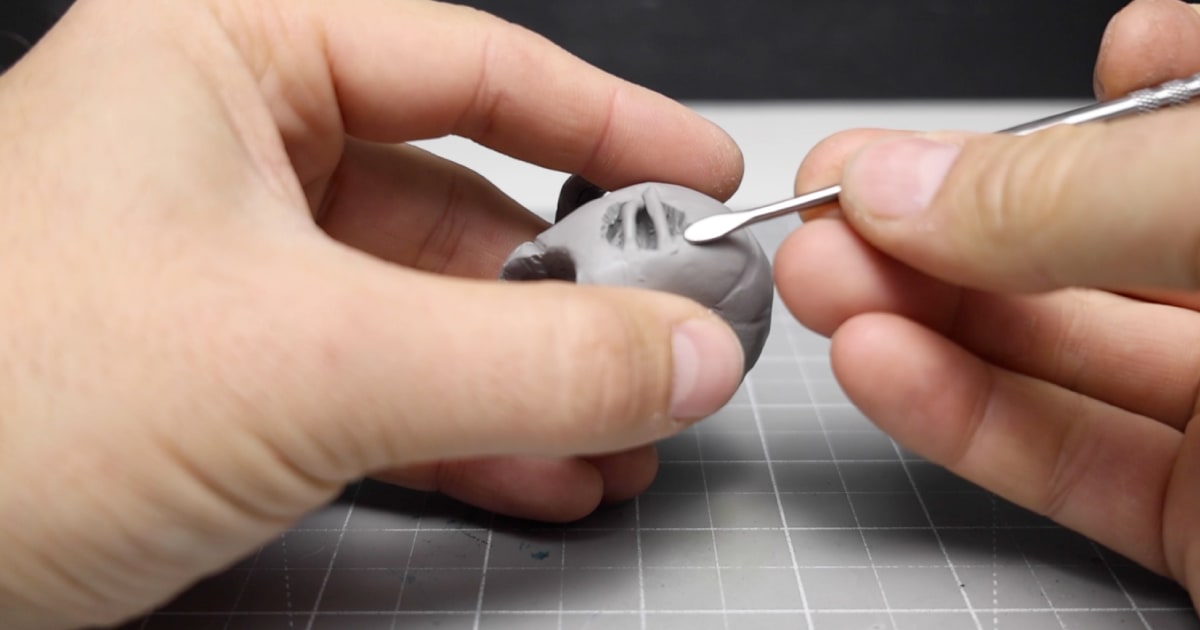
I then moved onto the other smaller pumpkins while the teeth were cooking.
The Scary Pumpkin Patch Kids
With the largest pumpkin almost complete, I repeated the same process for the remaining six smaller pumpkins.
To save on clay, I still used a tin foil centre and made the lines and the stems in the same way.
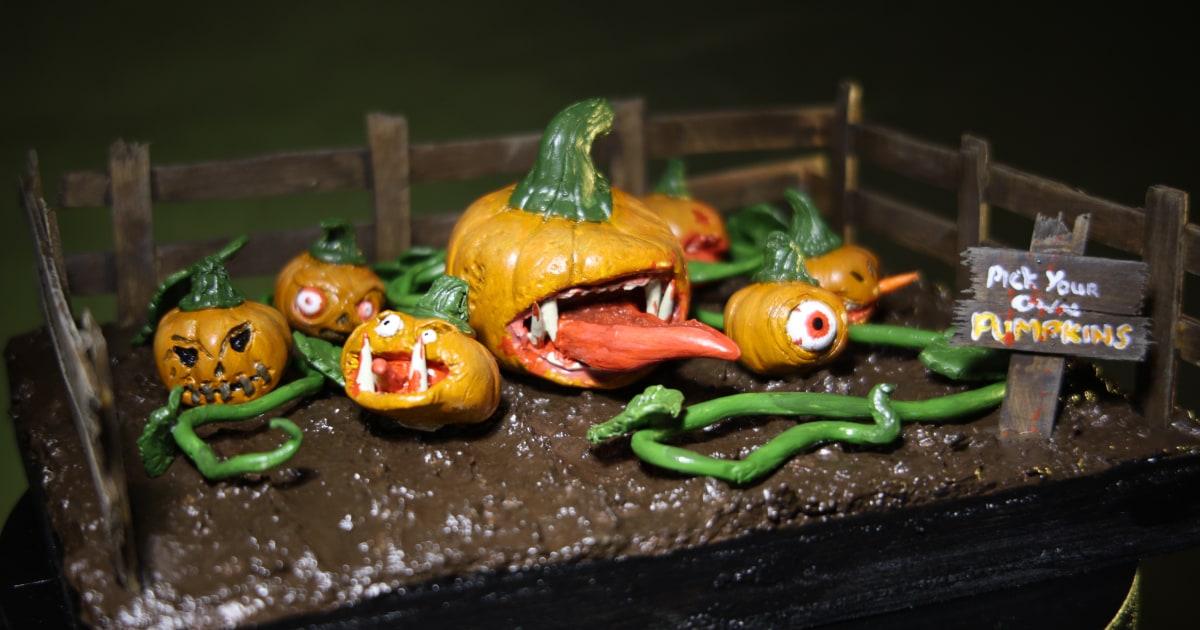
The only difference between the smaller pumpkins was the facial expressions they would have; see the completed pumpkins in the image below.
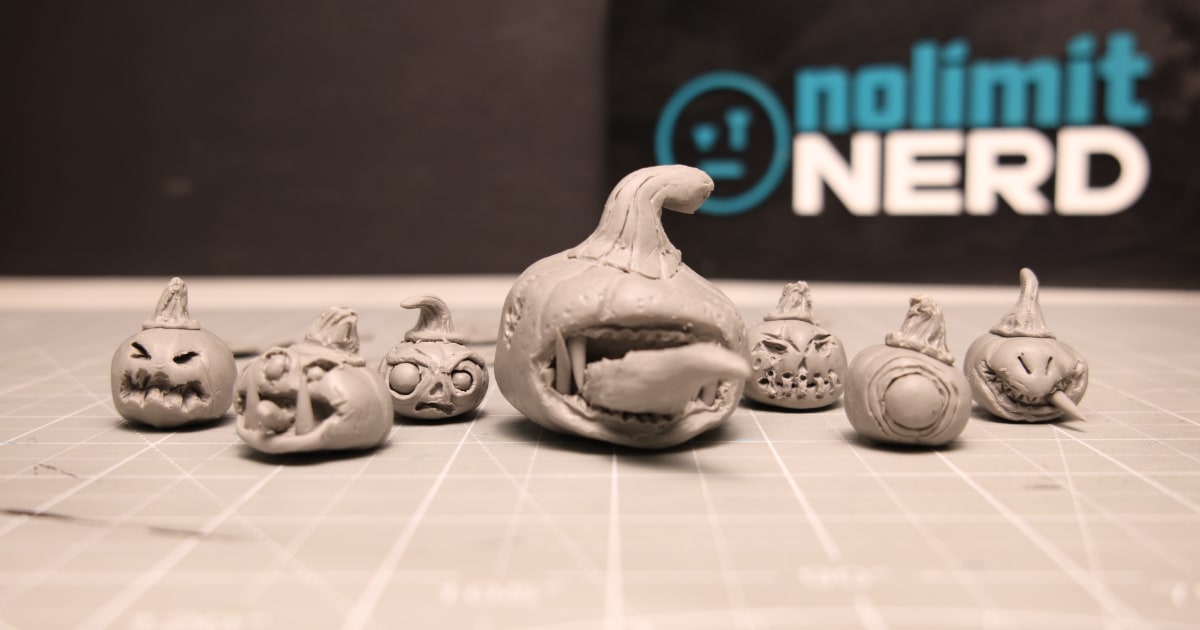
One was a Cyclops, one had a stitched-up mouth, one looked like a zombie head from Plants vs. Zombies, and another was a shark eating a carrot.
Of course, I gave them all names: Toothkin, Zombikin, Stitchkin, Sharkin, Painkin, Cyclopkin, and Terrokin, the largest of the seven pumpkins.
If you’re creating this yourself, let your imagination go wild and create your own scary-looking pumpkins.
After this, the teeth were ready to add to Terrorkin the main pumpkin to add a little more bite to his look.
The Accessories, Vines & Leaves
What you don’t see me make in the video are all the little accessories that bring the whole pumpkin patch scene to life.
I started by rolling out long worms of clay to act as the vines, twisting them into the right shape before baking to keep them in that shape.
After that, I turned my attention to creating pumpkin patch leaves. Have I mentioned that I don’t like making leaves? They are fiddly, and with my big clumpy fingers, they were hard to create.
However, to make them, I rolled out a flat sheet of clay, then used my knife to cut out the shapes of the leaves, before using the point of my metal sculpting tool to add the veins in the leaves.
I made a few different sizes, different shapes and then baked them together with the vines.
Something that didn’t need baking was the Pumpkin Patch Sign, which says “Pick Your Own Pumpkins”. For this I just snapped a few small pieces of tongue depressors to give it a worn look and glued them together.
The sign was then ready for paint.
Creating The Pumpkin Patch for the Diorama
With the pumpkins now complete, my attention turned to creating the pumpkin patch. I grabbed some offcut 18mm plywood and cut it into a shape that would accommodate all the pumpkins with some extra space around the edges.
I then mixed some water and plaster of Paris together, adding some leftover sawdust, to create something that resembled a crumbly earth texture.
I then spreaded it across the base with my trusty palette knife and waited for it to dry.
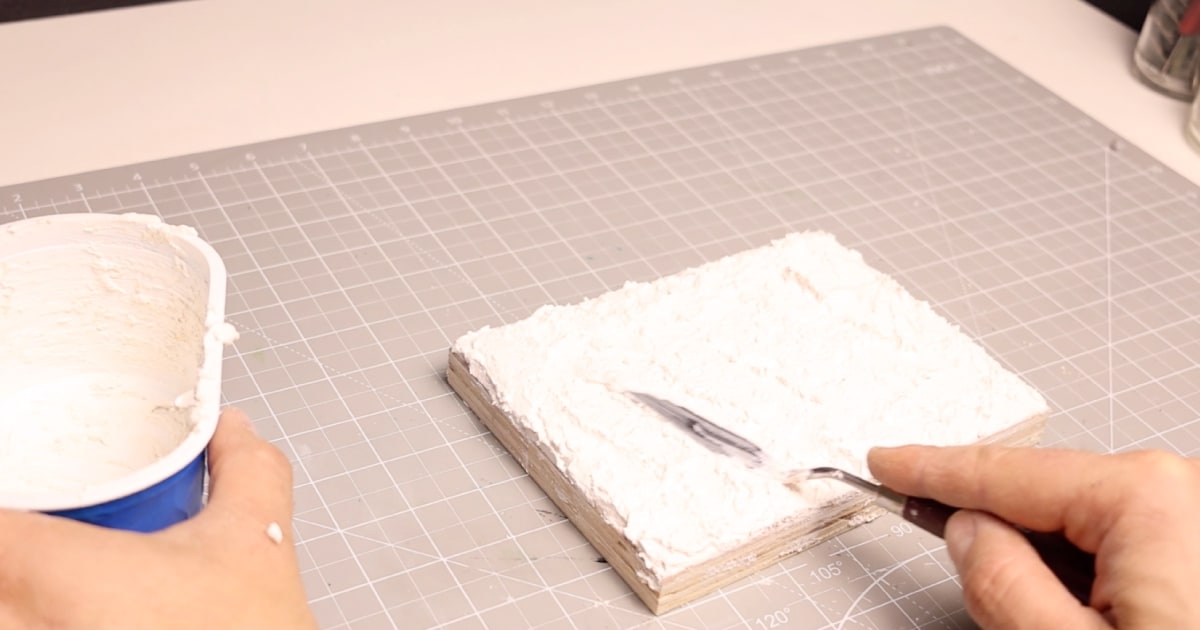
While it was drying, it was time to make the fence.
Tongue Depressors Make a Great Starting Point for a Miniature Fence
My first thought when looking to create the fence was lollipop sticks. Unfortunately, I was fresh out, but I did have some tongue depressors lying around that I used to mix my silicone.
These came in handy. I measured them against the side of the wooden base and then cut them to size to make fence panels and shorter ones for fence posts.
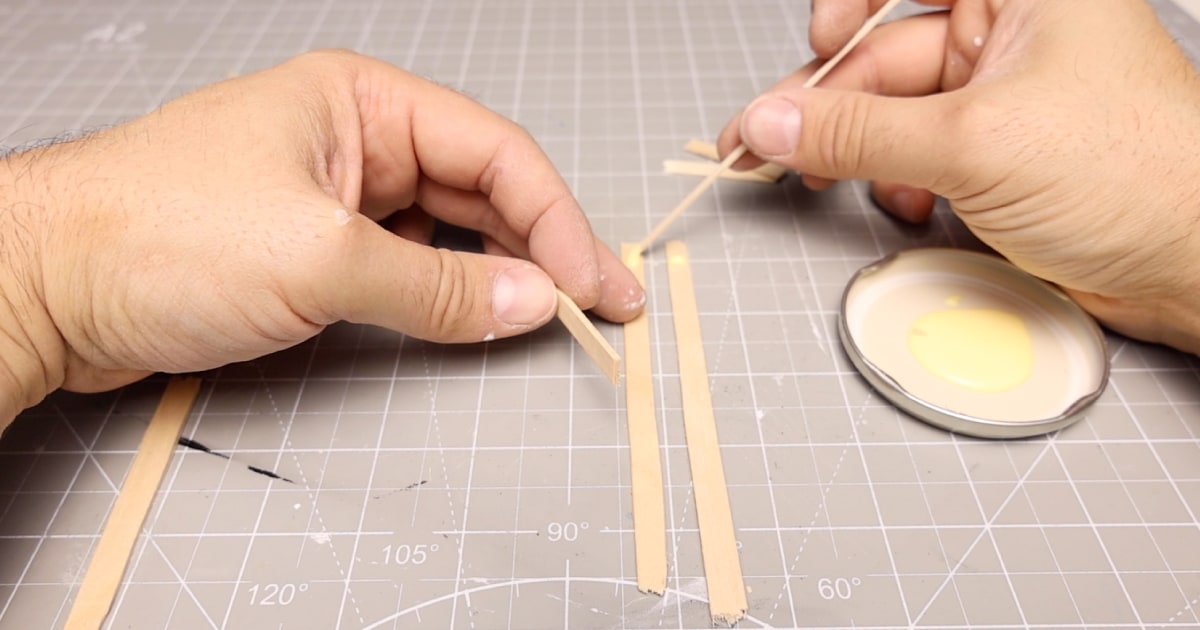
With them all cut I created three fences using Titebond wood glue to glue the fence posts to the panels. Once they were all glued up it was ready to paint everything.
Paint, Paint and more Paint
Once I had created the pumpkins, the base, and all the accessories, I turned my full attention to painting.
I started with the base which I covered in an earthy brown acrylic colour, adding darker and lighter patches using a little dry brushing. I then tidied up the edges of the base with some black paint to make it stand out.
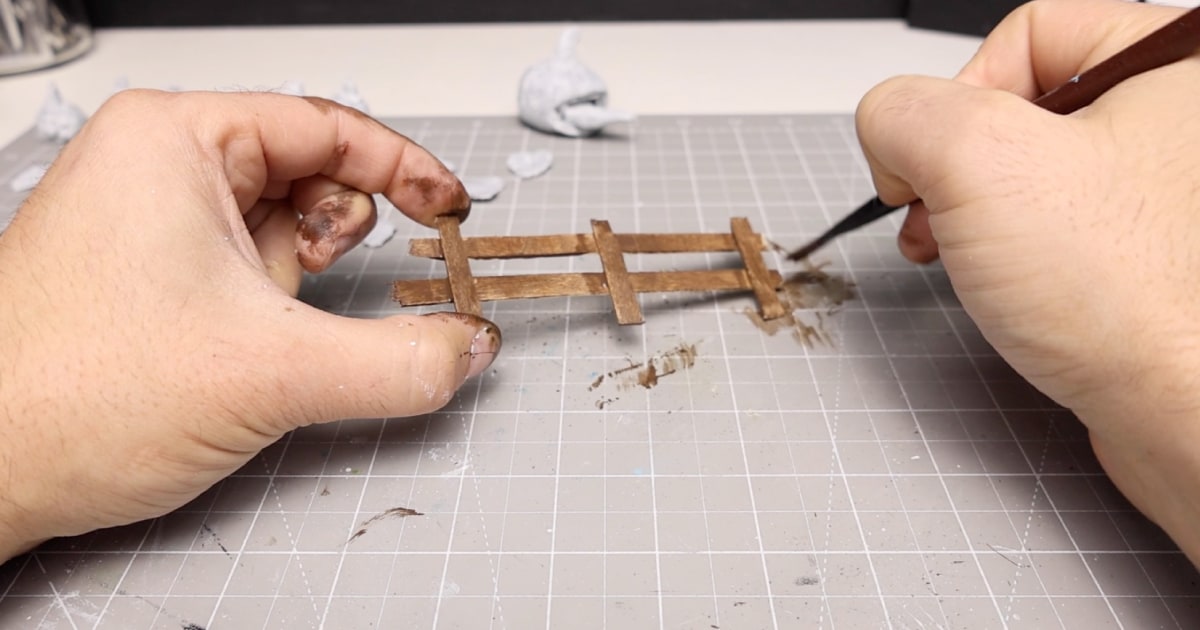
Already having the brown paint out, I thinned it down with some water to give the wooden fences a wash, as I still wanted to see the natural wood grain underneath. This staining effect worked well, after which I added a few dry brush highlights to the top areas of the fences.
I did the same for the base coat for the wooden sign.
Painting The Vines & Leaves
Green was the main colour for the vines and leaves, which were painted next. I used a light green acrylic for the base coat to seal in the clay, before adding darker washes of acrylic ontop to give the vines more of a natural look.
Unfortunately, being so thin, the vines were very brittle and kept snapping while I was painting. This was an easy fix as a little Super Glue and careful planning on where to put the leaves covered up much of the joins.
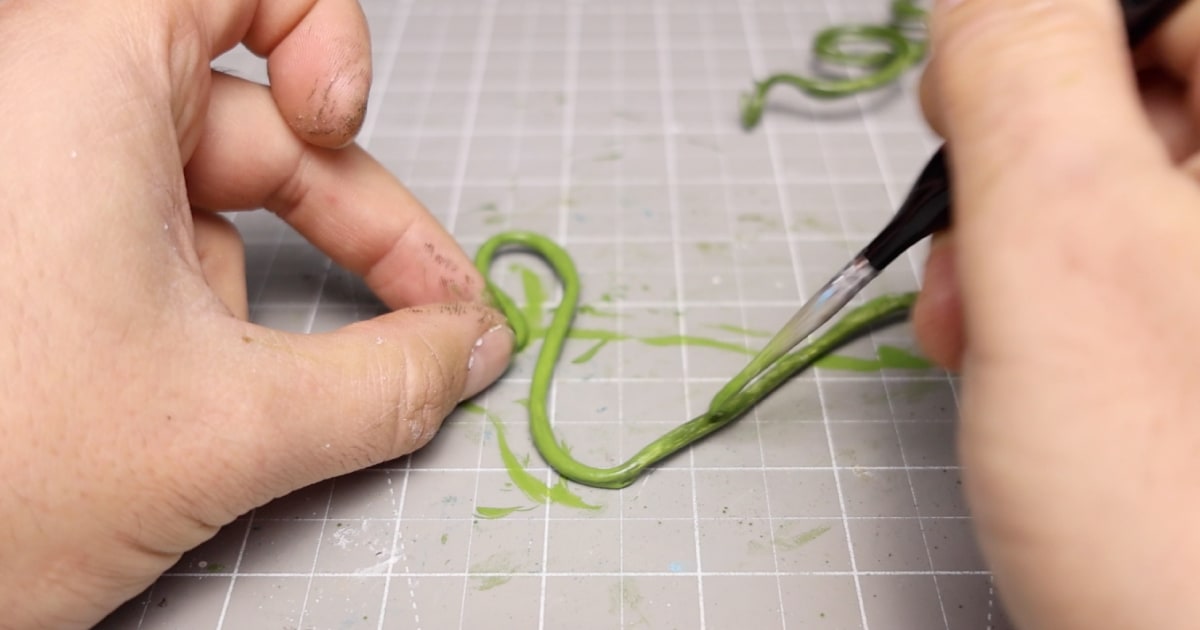
It was then the turn of the leaves to get painted. I used the same lighter to darker green colours on the leaves before using a lighter dry brush colour to highlight the edges.
Painting The Pumpkins
With the green still out, it was time to add it to the stems of all the pumpkins.
Before that, to hold the pumpkins while painting them, I cut up rods of 3mm armature wire and super-glued them to the bottom of each. This worked well and gave me a nice handle to paint without ruining what I had already painted.
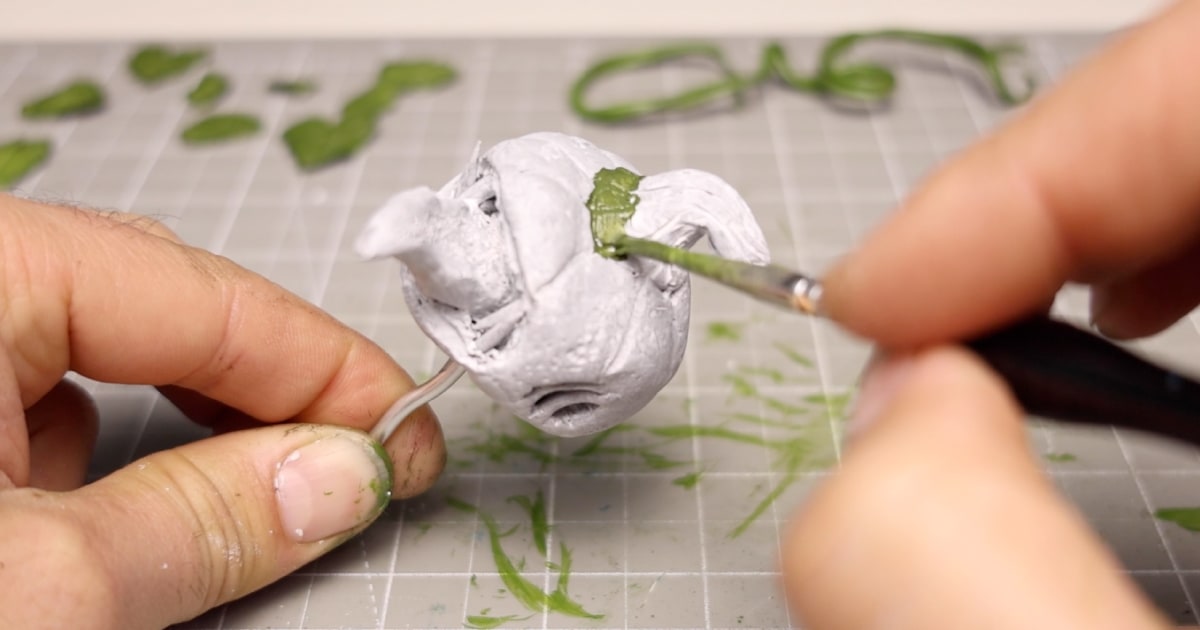
I then painted all of the pumpkins’ stems green before adding orange to their skins.
It took a few coats of orange to cover the white acrylic base coat, but once it did, I used a few darker orange colours to give each pumpkin a more natural look and feel.
With the orange complete across all of the pumpkins, I then started to add the different details to each one.
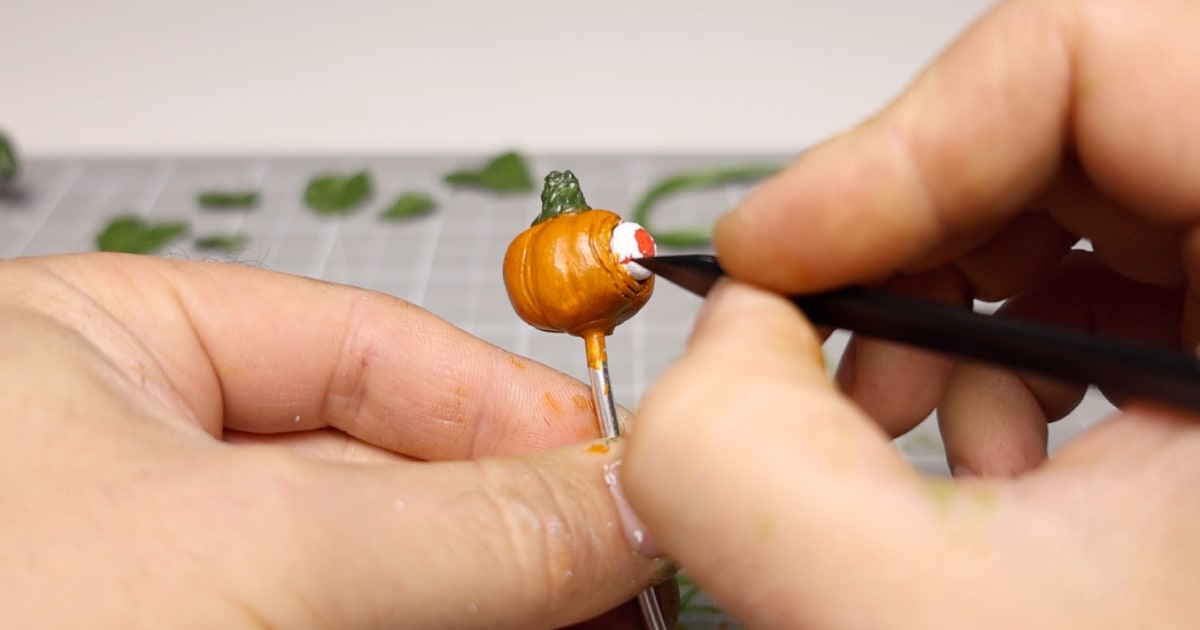
I painted the mouth of Terrokin red, with a pink tongue, then added white to the eyes of the pumpkins with eyes, and a few other finishing touches like red bloodshot eyes and bone-coloured teeth.
Adding the Finishing Touches to My Horror Pumpkin Patch Diorama
With everything painted, it was time for the pumpkins to assemble.
I started with the fence, which, if I had considered it, I should have added while the plaster of Paris was still wet, using it like cement. Unfortunately, I didn’t do that, so I had to drill and scrape away some holes to bury the fence into place, using super glue to stabilise it.
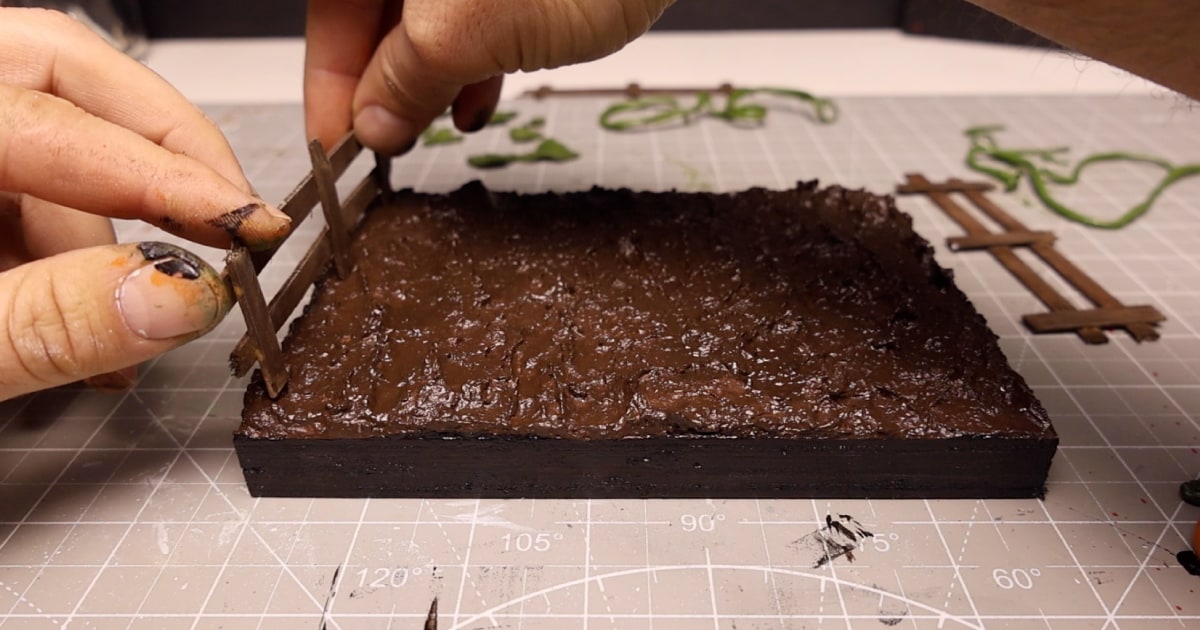
With the fence in place, I added the pumpkins to their positions on the patch, before adding the green vines around. With the vines in place I then added the leaves to cover up the breaks and the patch was almost complete.
The last touch was to add the writing to the sign, making it a splatter of blood red to give the scene a slightly more gruesome look.
Have A Go Yourself or Just Watch My Videos
Hopefully, with just a pinch of creativity and a dash of Halloween spirit, you’ve managed to follow along and craft a one-of-a-kind pumpkin patch diorama that’s as cute as it is spooky. Whether you’re a seasoned crafter or a curious beginner, this project is a fun way to celebrate the season.
Don’t keep the fun to yourself—share your creations on social media and tag NoLimitNerd! And if you’re hungry for more Halloween-themed DIYs, stick around.
There’s plenty more inspiration to keep your spooky crafting season alive, which you’ll find in my other videos here on NoLimitNerd.com or on my YouTube channel, where you’ll see the videos first.
Tools I Used
Heads up. Some of these links are affiliate links if you click on them and buy something I might make money which will help you support NoLimitNerd at no extra cost to you.
Sculpting Tools
- Super Sculpey
- A2 Cutting Board
- Pasta Maker
- Sculpting Tools
- Modelling Tools
- UV Resin
- UV Light
- Vinyl Gloves
- Armature Wire 3mm
- Super Glue
Painting Equipment
- Paint Brushes
- Acrylic Paints
- Valejo Airbrush Thinner
- Air Brush Kit
- Air Brush Cleaner
- Gas Mask
- Acrylic Gloss Varnish
Filming, Audio & Tech
- Cannon EOS R8 Camera
- Cannon RF 50mm Camera Lens
- Lexar 128GB SD Card
- Softbox Lighting with Diffuser
- Camera Tripod Ball Head
- NEEWER Led Lights
- Fifine Microphone (USB)
- Rotating Display Turntable
- Black Backdrop Cloth
- Microphone Arm – for Overhead Camera
