Rainbow Friends Cyan Vs Roblox: How to Build the Ultimate Diorama Showdown
Ever wondered what happens when two iconic worlds collide? In this post, I’m bringing Rainbow Friends Cyan into the Roblox universe with an epic diorama showdown!
From crafting every detail of Cyan’s dynamic character to building an immersive Roblox-inspired battleground, this project combines creativity, fandom, and a touch of DIY magic.
Whether you’re a Rainbow Friends enthusiast, a Roblox fan, or just love making cool stuff, you’ll find inspiration (and maybe a few surprises) in this ultimate creation. Let’s see how Cyan takes on the world of Roblox!
If you like what you see then don’t forget to hit the Subscribe button to help me grow my channel, leave a comment like it with a thumbs up.
What Inspired This Diorama?
Before we get into how I made this diorama, I’d like to tell you about its inspiration. My son likes to play a variety of different games on Roblox, and when I saw him playing Rainbow Friends, I was intrigued by the game and the monsters that were in it. So, I decided to bring one of the very blocky Rainbow Friends monsters to life in a clay sculpture.
I was not happy just creating Cyan, so I had to add a little quirkiness to the model, adding in a Roblox character being eaten by Cyan, with his head lying on the floor. I left out the blood because there is none in the game, and it makes it a little more family-friendly.
What Is Rainbow Friends?
Rainbow Friends is a horror-themed game on Roblox where you are trapped inside an abandoned amusement park with other players with the goal of completing missions while avoiding the many Rainbow Friends monsters, including Cyan.
What is Roblox?
Roblox is an online gaming platform where players can create games using the software for themselves and others. Roblox characters have unique blocky figures which can be customised when playing.
Research, Preparation and Planning
Before starting this project, I had to try to get some screenshots of Cyan from within the game, which meant playing it for a while. I ended up playing it for longer than I had initially been inteded as I hunted down Cyan through the various parts of the game.
With my screenshots, I could see how the Cyan figure could be created, and as I was creating a more realistic Cyan figure, I added a few extra details into the mix.
After research, I made sure my workspace was free from dirt and dust that could stick to the Sculpey Polymer Clay and cleaned my sculpting tools.
Then, it was time to start modelling.
Making The Cyan’s Head: Armature & Modelling
I started by taking my thicker 3mm armature wire and creating the wide mouth shape of Cyan. I twisted the wire together where it met to give a short stem I could eventually place into the neck of Cyan’s body.
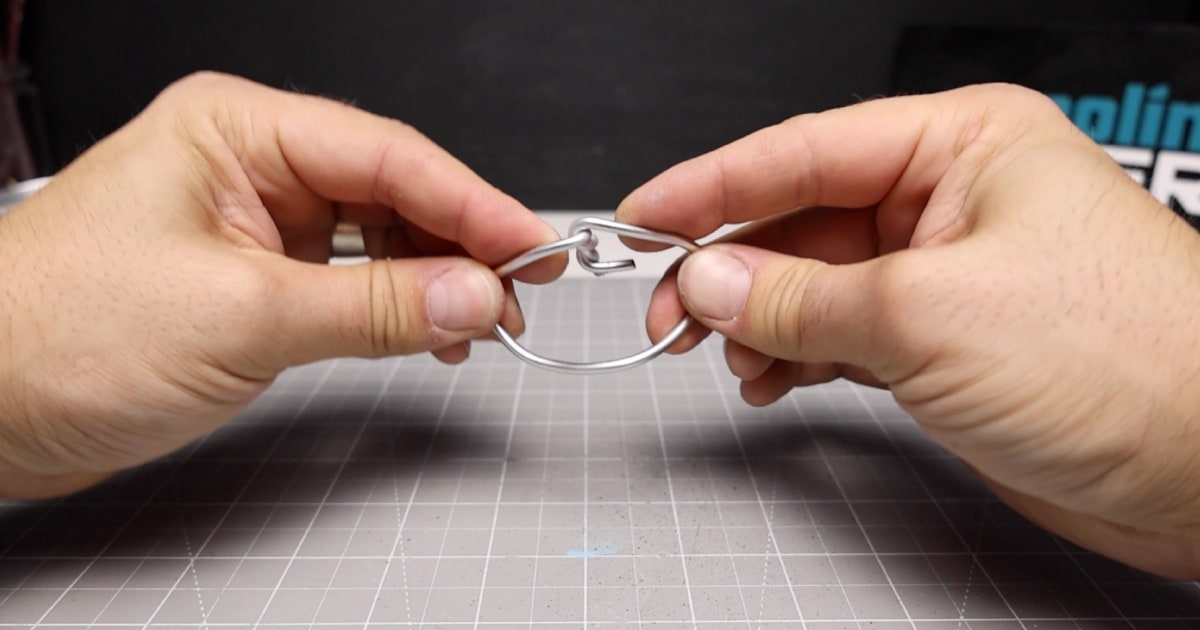
Once formed, I rolled out a thick worm of clay and covered the armature to form a rough shape of Cyan’s mouth. I then gave her some gums by rolling out smaller worms of clay before blending them into place and smoothing them out using my metal sculpting tool.
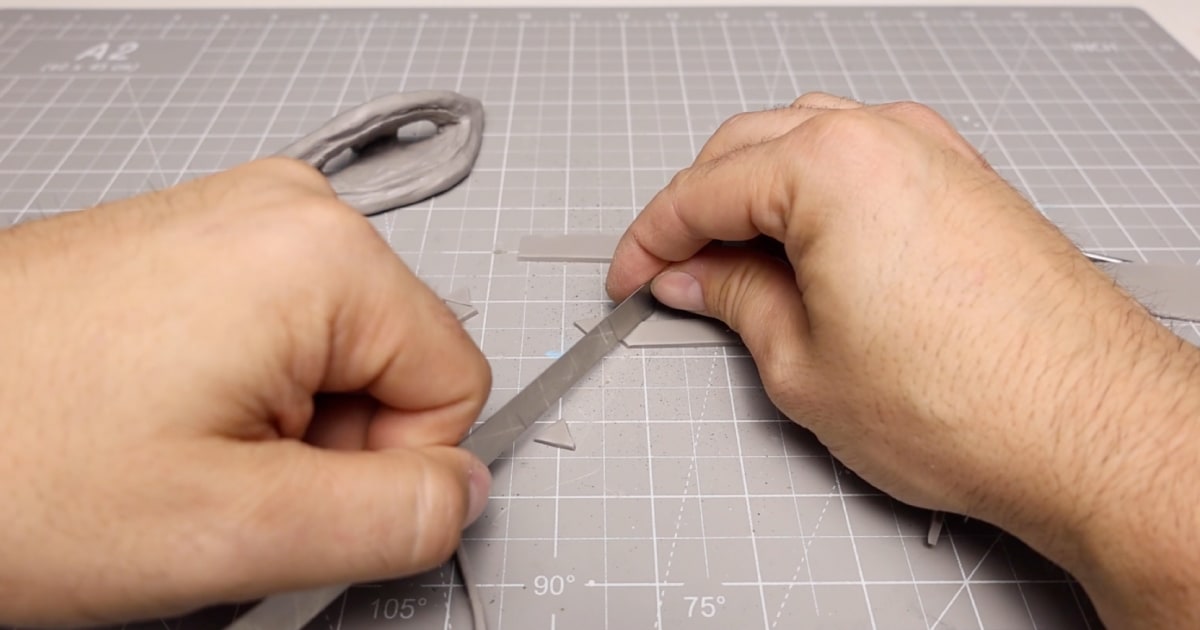
I made some teeth by rolling out a sheet of clay using my Pasta Maker and cutting it into strips. I then cut the strips into triangles to form the sharp, pointy teeth that will later be added to the figure.
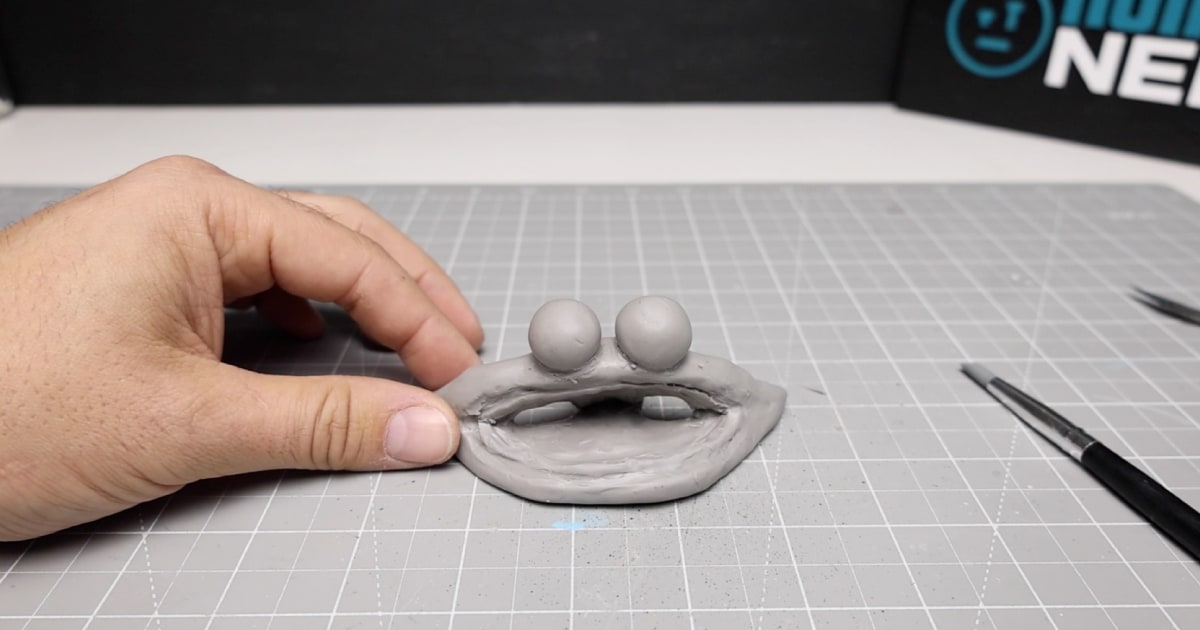
After that, I made two holes in the top of the head for the eyeballs to sit. I then rolled out two large balls of clay into as round a shape as I could get and placed them into position.
Cyan has no eyelids or eyebrows, so the eyes just sit at the top, looking at you.
Sculpting Rainbow Friends Cyan’s Body
Once again, it was time to roll out the tin foil and squish it together to form a body shape. I then added a bit of armature wire to where the head would attach and to the tail to support the clay in position.
I wrapped them in more tin foil and used masking tape to ensure everything stayed in place.
After that, it was time to grab some sheets of clay and squidgeroo them onto the armature to form the main body, tail, and neck of what will eventually be Cyan.
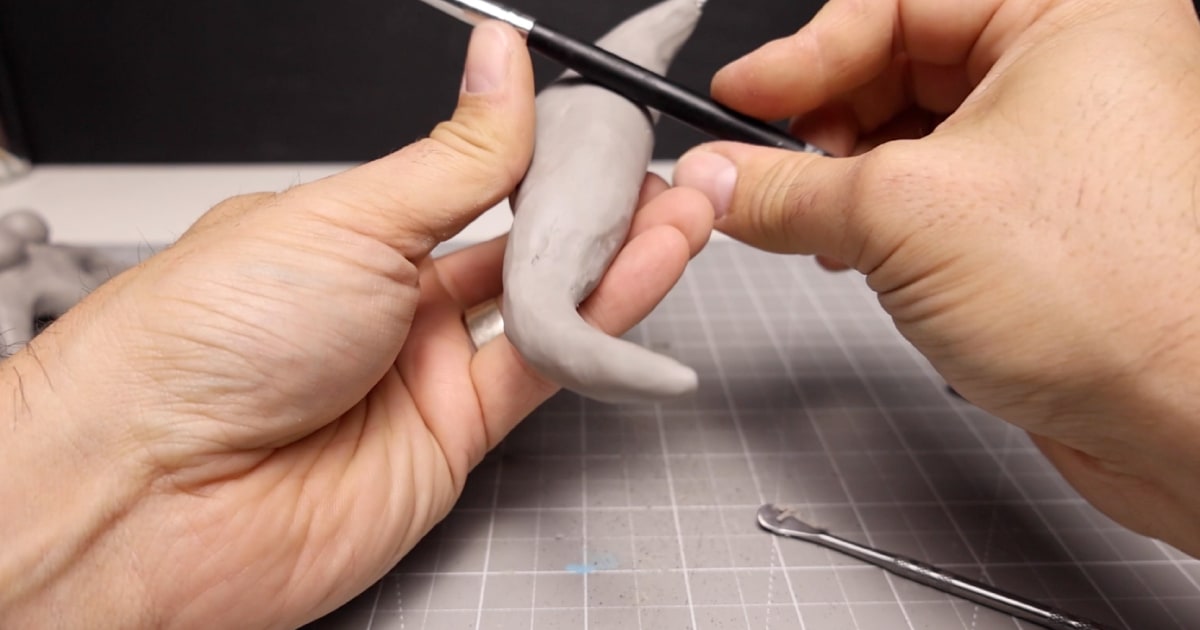
I then smoothed out the clay by rolling the round part of my tool over it to remove all the squidging marks.
After that, I decided to test out some skin texture, using the small round end of my tool to gouge random line marks across Cyans’ back to look like scales.
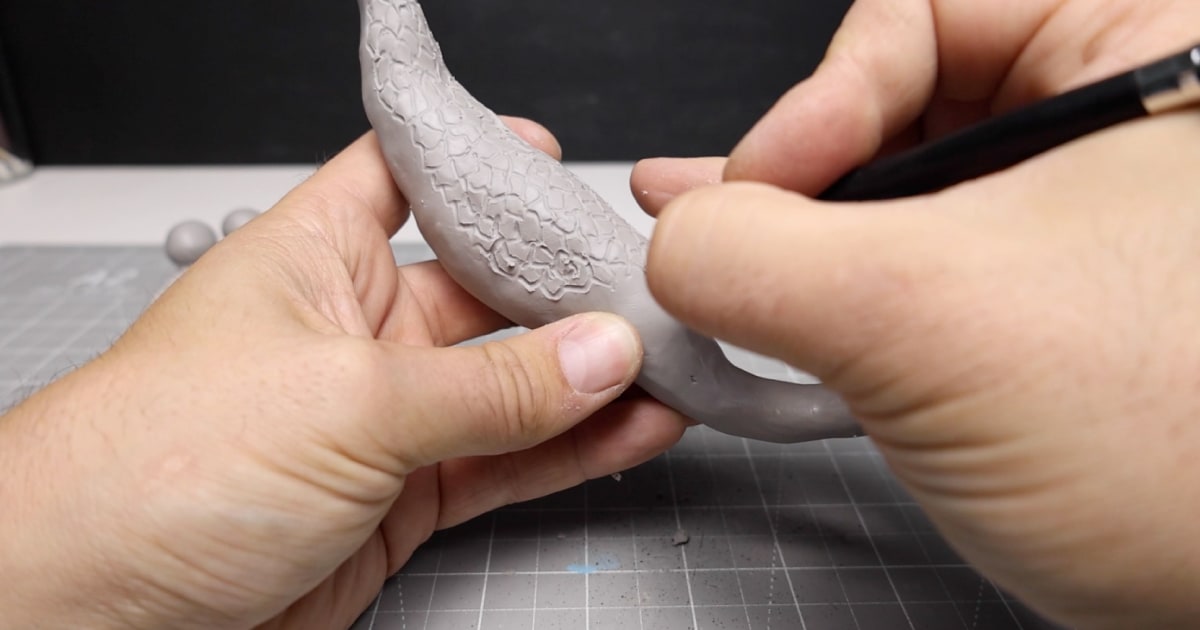
Giving Cyan Some Sturdy Legs
To support the weight of the clay body and head, I had to make two very sturdy legs. I followed a similar process to making the body and head, first forming some armature wire into the shape of the leg, wrapping it in foil, and holding it together with a little masking tape.
The next step was to wrap the legs in clay and shape them to resemble Cyan in the Rainbow Friends game. I added three toes to each leg and then added them to the main body.
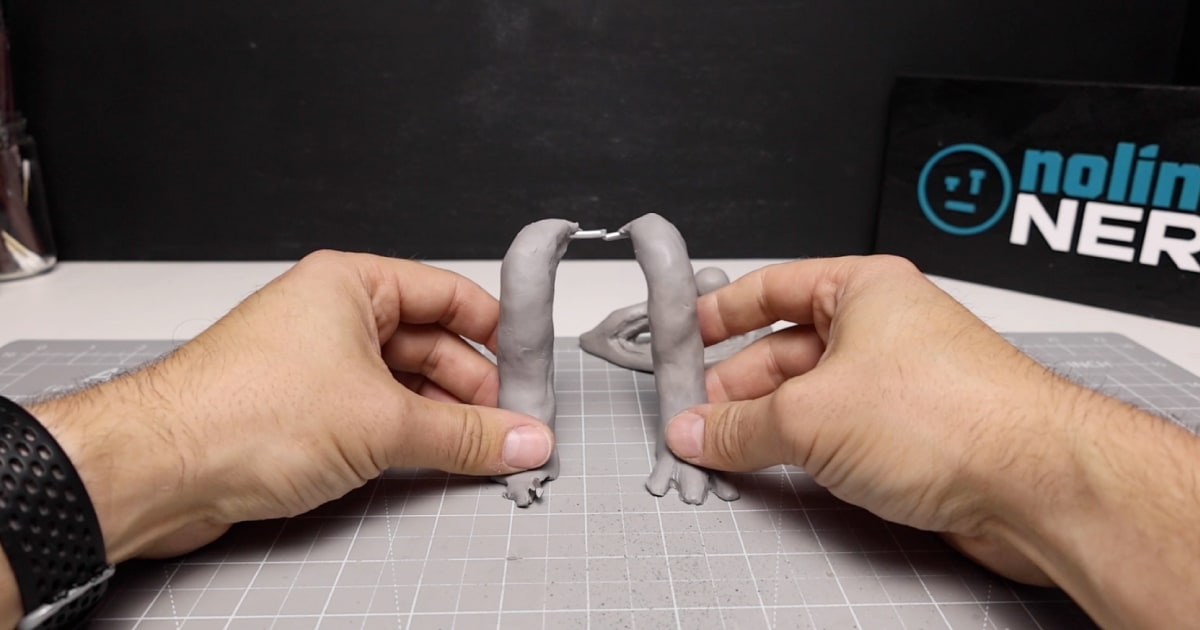
To do this, I made a small hole in the side of Cyan and inserted the exposed armature wire into the hole. I then wrapped another sheet of clay around the join to ensure a stable fixing that wouldn’t rip itself out.
Cyan Gets A Head
This sculpture was starting to get a little weighty, so to ensure stability while I was attaching the head, I used a champagne cork to support the tail.
I then presented the head to the neck (How do you do?) and joined it with some clay, just like the legs. Unfortunately, the head proved to be a little too heavy for the neck to support.
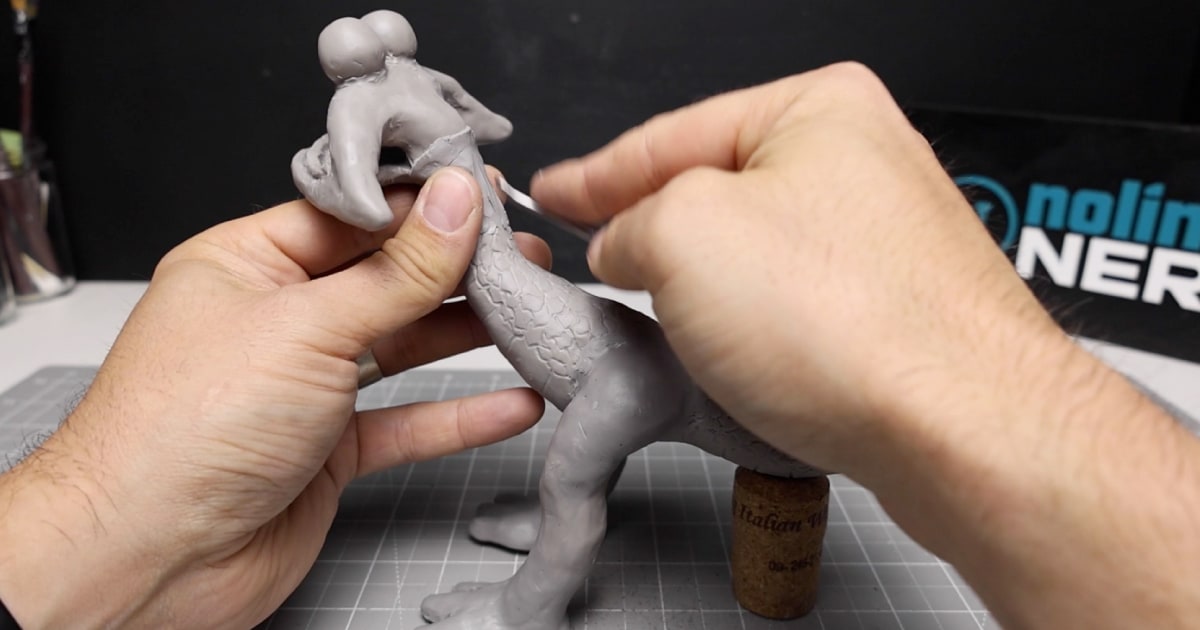
So, to stiffen it up and ensure proper support, I added some smaller cuts of armature wire to the join underneath and on top, which eventually helped to bring the whole sculpture together.
After that, it was time to add scale detail to the body, head, and legs before moving on to making Cyans prey.
How to Make a Roblox Character from Clay
The first step was to create a piece of clay that was as square as possible. Once that was done, I used my straight-edge cutting tool to cut the block into separate pieces to form the body, legs, arms, and feet.
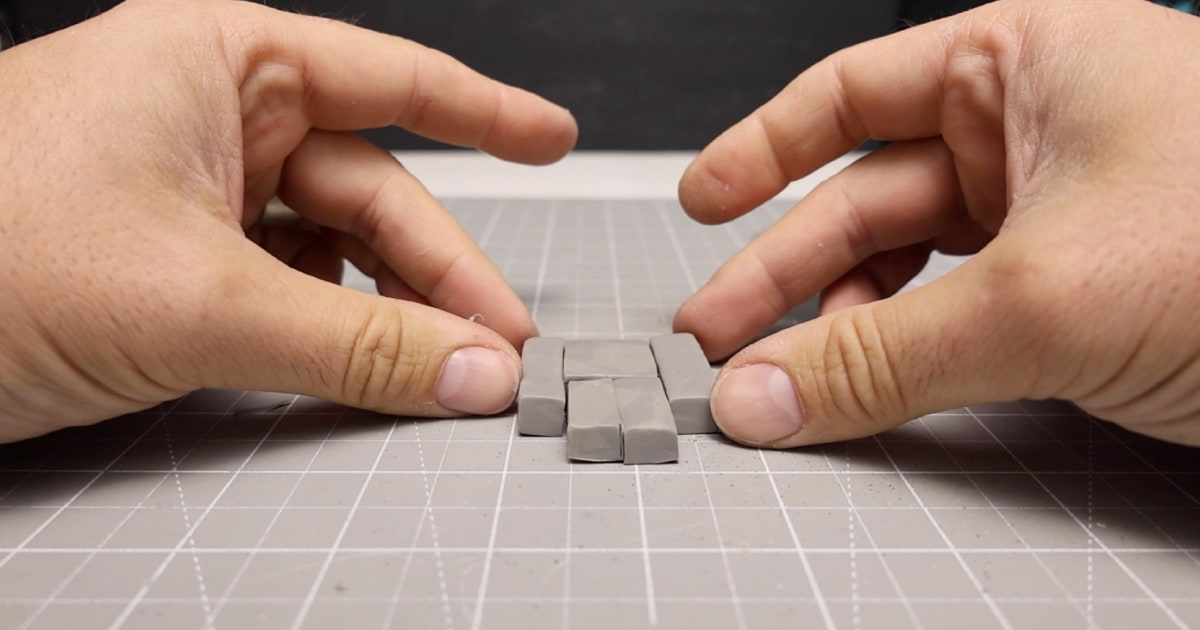
The second step was to make the model moveable so I could position it how I wanted. I added twisted-together 1mm armature wire and inserted it into the arms, legs, and head.
Doing this allowed those parts to move freely and be positioned as I like to some extent.
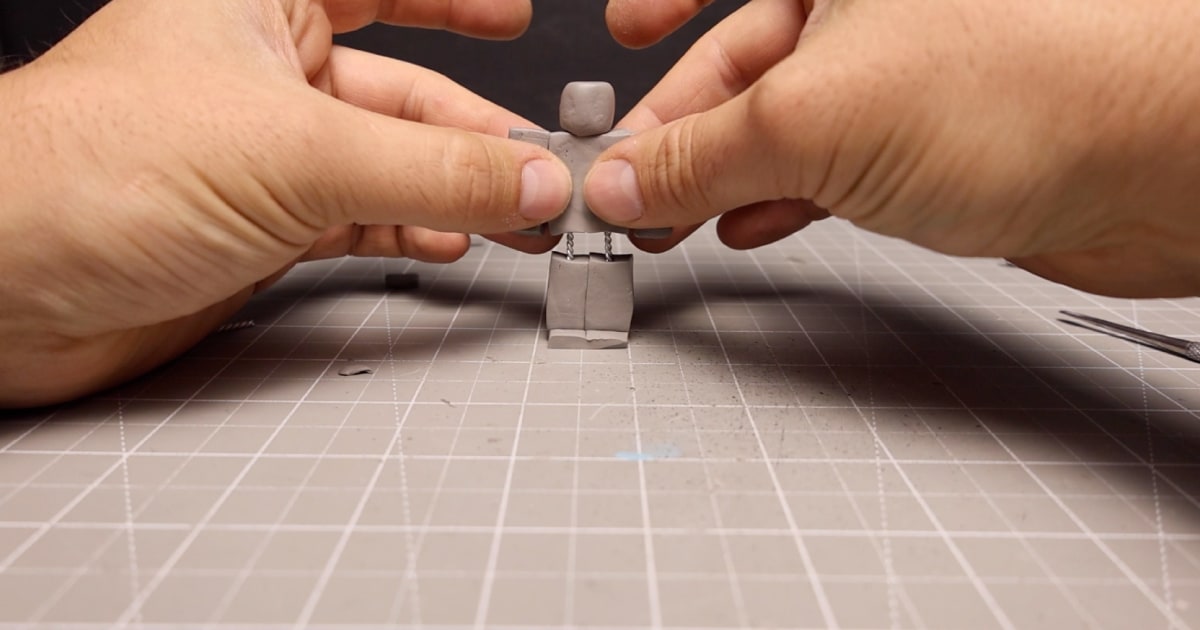
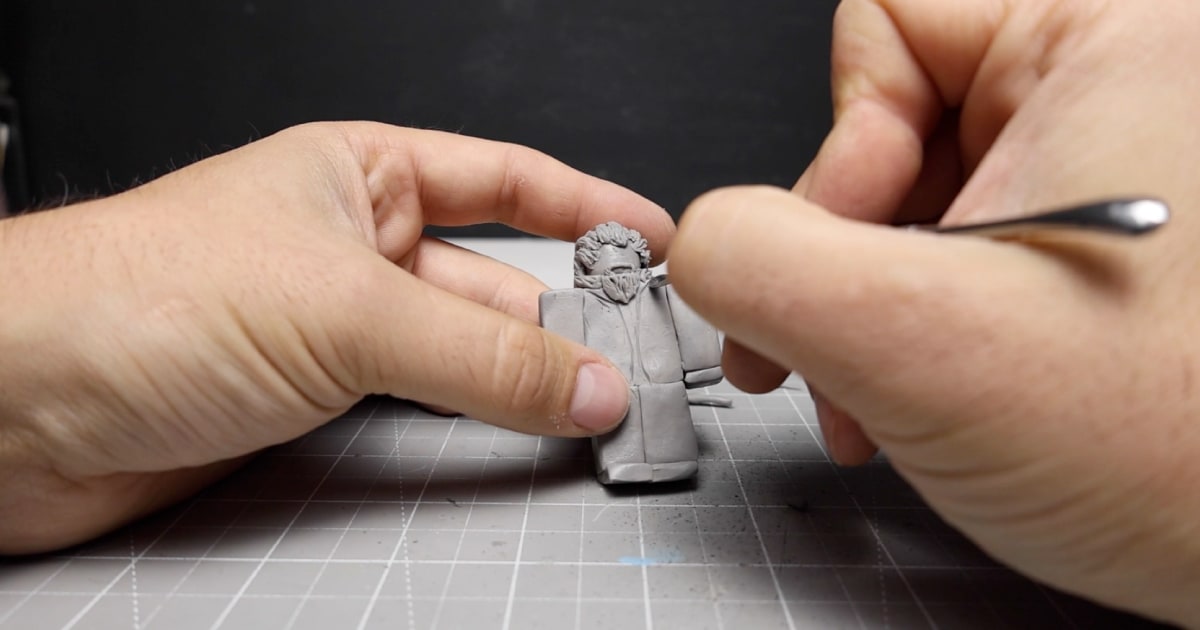
The third step was to add detail to the Roblox character’s head. To tie it all together, I modelled it after the professor in the Rainbow Friends game.
I carefully added small worms to his head and face and squished them together using my sculpting tool to make it look like hair. I then made a small pair of glasses and added some detail to his torso to give him a suit of sorts.
That was the Roblox figure, complete and ready for painting.
Painting The Professor
I chose some very basic blocks of colours, shying away from any real detail on the Roblox character to stay true to the game character.
I painted his hands and head in a pinkish skin tone, his suit in black, shirt white, and gave his shoes a pop of colour with blood-red tops and white souls.
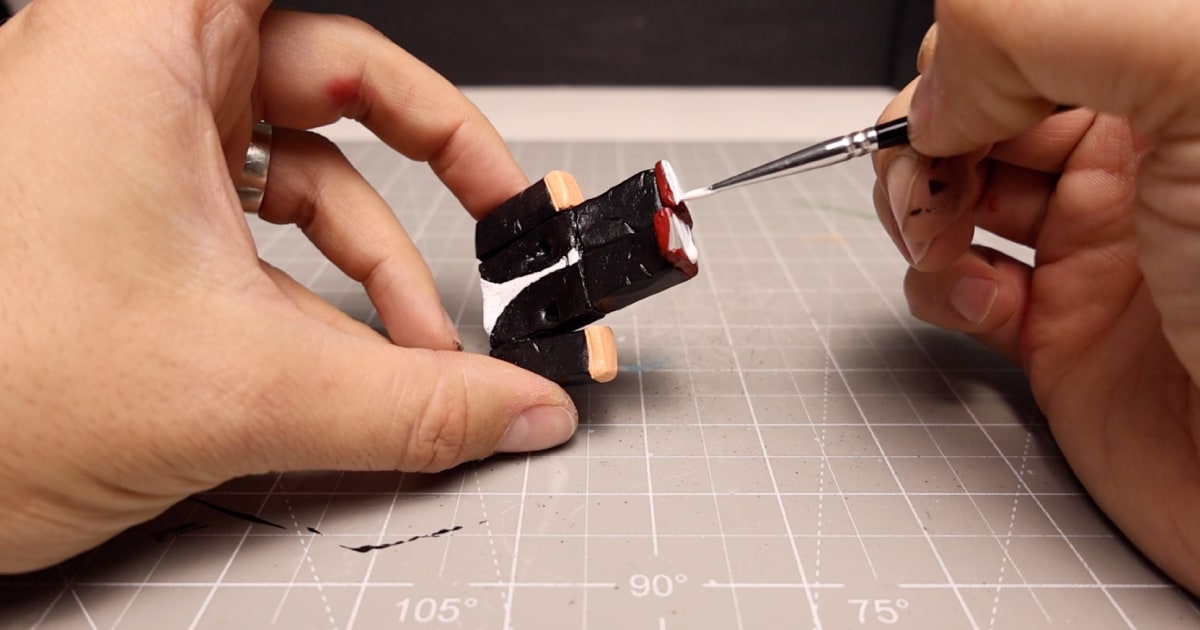
For his head, I painted his hair white, eyes, glasses rims and mouth black, with his face a Caucasian skin tone colour.
Setting The Scene: Making The Diorama Base
I don’t show it in the video, but off-screen, I used some trusty 18mm plywood and covered it in Plaster of Paris to form a base for Cyan to rest her tied monster feet.
I added a larger rock area to form the pedestal on which the Roblox character’s severed head rests, and I textured it using my palette knife.
Once that was dry, it was time to give everything a quick paint.
Painting The Base
Painting the base was pretty straightforward. I stuck with a limited colour palette, giving the grassy area a quick paint of light green before stippling on darker green colours while still wet to produce a patchy effect that grassy patches can sometimes have.
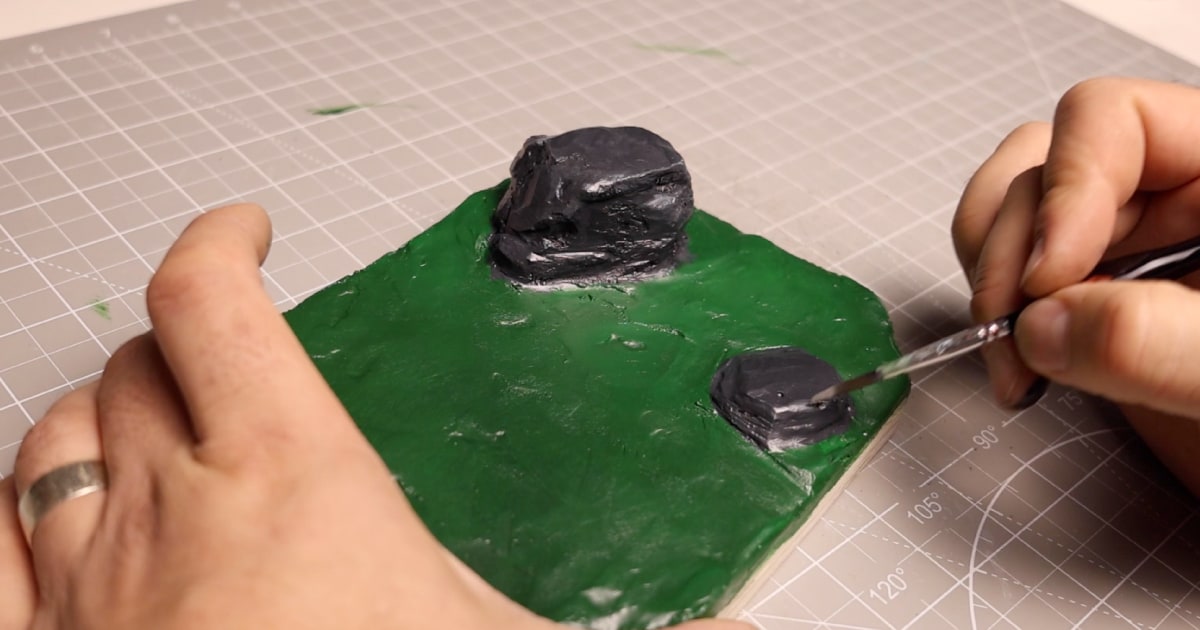
For the rocks, I created a dark grey by mixing black and white, gradually increasing its lightness, and dry brushing it across the rocks. I then added some light white areas to the edges where the light bounces off.
This painting technique created a simple but decent-looking base on which my Cyan figure could rest.
Painting a Realistic Rainbow Friends Cyan
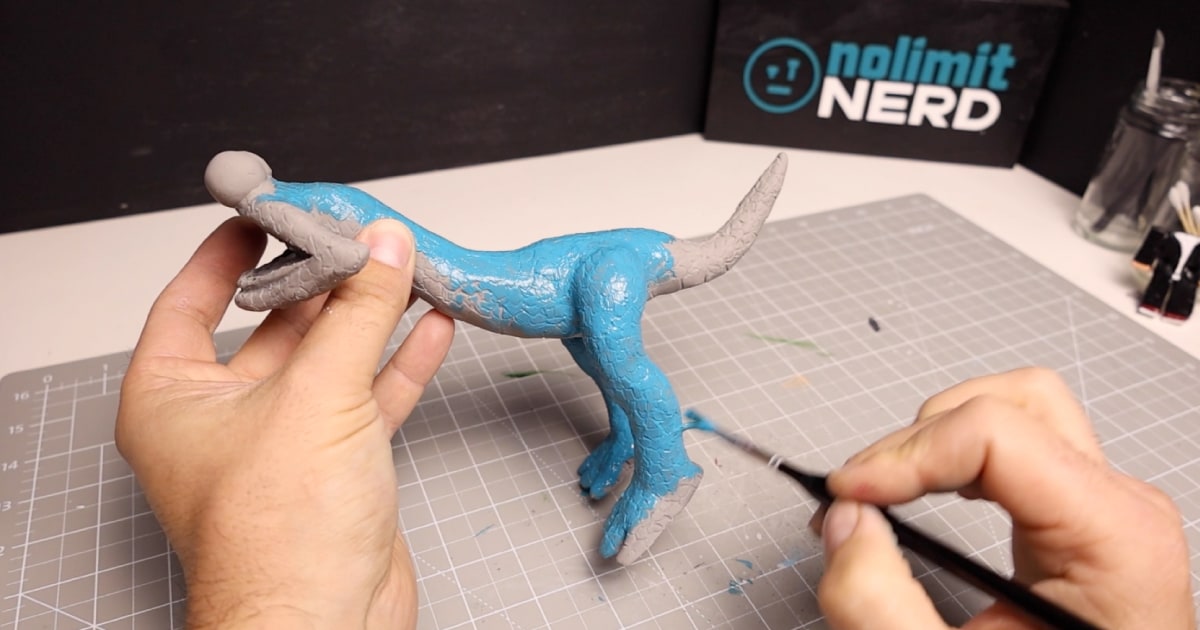
Painting Cyan, in theory, should be pretty simple. You just grab your Cyan acrylic paint and start painting, which is exactly where I started.
I covered her head, body, legs and tail in Cyan as a base coat. I then mixed a little white with the Cyan to paint her underbelly, giving it a lighter look and feel.
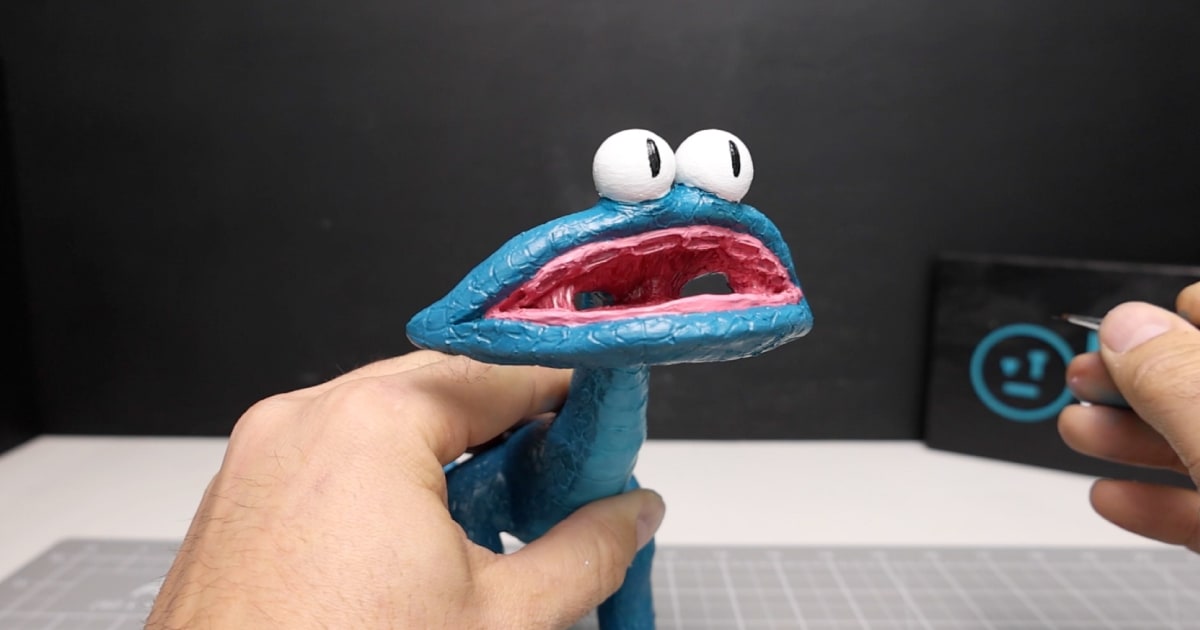
With that painted, I moved on to giving her mouth a pink hue, with a darker red for the deeper part of her throat. I added white to the eyes and painted her elongated pupils black.
To add the finishing touches, I drush-brushed some lighter highlights of white on the top of her head, legs, and feet and some darker shades of Cyan, mixing a dash of black and cyan together for the shadow areas.
I then added some UV resin to her eyes to make them look shiny, curing it using my newly purchased UV light, which works well to make the resin harden quicker, especially when it’s raining outside.
Putting It All Together: The Rainbow Friends Cyan vs Roblox Showdown
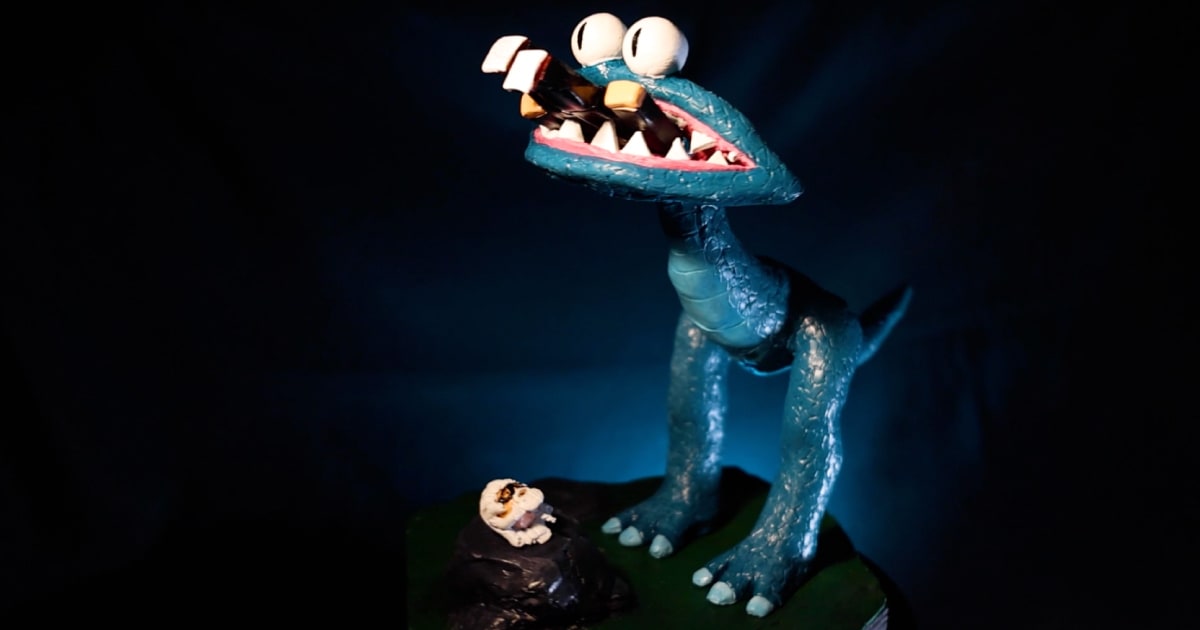
To be fair, there’s not much of a showdown going on here. The Roblox character wouldn’t have stood a chance against the sharp-toothed Rainbow Friends monster, and as you can see in the final reveal pictures, he didn’t.
With one chomp, Cyan took a big bite, severing his head, which lay abandoned on the nearby rock.
To secure Cyan to the base, I drilled a hole in the bottom of each leg and added 3mm armature wire into them. I then marked the area where to position her feet on the base and drilled two holes.
This made for a stable connection, allowing Cyan to sit in her final resting place and nicely chomp on her prey.
Watch More Videos & Have a Go Yourself
I hope you enjoyed this trip into the world of Rainbow Friends and Roblox. This was the biggest sculpture I have made to date, and I think I’ll be making smaller models from now on as it’s cheaper on the budget.
If you’re looking to get into polymer clay sculpting, why not start small? Get yourself a block of clay and start sculpting. You don’t need any special tools; just a few household items, and away you go.
Remember to check out the video and my other videos here on NoLimitNerd.com or on my YouTube channel, where you’ll see them first.
Please tell your friends, family and strangers to subscribe to help me grow my channel, and like and comment to let me know what you might want to see next.
Tools I Used
Heads up. Some of these links are affiliate links if you click on them and buy something I might make money which will help you support NoLimitNerd at no extra cost to you.
Sculpting Tools
- Super Sculpey
- A2 Cutting Board
- Pasta Maker
- Sculpting Tools
- Modelling Tools
- UV Resin
- UV Light
- Vinyl Gloves
- Armature Wire 3mm
- Super Glue
Painting Equipment
Filming, Audio & Tech
- Cannon EOS R8 Camera
- Cannon RF 50mm Camera Lens
- Lexar 128GB SD Card
- Softbox Lighting with Diffuser
- Camera Tripod Ball Head
- NEEWER Led Lights
- Fifine Microphone (USB)
- Rotating Display Turntable
- Black Backdrop Cloth
- Microphone Arm – for Overhead Camera
